Prefer a video walkthrough?
Check out the step by step guide video down below👇
Prerequisites
-
Access to the Projects module.
-
(Optional) Client details if you plan to link a client.
Create Projects
-
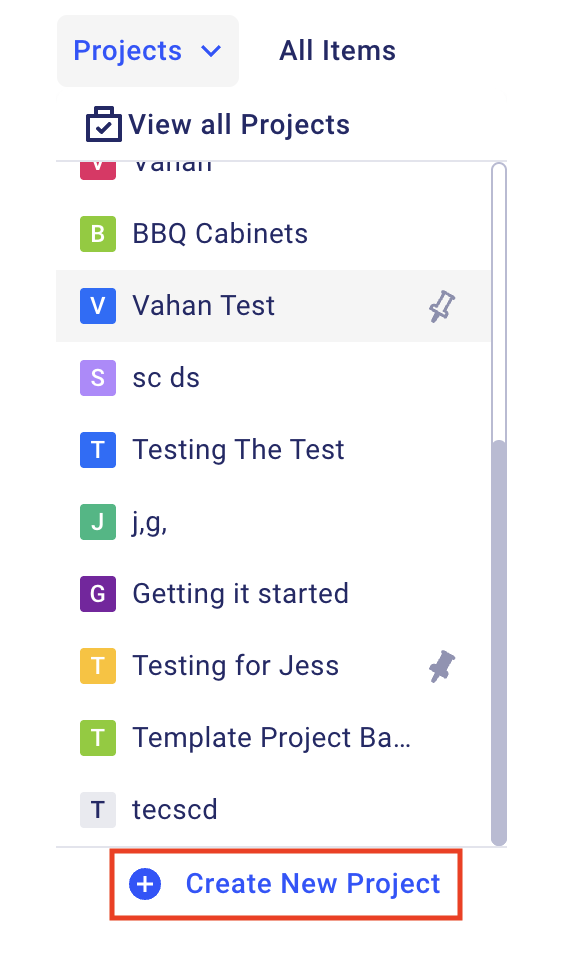
Log in → go to Projects.
-
Click Create New Project.
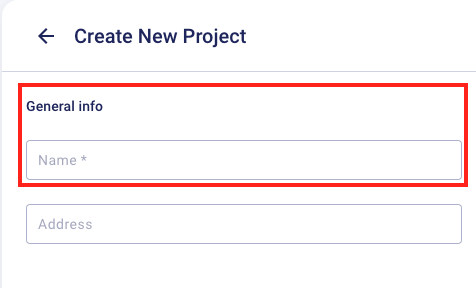
On the project creation page, you'll be prompted to provide essential information about your project. This may include the project name, its type, current status, and other relevant details. Take your time to fill in these details accurately, as they will help you organize and differentiate your projects.
1 Name the Project
-
Enter a clear, descriptive Project Name (e.g., “Smith – Kitchen Renovation”).
Set the Project ID
-
Confirm or edit the ID Prefix (default e.g., PR).
-
Confirm or edit the Sequence Number (auto-increments: 101, 102, 103…).
 The Project ID will inherit throughout all of Buildern. This ID will be the prefix for the Bills, Subcontracts, Purchase Orders etc.
For example a bill for a project with an ID of PR-001 will be PR-001-BL-001. The next bill that gets created will be PR-001-BL-002. This IDs will later on appear in your accounting software as reference IDs so that you can easily differentiate them.
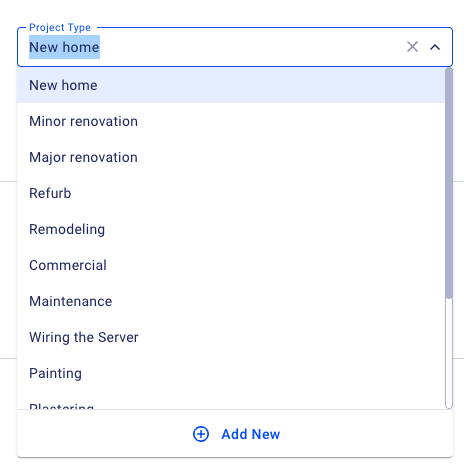
Choose a Project Type
-
Select from common types (e.g., New Home Construction, Minor Renovation, Major Renovation, Remodeling, Commercial, Maintenance).
-
Need something specific? Click Add New to create a custom type.
Choose a Project Type
Select from common types (e.g., New Home Construction, Minor Renovation, Major Renovation, Remodeling, Commercial, Maintenance).
Need something specific? Click Add New to create a custom type.
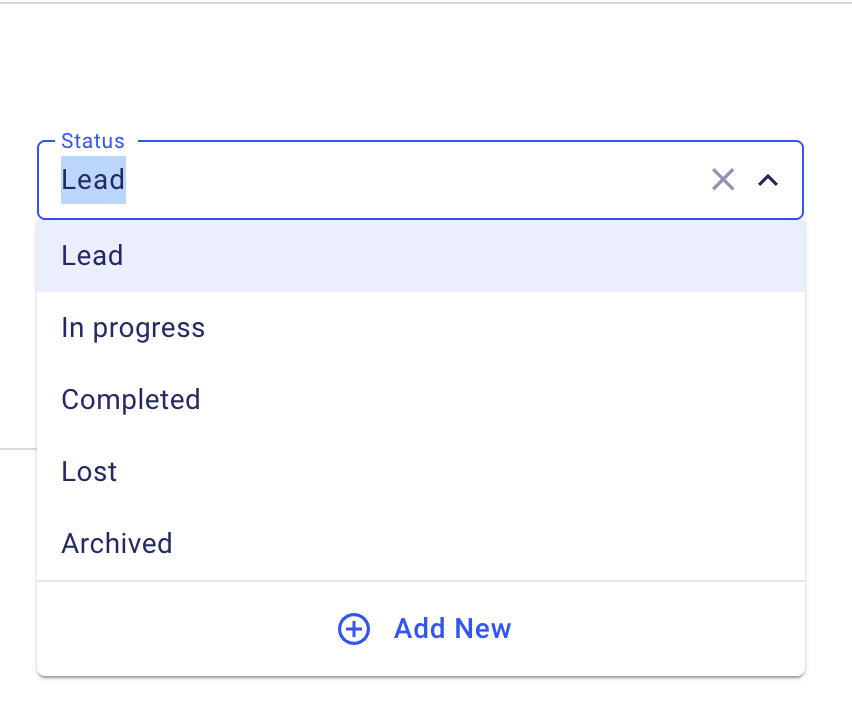
Set Project Status
-
Choose a lifecycle stage: Lead, In Progress, Completed, Lost, Archived.
-
(Optional) Add custom statuses if your workflow requires it.
Keep in mind 🧠
When you are migrating previous or ongoing projects into Buildern you can accurately select the current status of those Projects. If there have been projects where the client lost interest or the project didn't follow through the "Lost" and "Archived" statuses will reflect those as well.
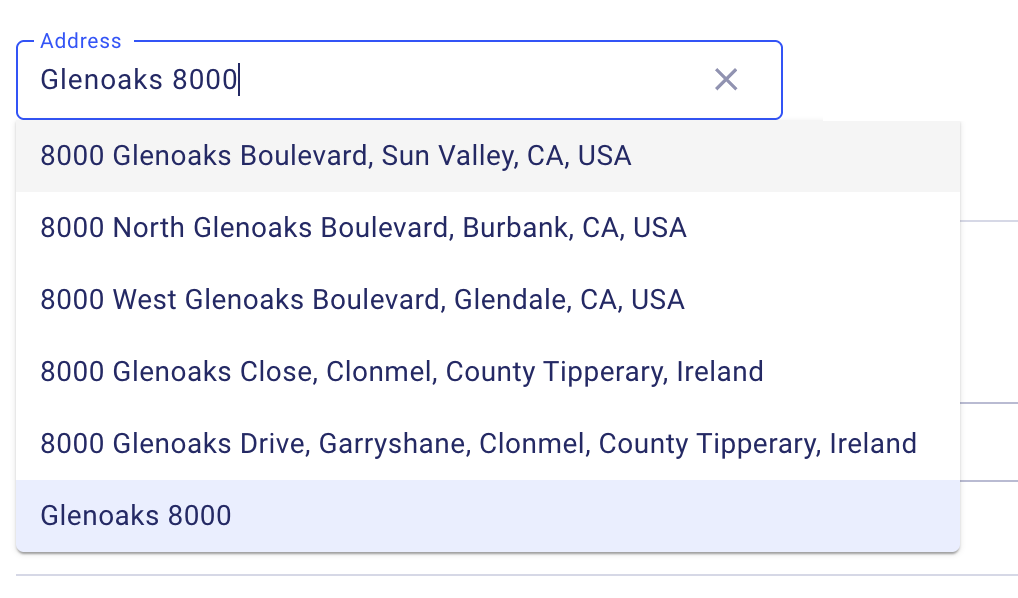
Add the Project Address
-
Start typing the site address. Pick the Google-suggested match if available.
-
If not found, enter the address manually.
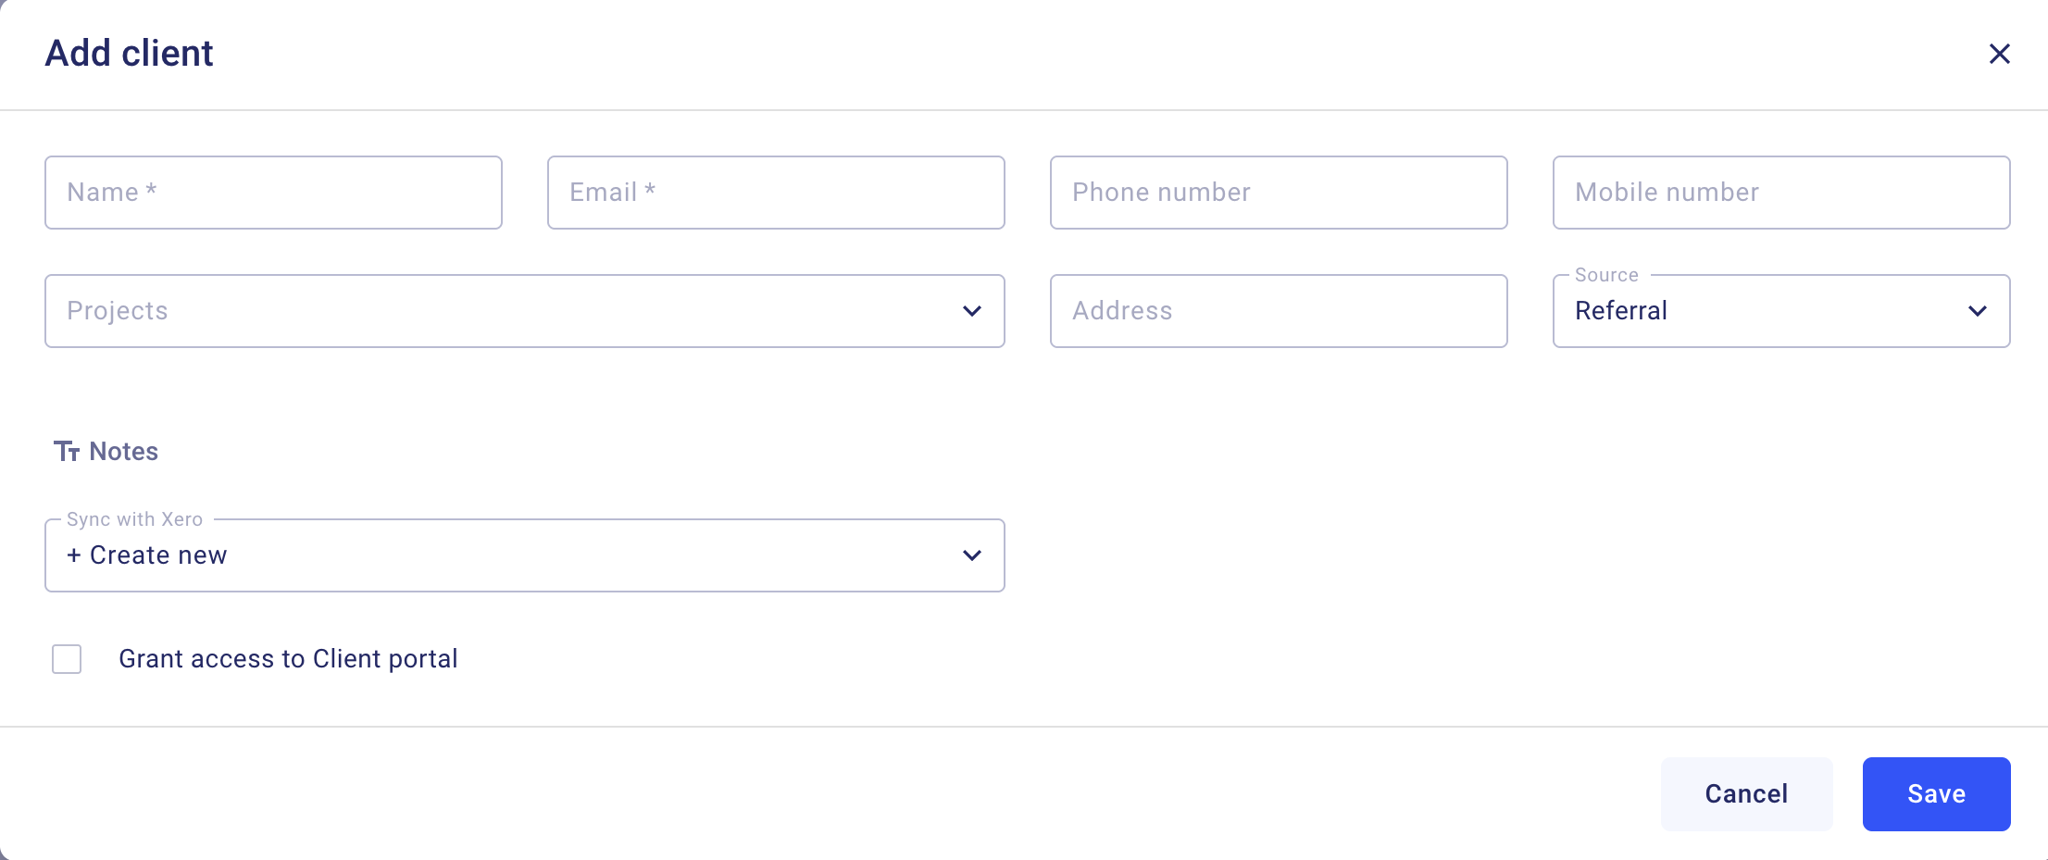
Link or Create a Client
-
Select an existing client or click Add New.
-
For new client: fill required Name and Email (Phone/Address optional).
-
Accounting Sync (Source):
-
Create New → also creates the client in your accounting software.
-
No Match → keeps the client only in Buildern (no new accounting record).
-
You can read more about Invoice types by following this link
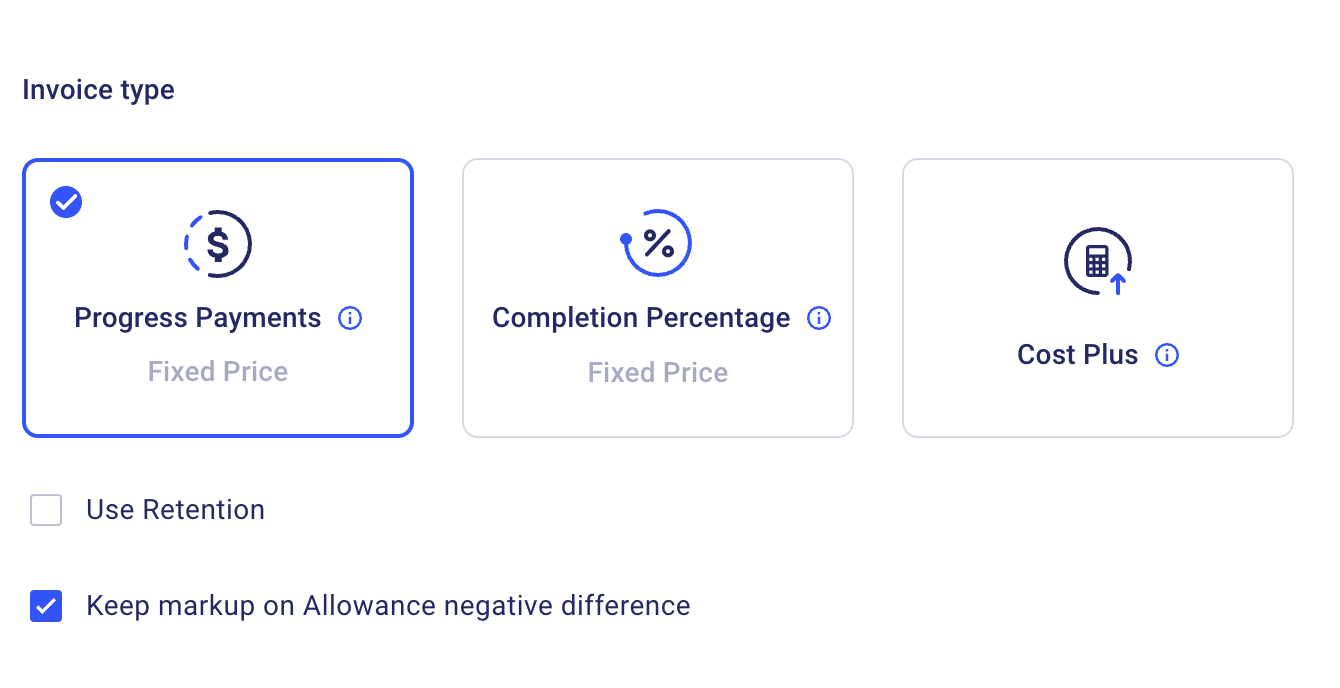
Choose Invoice (Billing) Type
- Progress Payment – bill on a schedule based on % complete (fixed price).
- Completion Percentage – bill in milestone chunks (fixed price).
- Cost Plus – actual costs + markup.
You can read more about Invoice types by following this link
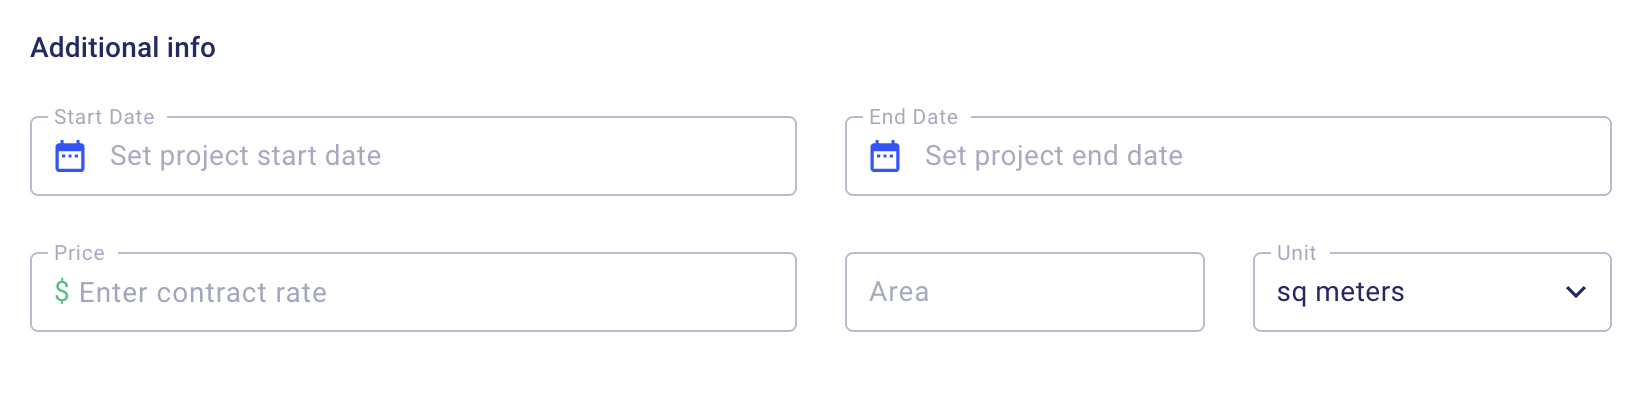
Additional info
-
Select the project start date
- Select the project end date
-
Enter contract rate - In case the client has a set budget you can set that number in the Contact Rate to reference later on. The amount you are putting here is for internal use only
-
Area → the full area that this project covers
-
Unit → The unit of measure
-