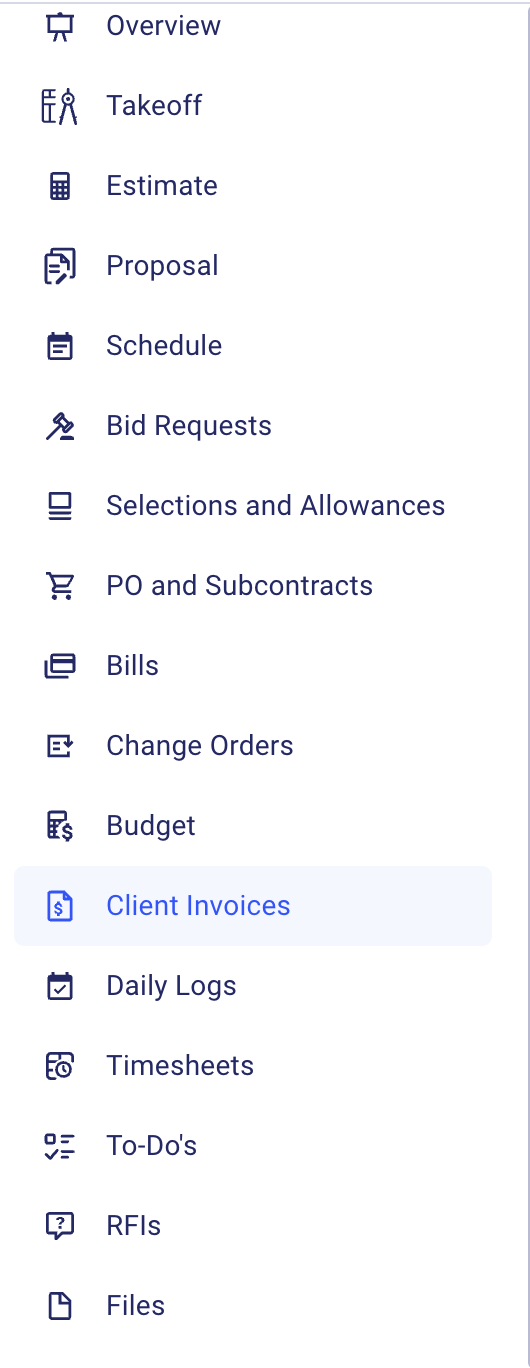
You can quickly create invoices and send them to your clients with Buildern. To do it, go to the selected project and navigate to the “Client Invoices” section.
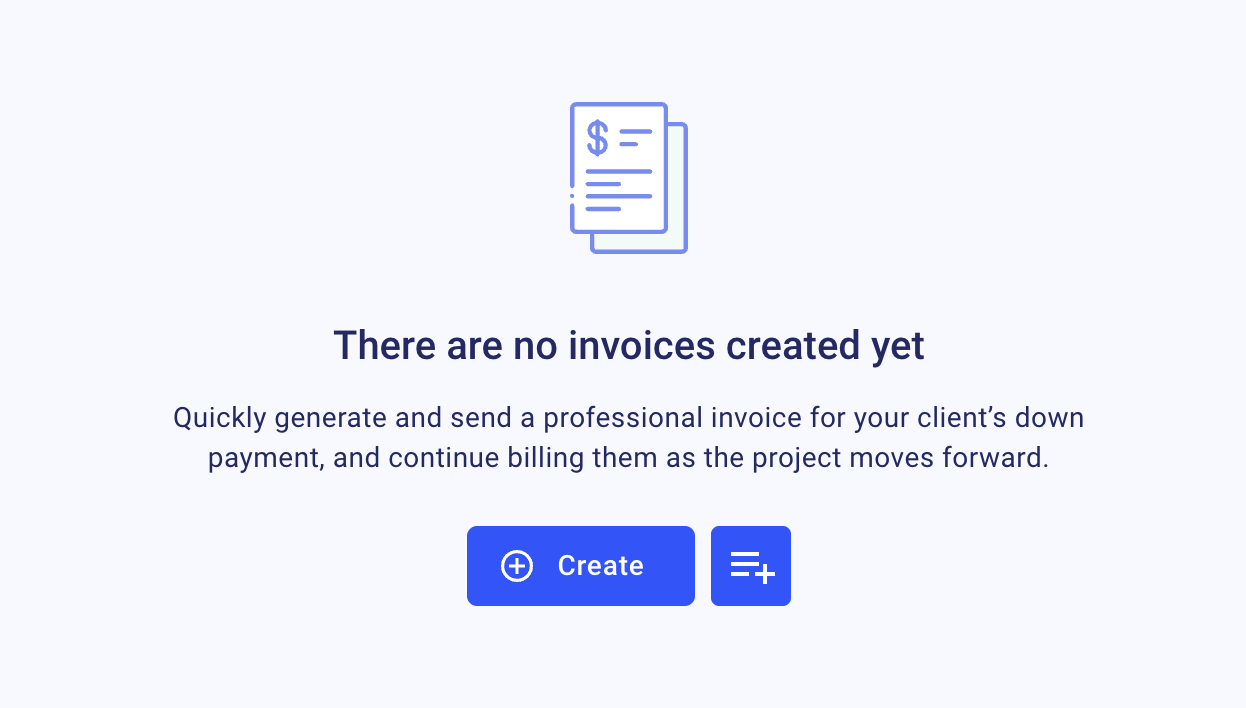
1. To create your first invoice, click Invoice, and click “Create invoice”.
2. Then add the following data:
General info
- Enter your invoice name (Required)
- Invoice date (Required)
- Due date (Required)

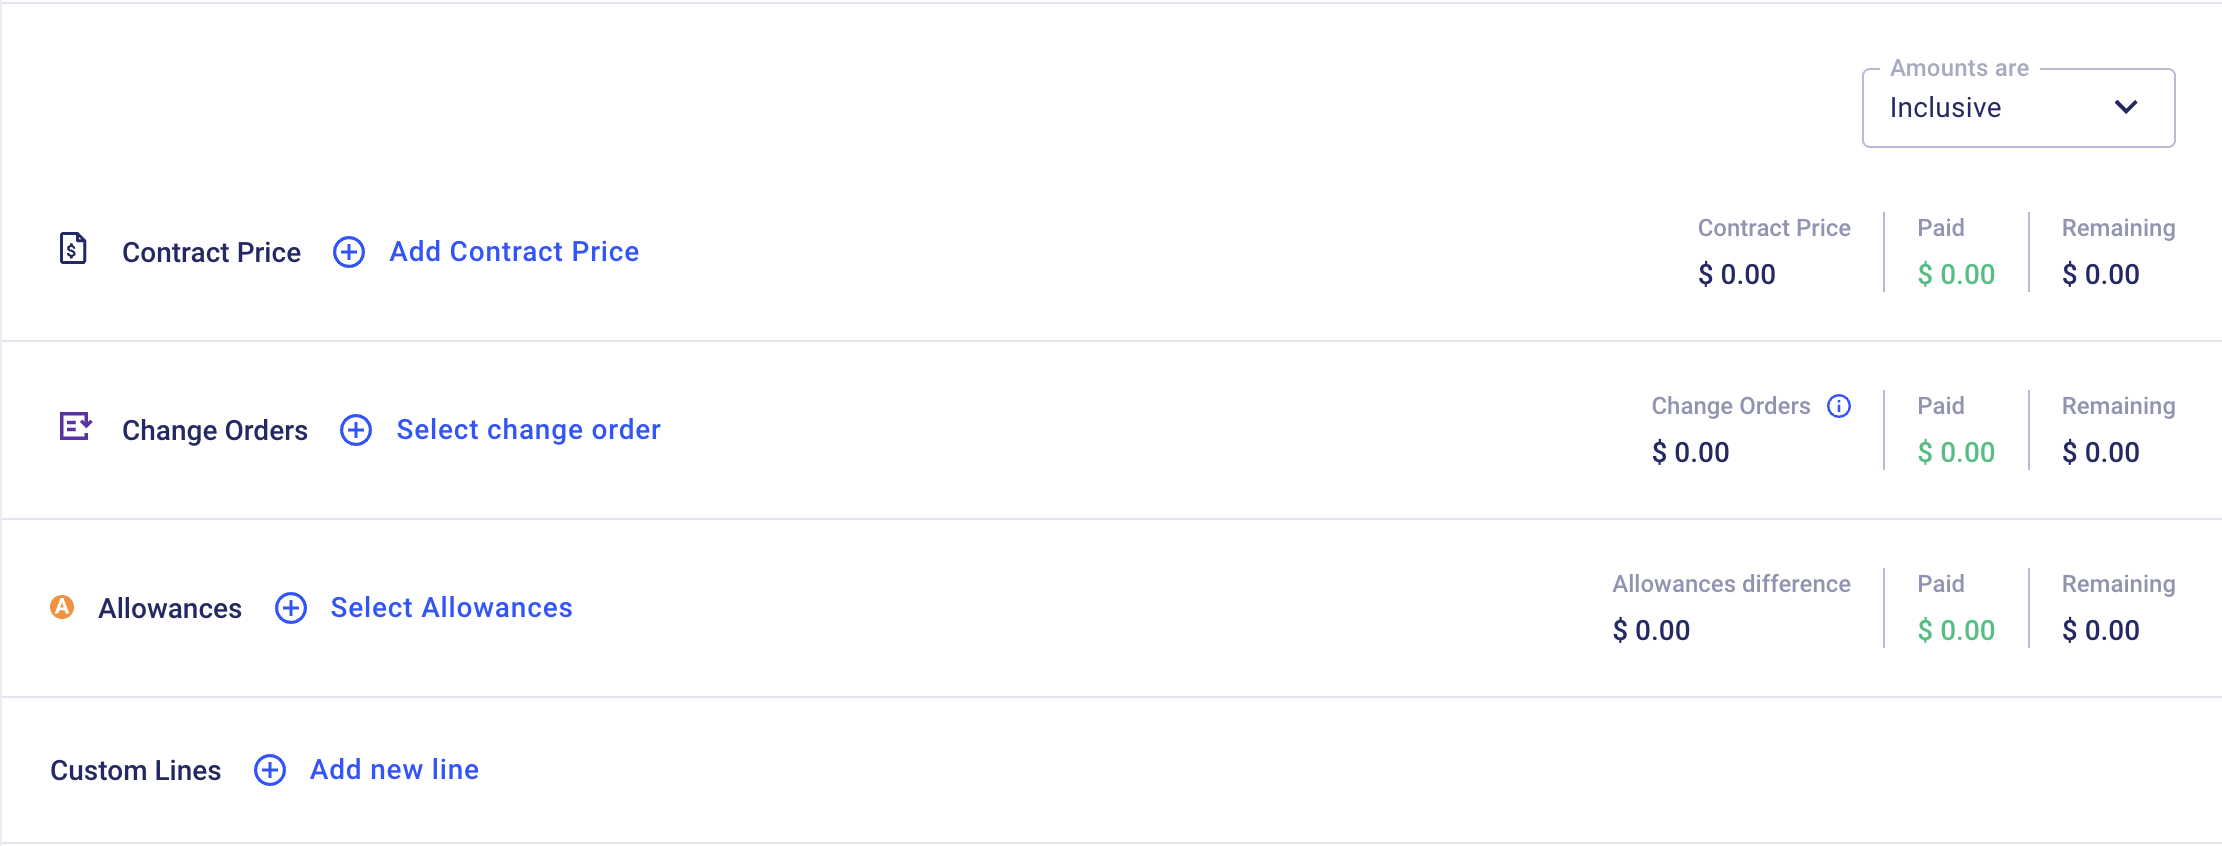
Select the items you want to include in your client invoice.
Decide whether you want to include the contract price, change orders, allowances, or create custom lines instead.
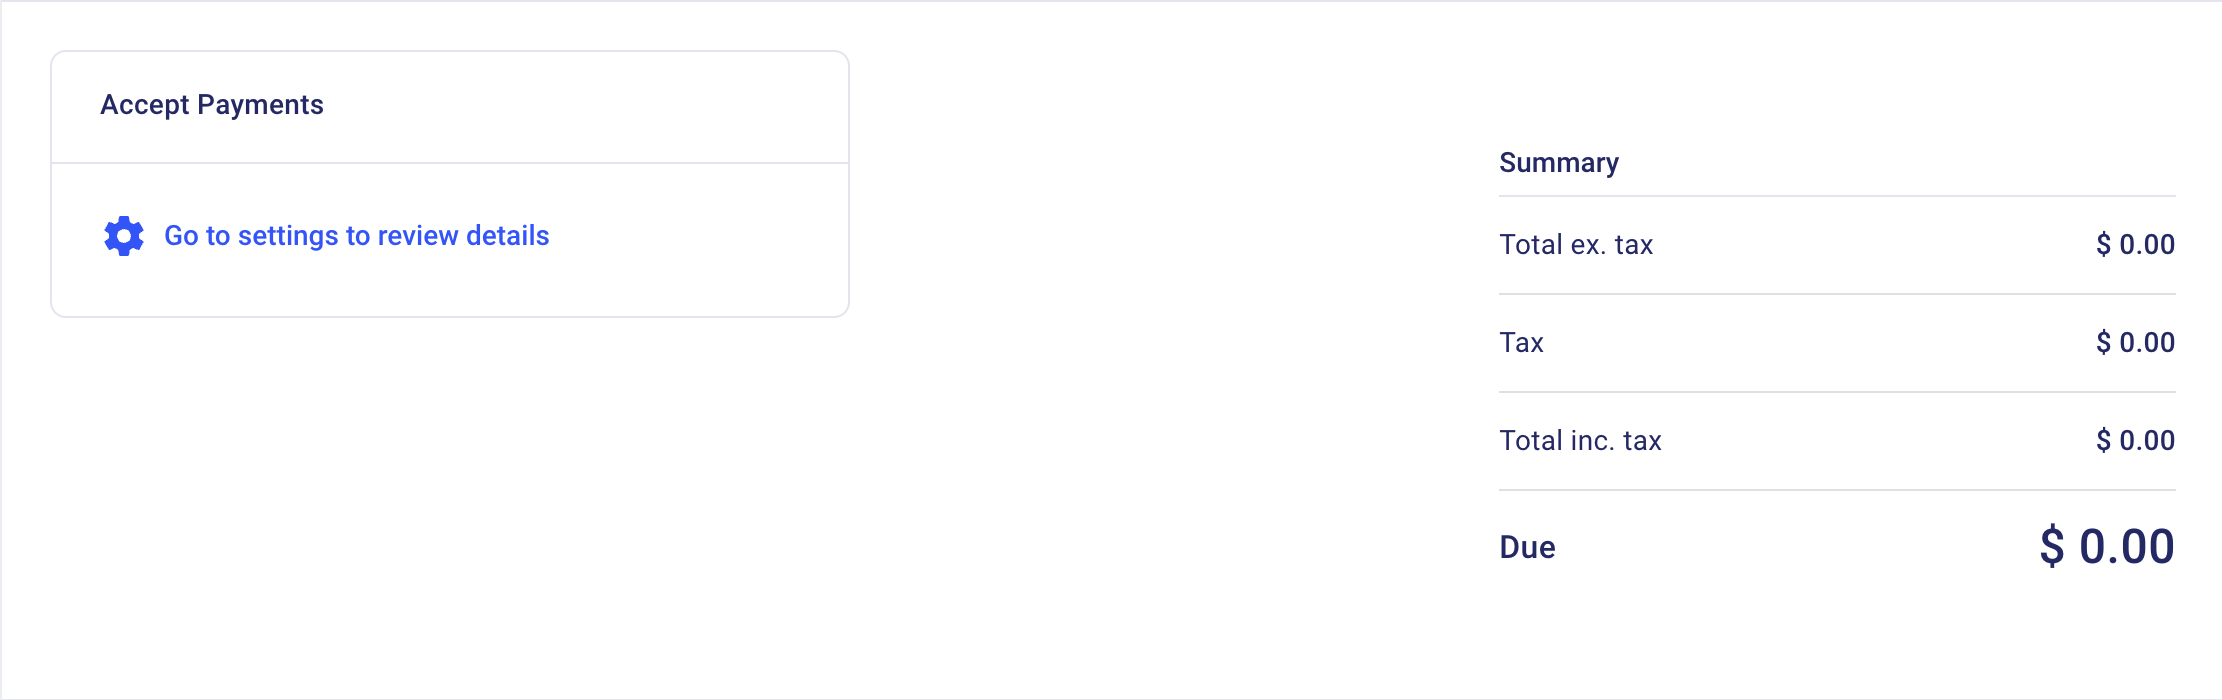
Accept payment
You can also accept the payments to organize your accounting and keep track of all transactions. To do so, click “Go to settings to review details” and add data to the required fields.
Additionally, you can add closing text, attachments, and terms and conditions.

Record Payments

If you’d like, you can record a payment. Please note that once a payment is recorded, the item’s status will change to 'Approved'.
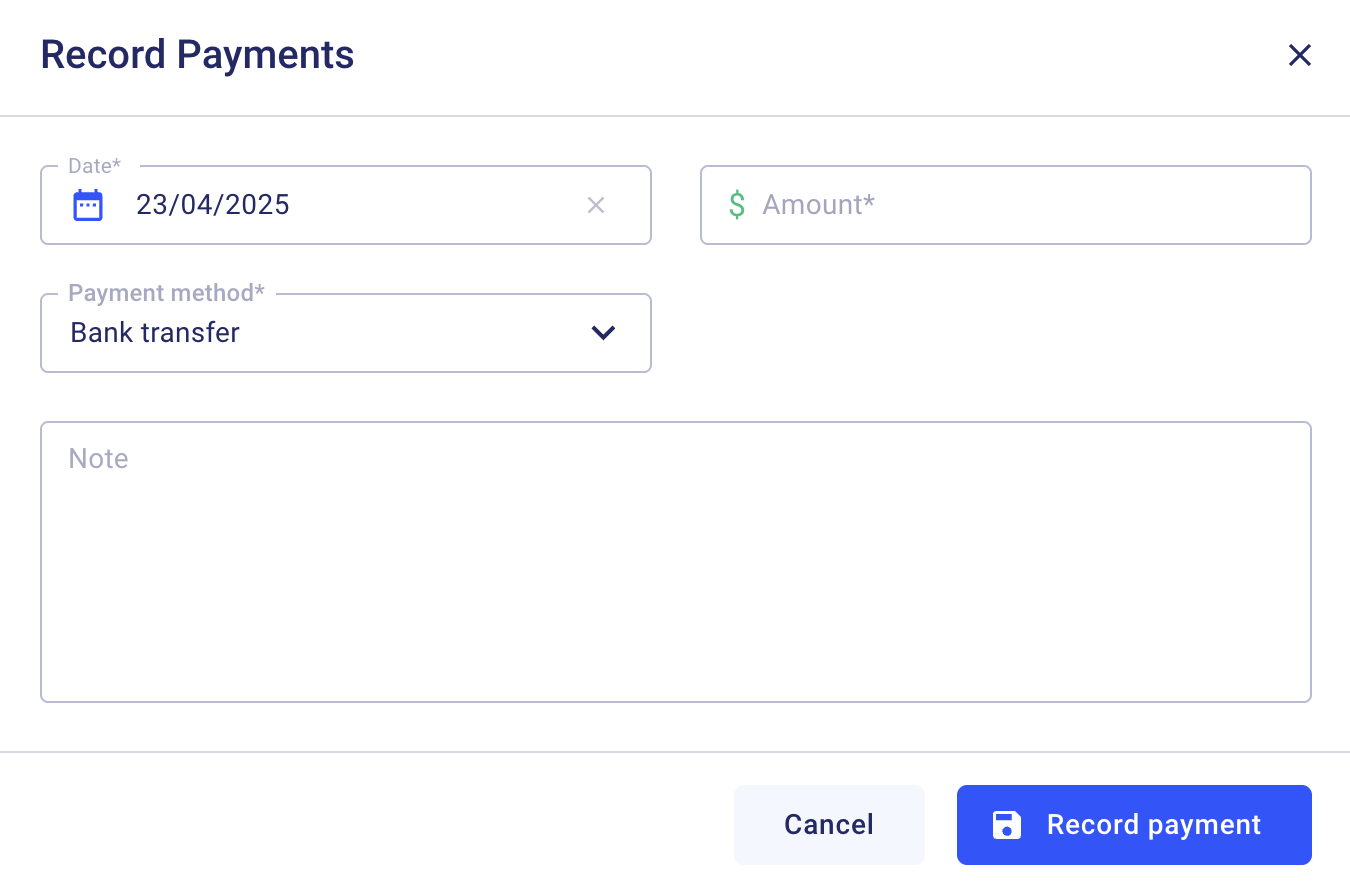
- Add the date the payment was made (Required)
- Enter the amount of money (Required)
- Select the payment method (Required)
- Leave notes
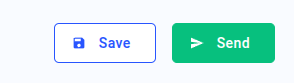
3. Finalize Your Client Invoice
Once you're done creating the Invoice, "Save" or "Send" it:
If you still have any questions or require additional support, feel free to contact us: Send an email: [email protected], or give us a call at +1 (650) 334-0378. We’re always happy to help you.