Once you create an estimate, the next step shall be creating a proposal. By the way, the latter can also be used as a contract that you as a builder will send to your client, outlining the scope of work, timeline, and final cost.
This can be done by following these simple steps:
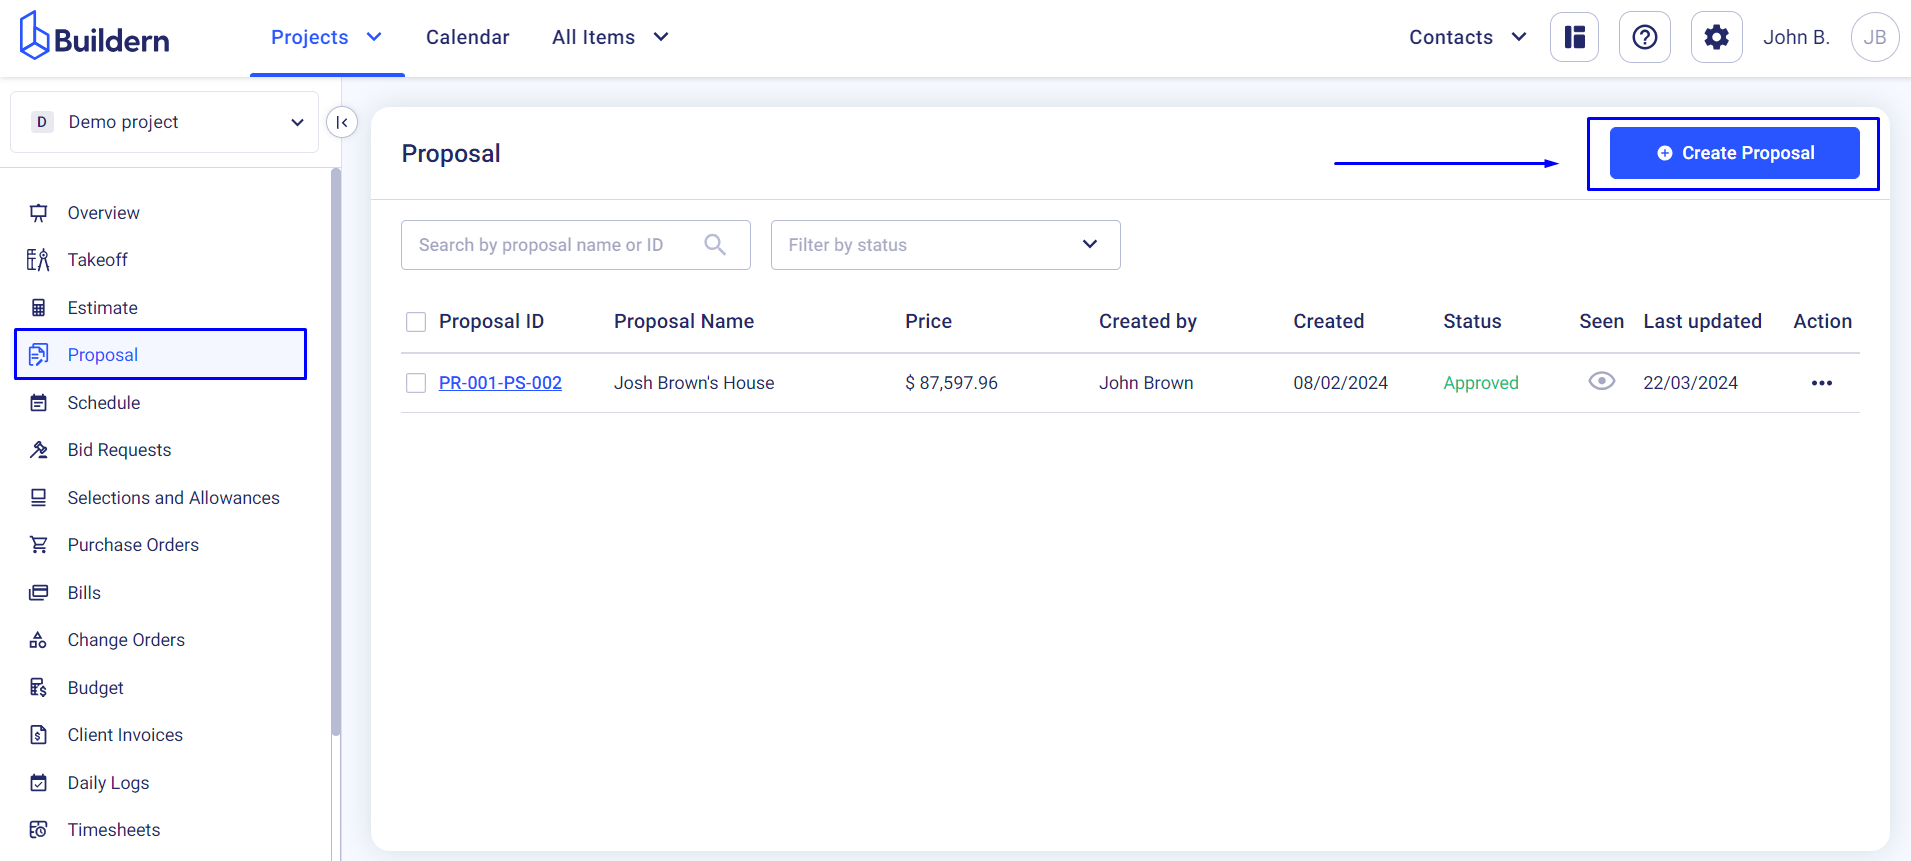
Log into your Buildern account, choose the project, and navigate to the Proposals section.
Click the Create Proposal button.
Start by filling in the project's name and the effective period. This will set a period for your client to respond to the proposal once you send it.
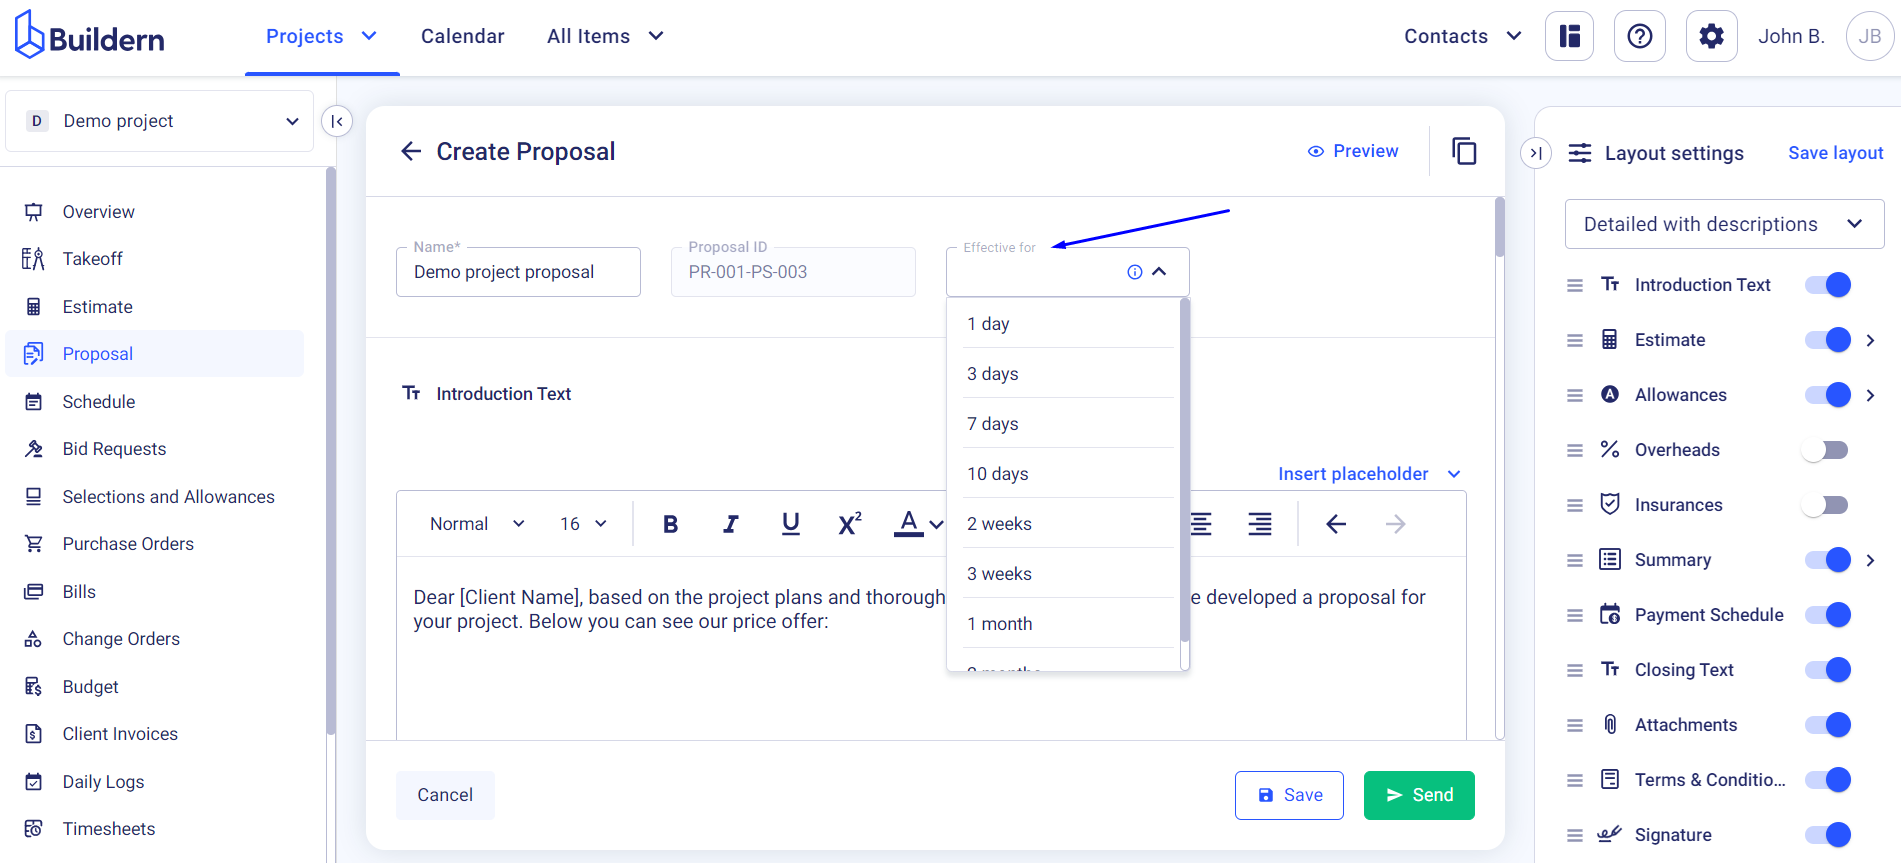
Now, it is important to mention that you can customize your proposal layout, by choosing sections you'd like to show or hide and reordering them for better convenience.
Filter the information in the proposal with a very granular level of detail.
You have the freedom to customize what your clients see and how the proposal appears for them:
-
Detailed with or without descriptions
-
Detailed with markup
-
Grouped estimate
-
Lump sum
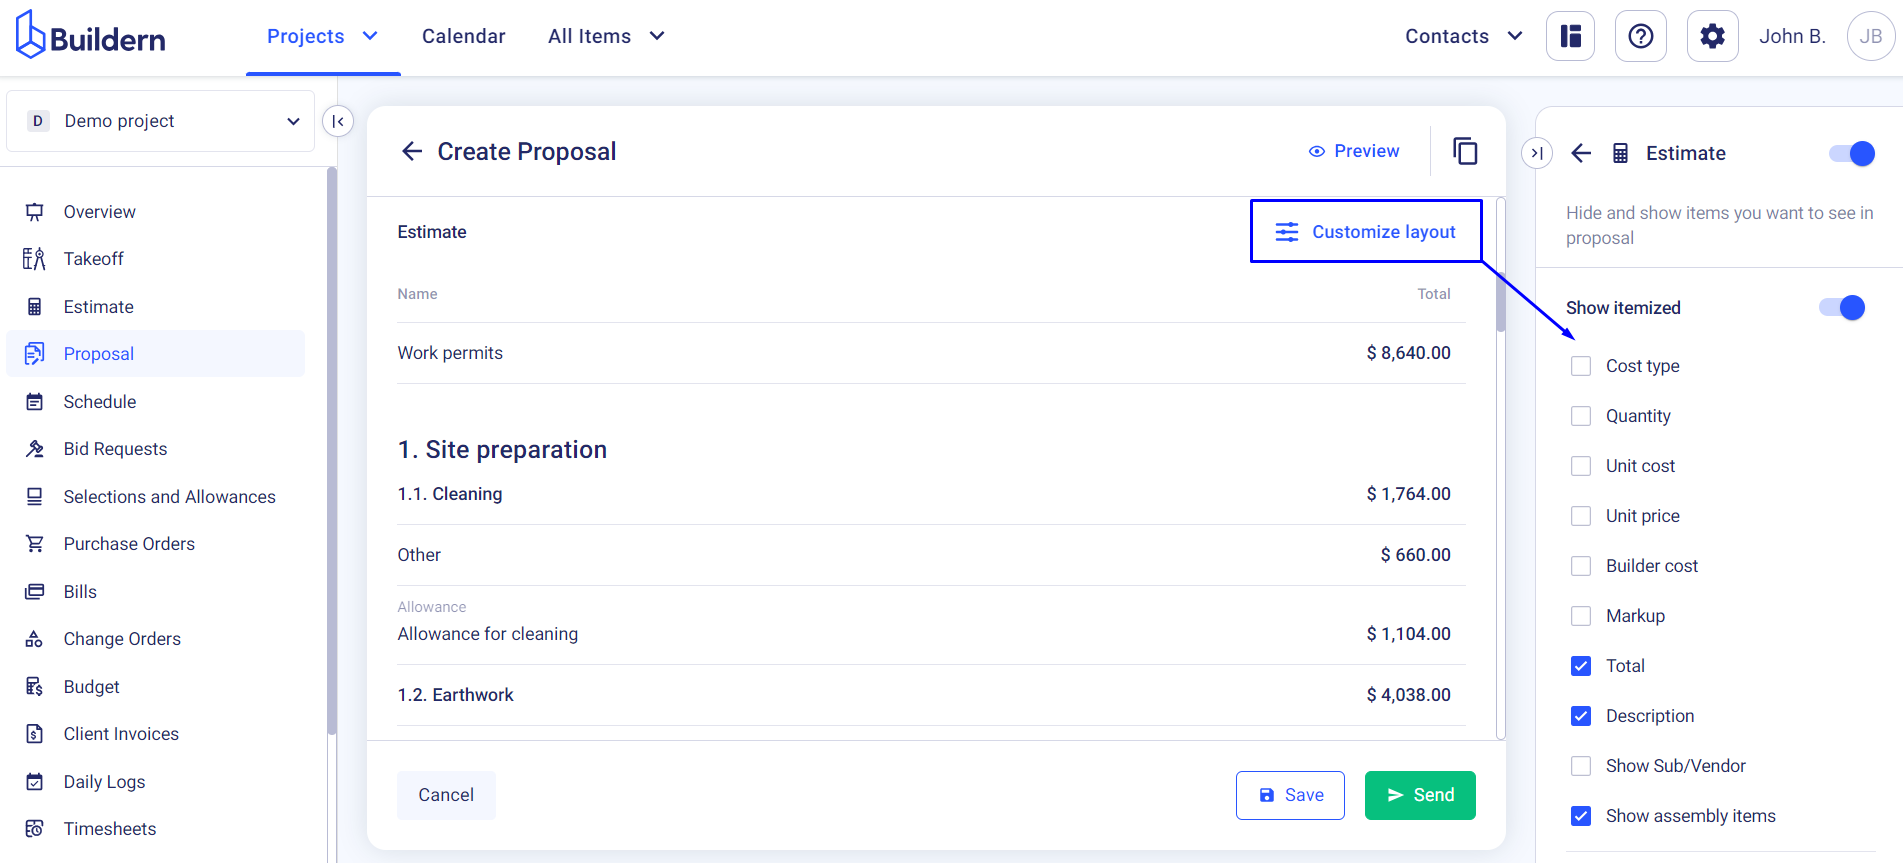
As the proposal will be based on your estimate, it is important to make sure that the estimate is accurate and up-to-date. Click the Customize layout button to hide or show certain columns (quantity, builder cost, unit cost, markup, and others).
Once you have finalized all the necessary details, including any additional terms and conditions or attachments, you can set a payment schedule.
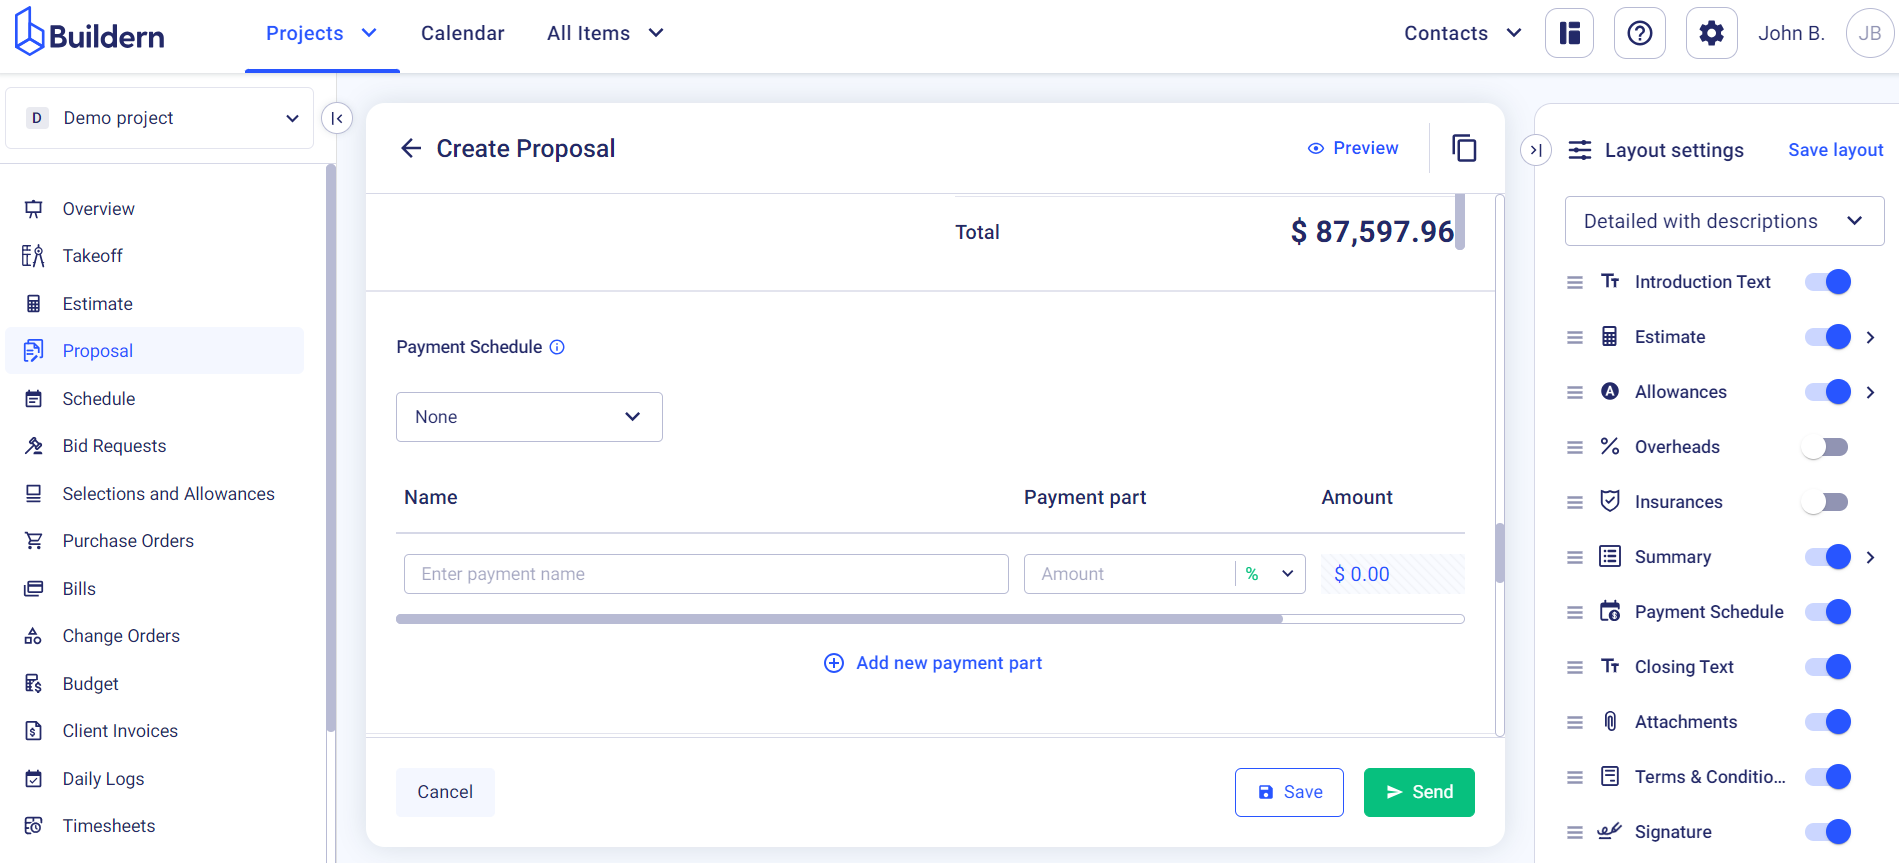
This will give your client a better understanding of your payment terms and milestones for the project.
Finally, add a signature field for your client to sign and approve the proposal, making it a legally binding document.
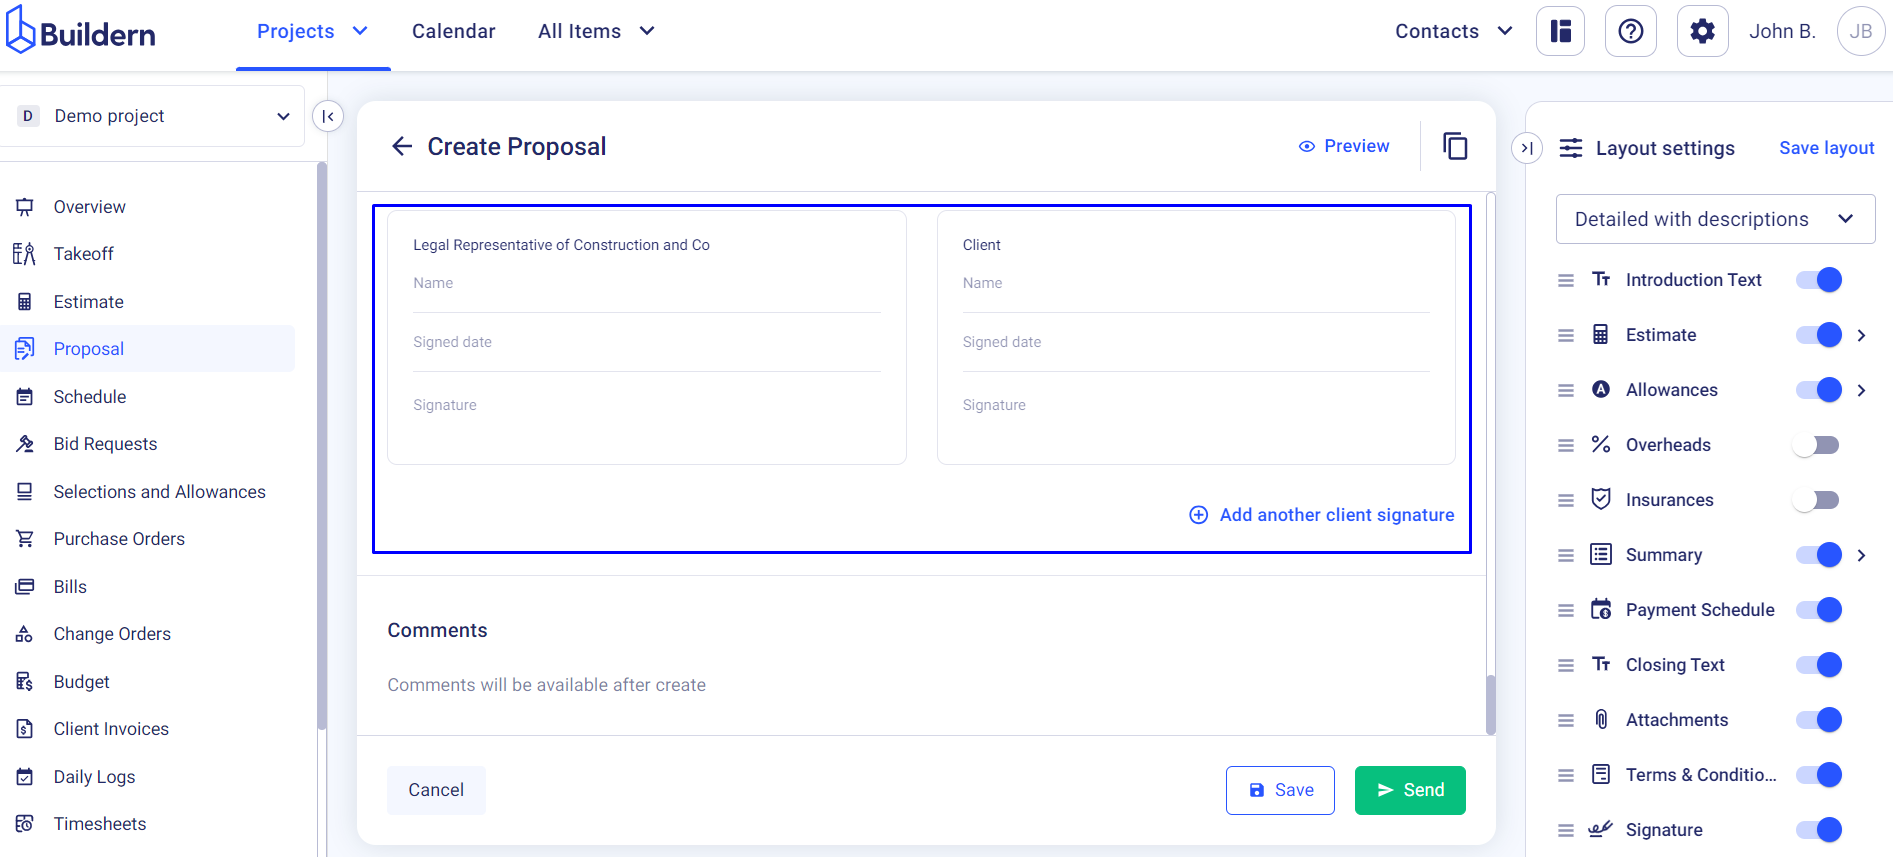
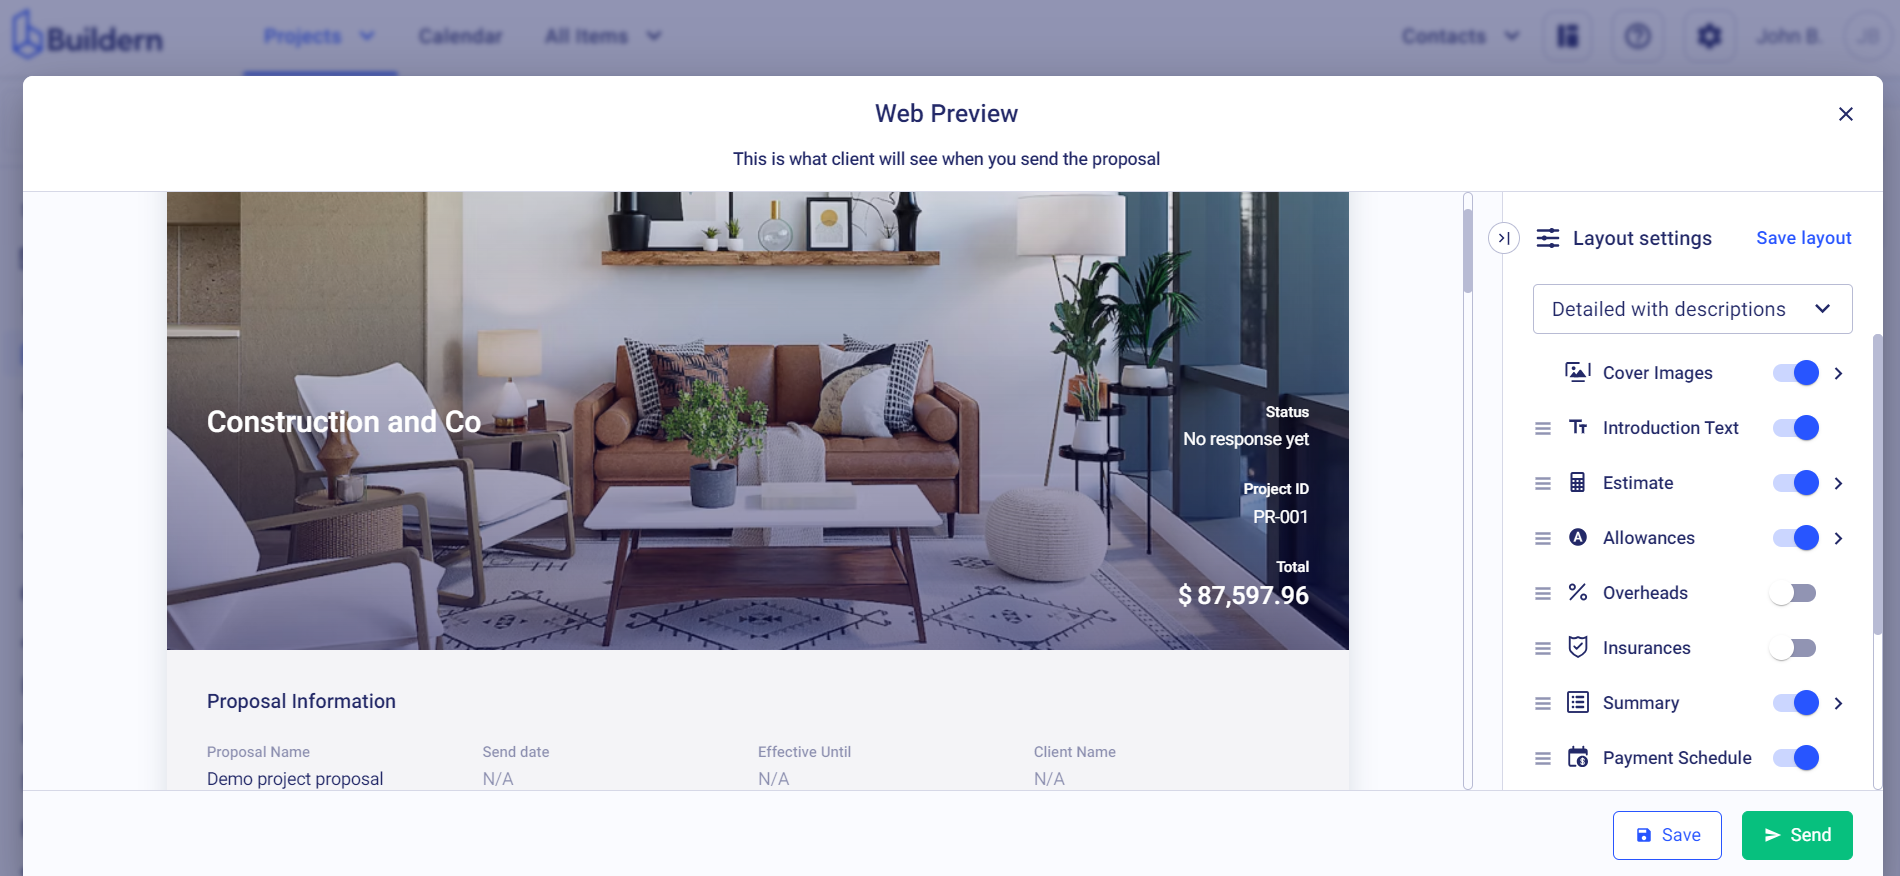
When everything’s done, you can preview the proposal before hitting the Send button.

Remember, this proposal is a crucial part of your communication with your client, so make sure it is well-structured, informative, and visually appealing.