To start from the basics, progress payments are a form of contract financing used in fixed-price projects that allow builders to receive payments for the agreed stages they have completed. In Buildern, the progress payments are correlated to the payment schedules you have in your proposal.
💡You can also watch our detailed video guide to learn about creating invoices with a fixed price progress payments ⬇️
Let's see how these types of invoices work in Buildern.
Step 1. Set the Fixed Price Progress Payments as Your Project Invoicing Type
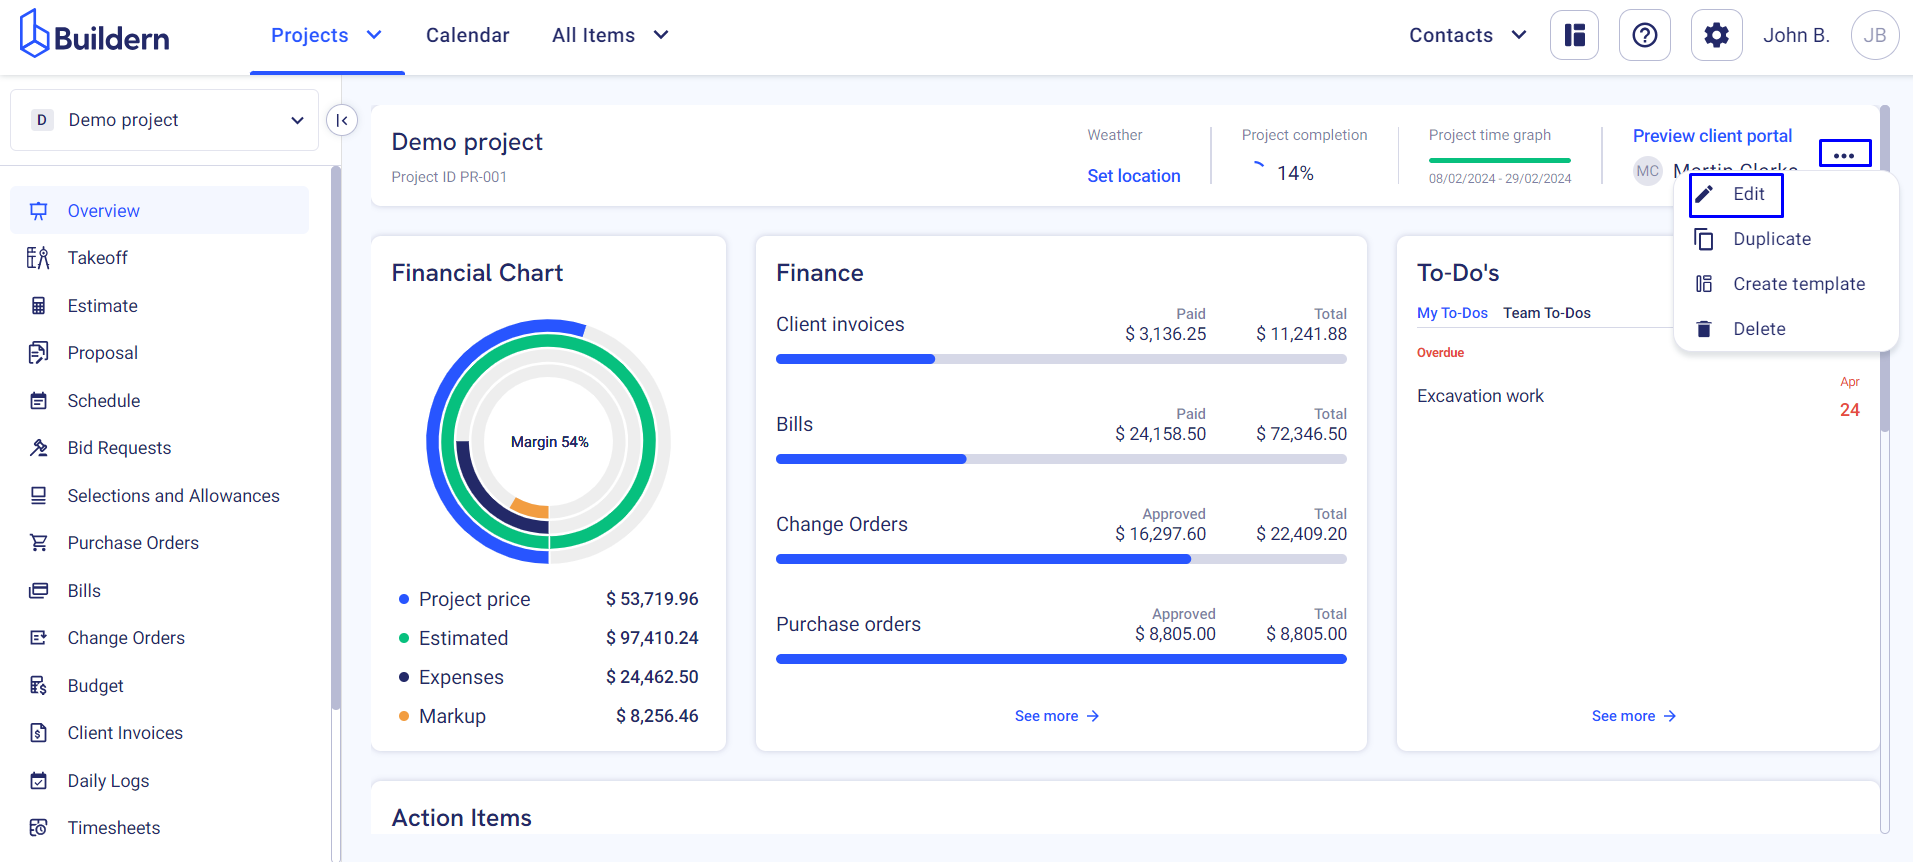
Let's go to your project's settings. From the project's Overview click on the three dots on the right (next to the client's portal) and click Edit.
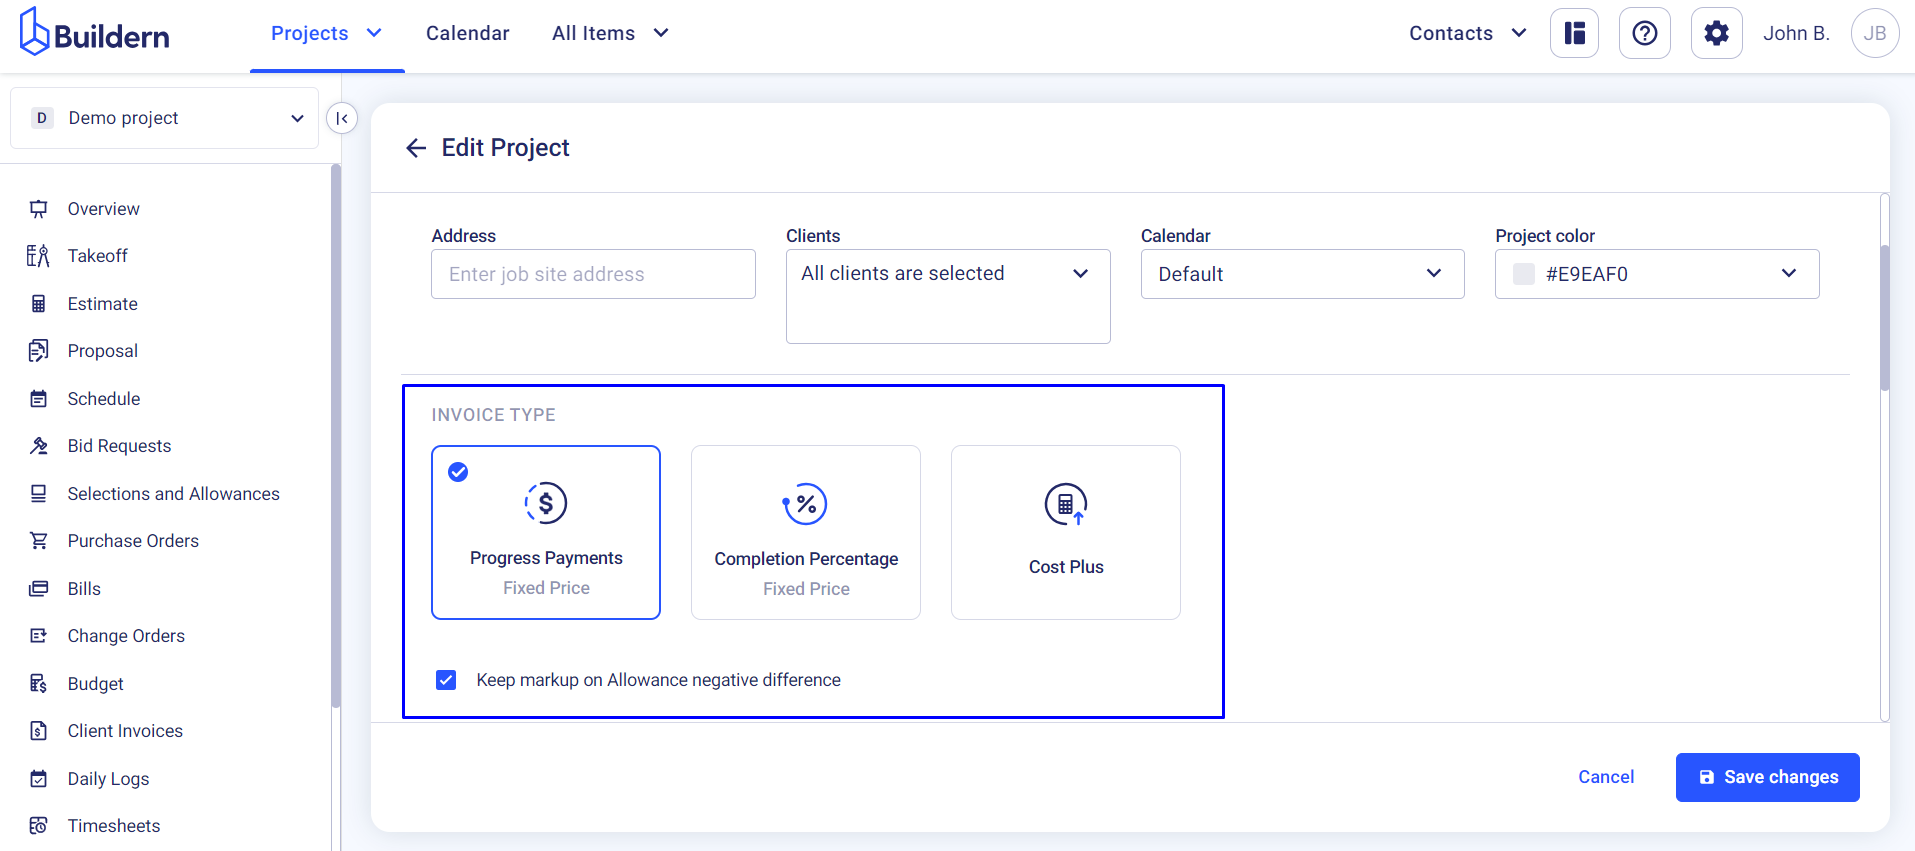
Scroll a bit, set Progress Payments as the main invoice type, and save the changes.
Step 2. Create an Invoice for Your Progress Payment
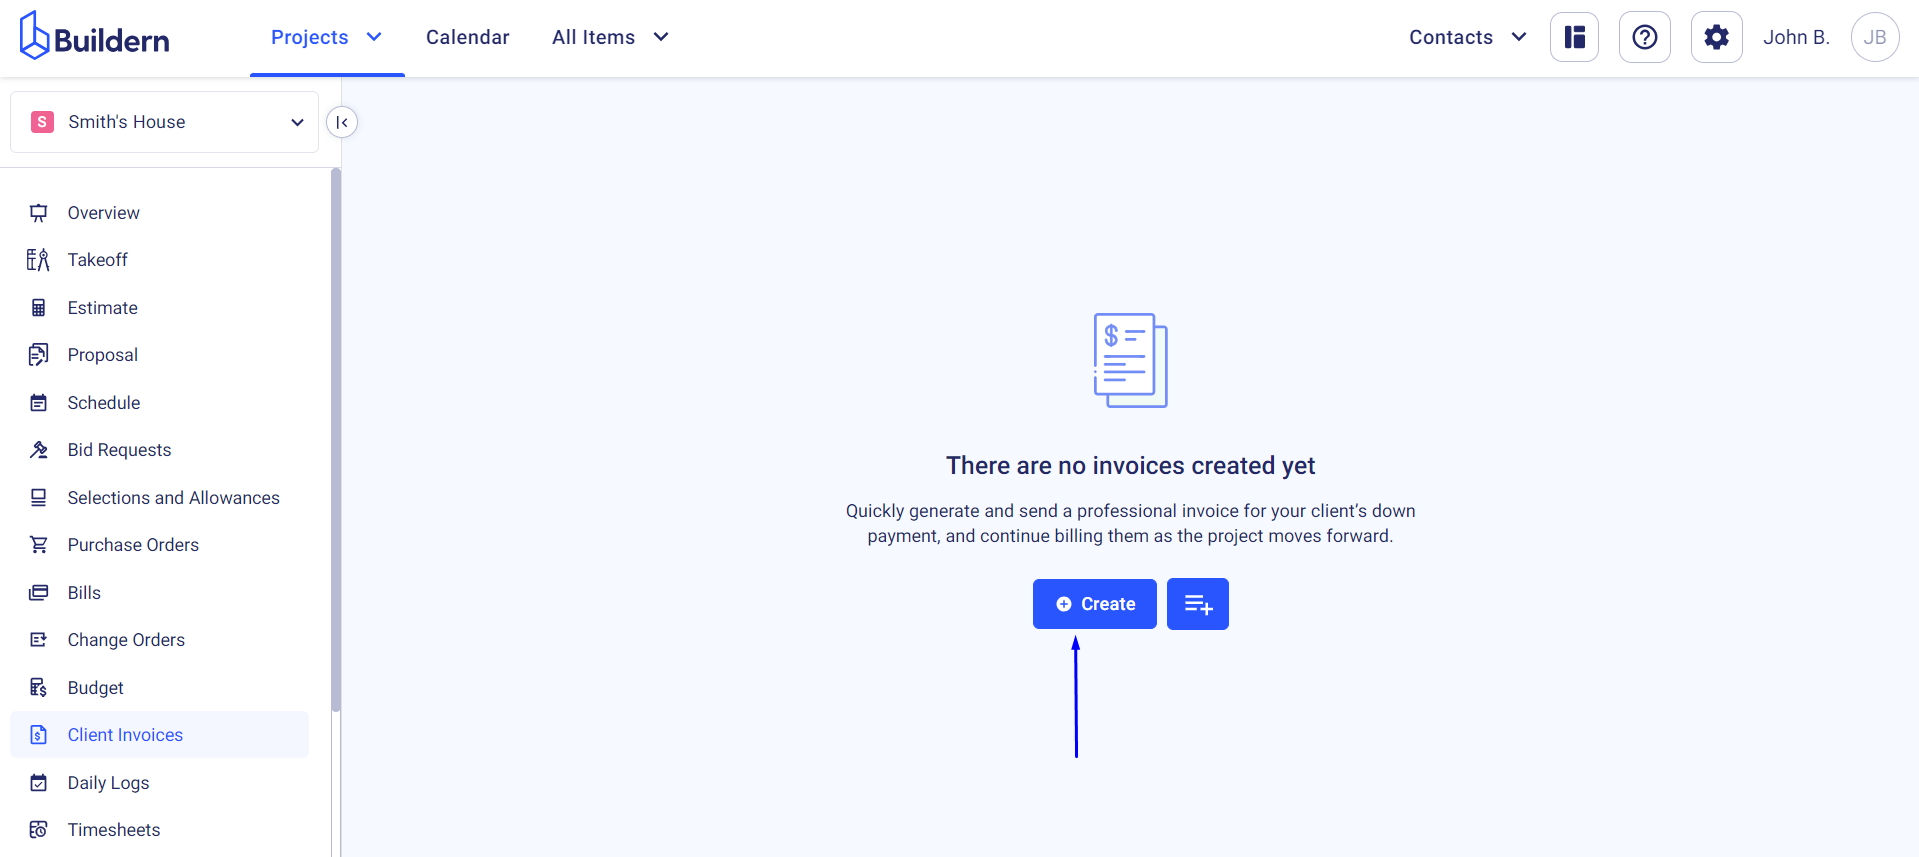
Now, let's shift to your project's Client Invoices module.
If this is your first time creating an invoice with Buldern, you will have a couple of options:
#1 Create an invoice from scratch
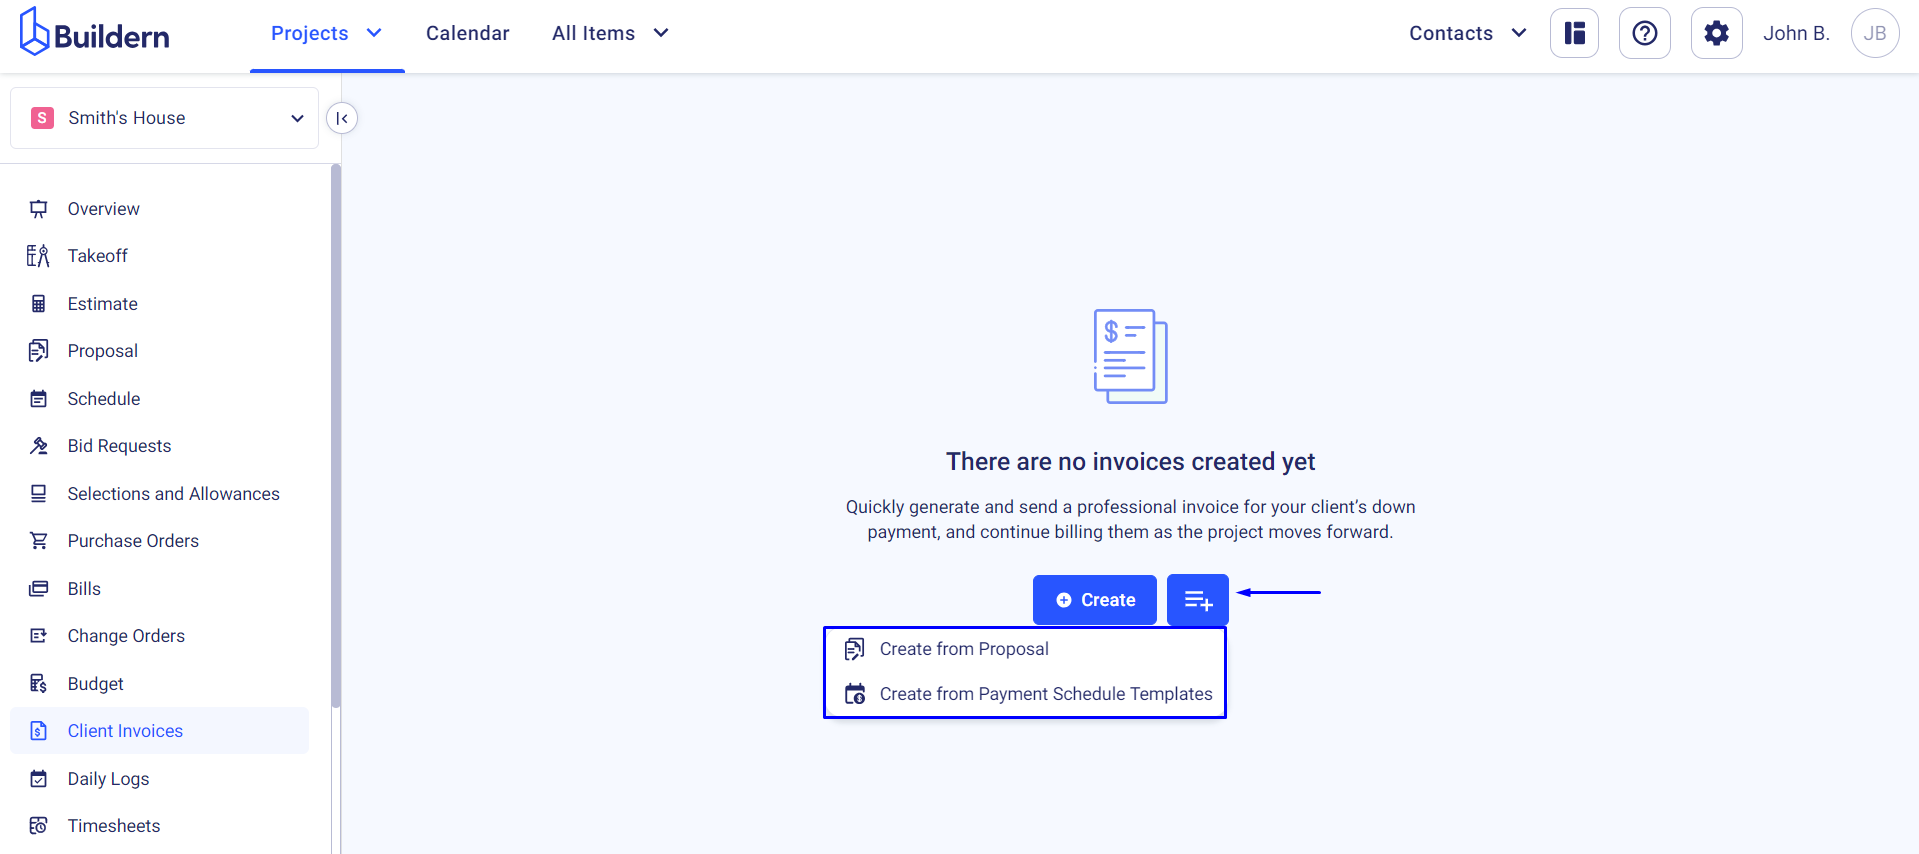
#2 Create an invoice from your proposal or payment schedule templates
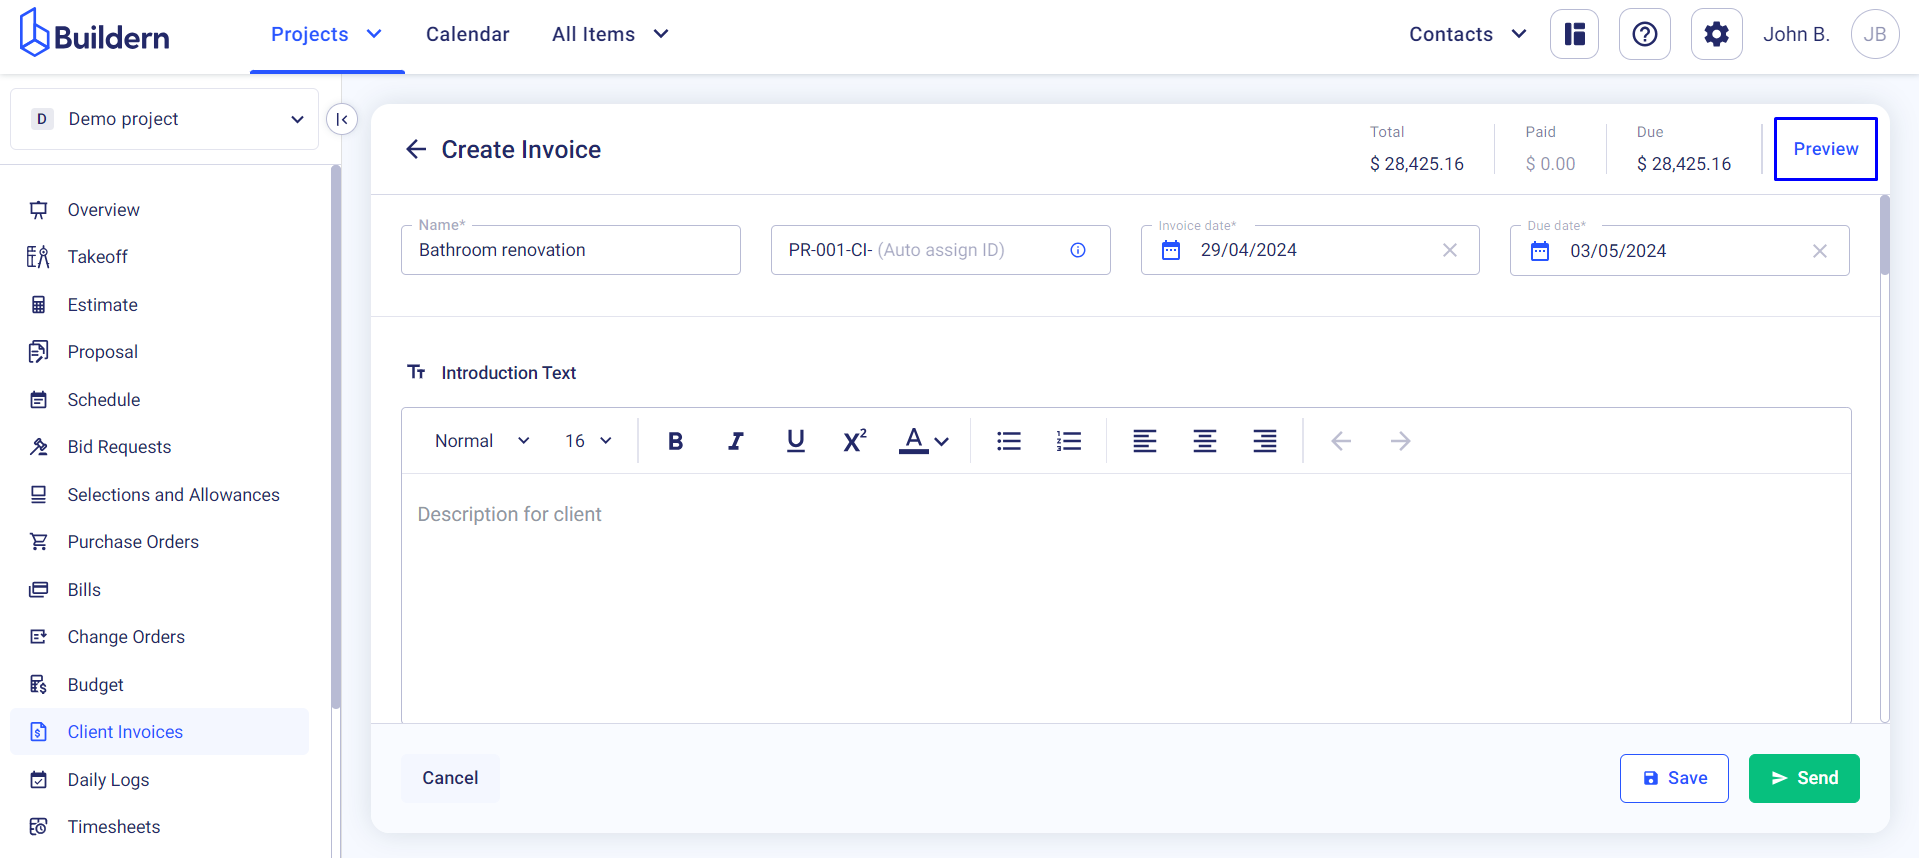
Here's how you create an invoice from scratch.
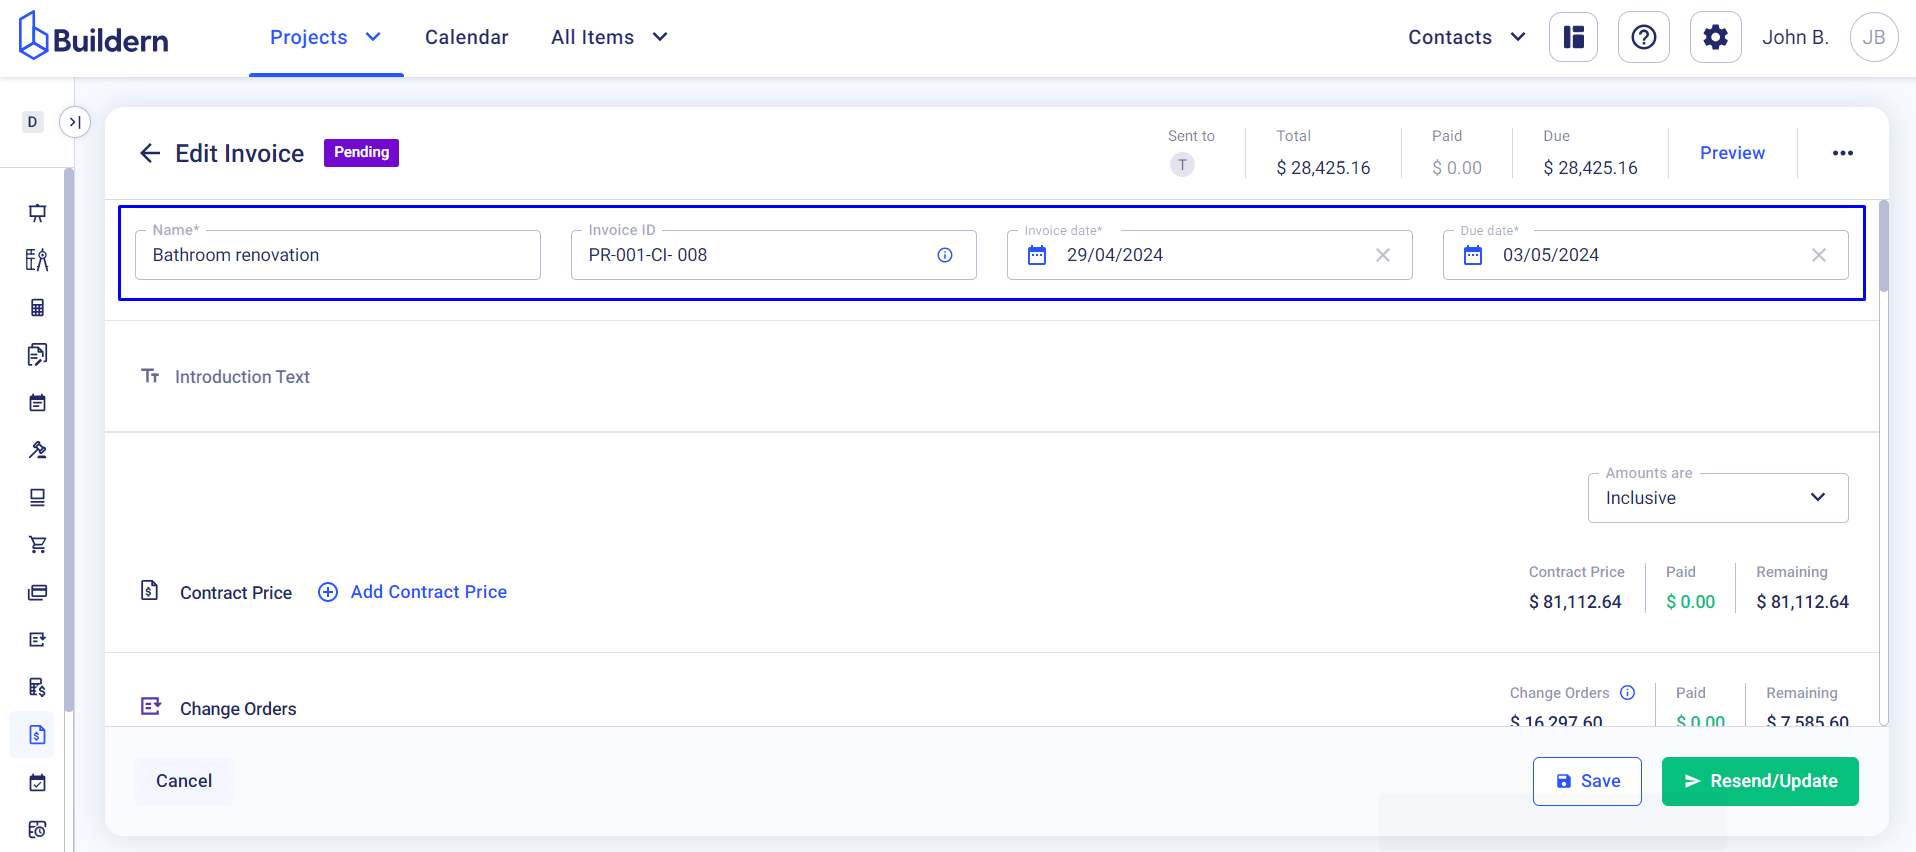
Buildern allows you to have maximum precision when it comes to details. You can set the invoice's ID for later reference or let Buildern auto-assign it, including the date and payment due date, and introduction text - if needed.
Step 3. Add Progress Payment Items
Now that we have our invoice created, we need to add the items for our progress payment.
Buildern offers the following options:
-
Claim a percentage of the contract price
-
Invoice for change orders/variations
-
Invoice for allowance difference
-
Add new custom lines
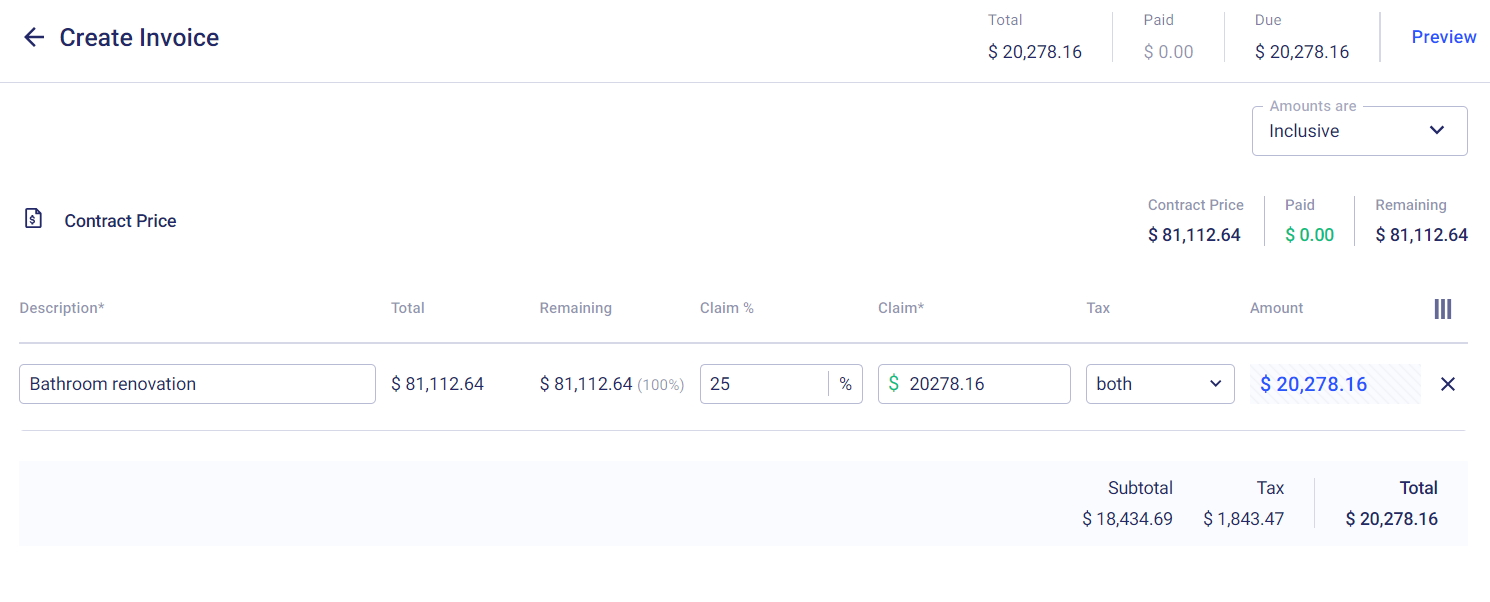
If you decide to claim the percentage of the contract price, this will mean that you are issuing an invoice with the percentage of the total contract price that has been completed. You can set the specific percentage in the invoice details and Buildern will automatically calculate the invoice amount and vice versa.
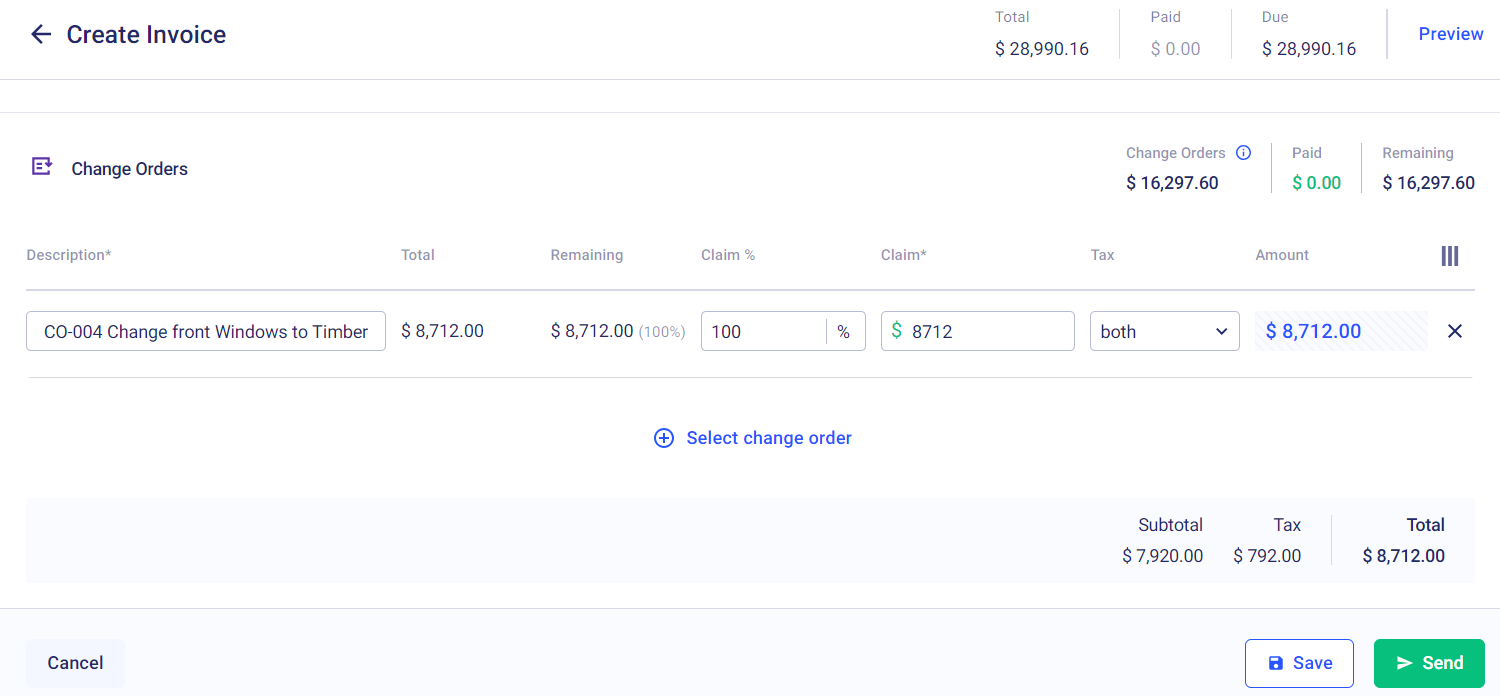
If you decide to issue an invoice with a change order, you can choose the specific change order in the invoice details. Filter those based on their status for easier access.

You can either claim the complete amount of the change order or set a percentage allowing Buildern to calculate the invoice price based on the added changes automatically.
The system will keep track of the invoiced change orders/variations, so you don’t have to remember and calculate everything manually.
By selecting an allowance difference you can filter them based on those that are invoiced and those that are not. Select the ones you want to invoice and Buildern will add them automatically to your invoice.
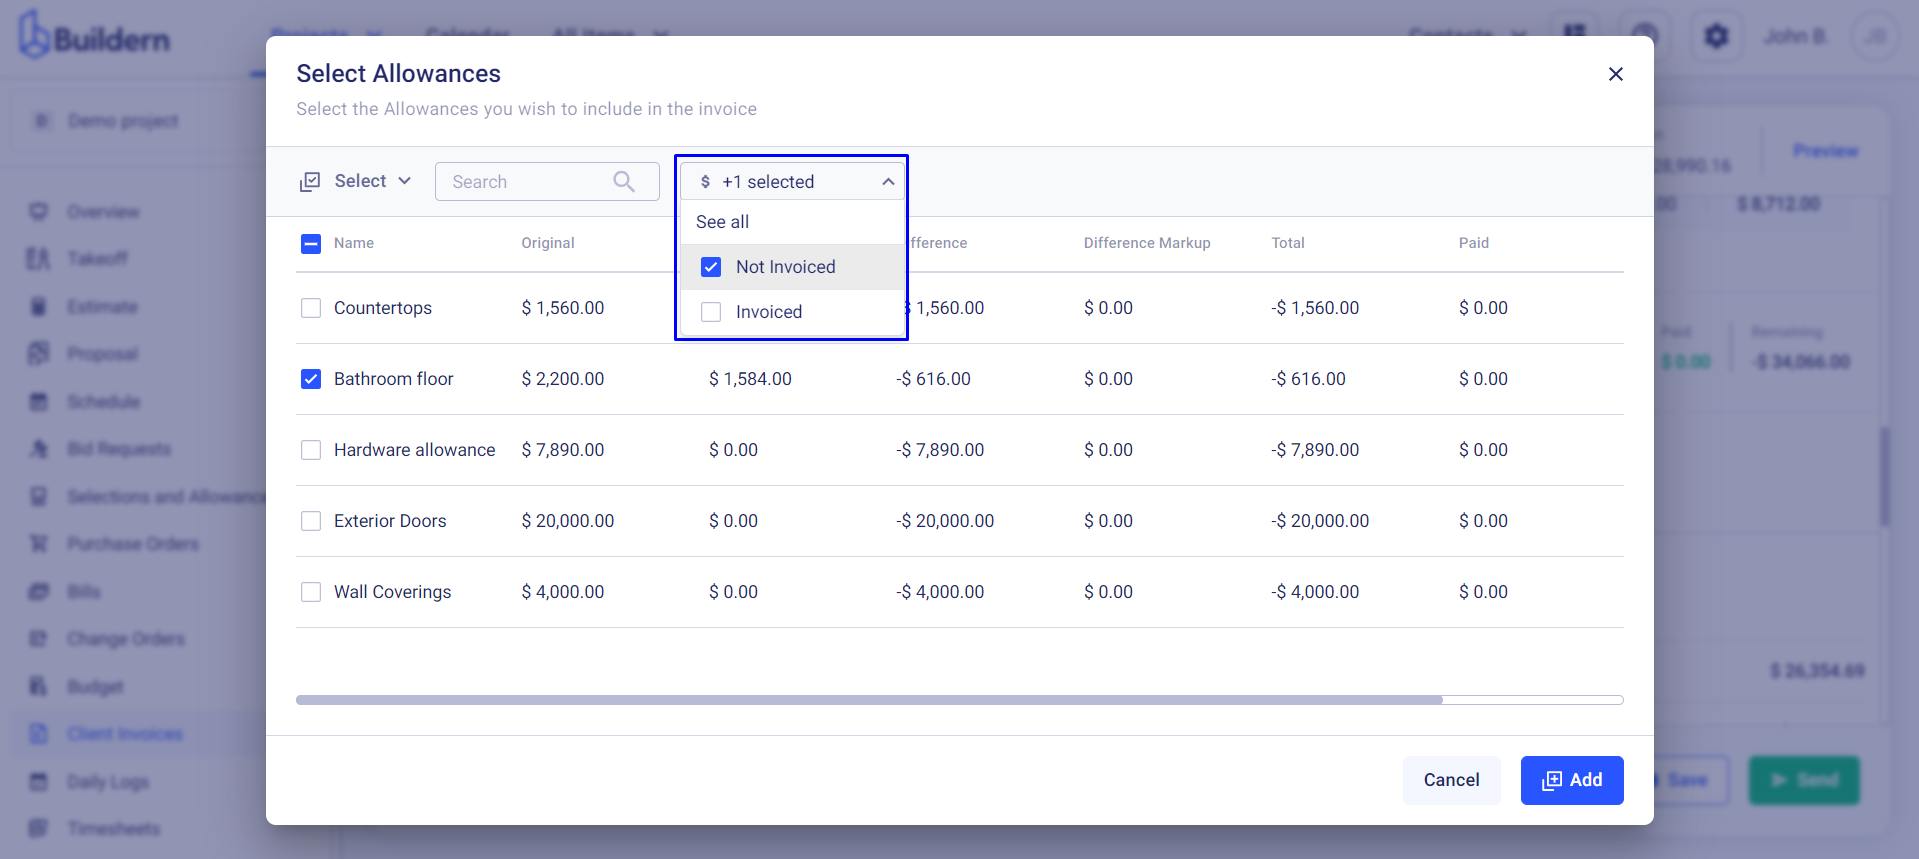
Again you can put the percentage related to the allowance, claiming the exact amount you want to invoice or the full allowance price.
Lastly, you can also add custom lines for any additional items or services not included in the project's original estimate.
Let's say you've broken your client's sink and you need to add the replacement cost to your invoice. You can easily do that by adding a custom line with the negative price, thus offering a discount or credit to the client. In this case, the price of a custom line will be subtracted from the total invoice amount.
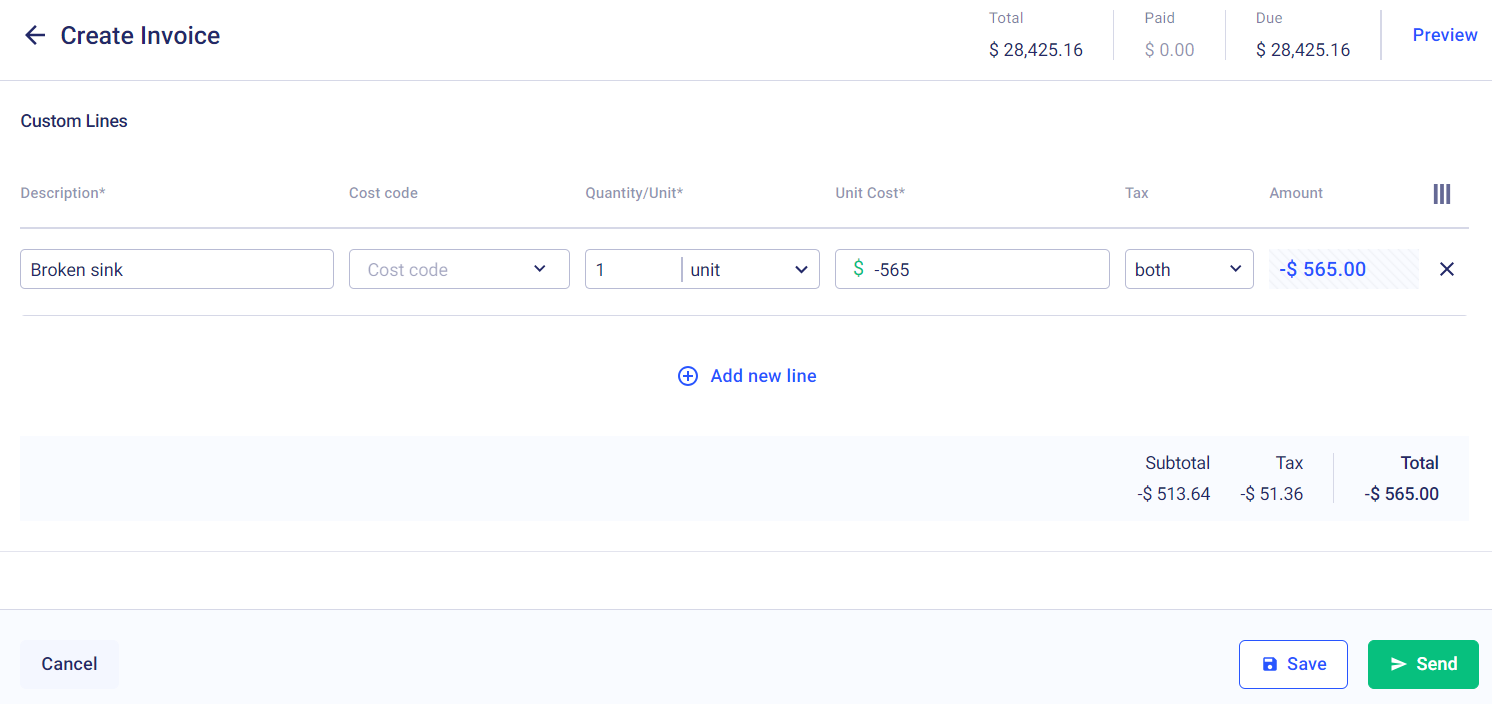
This flexibility allows you to create accurate and detailed invoices that reflect the progress of your project and any changes along the way.
Step 4. Preview the Invoice and Customize the Layout
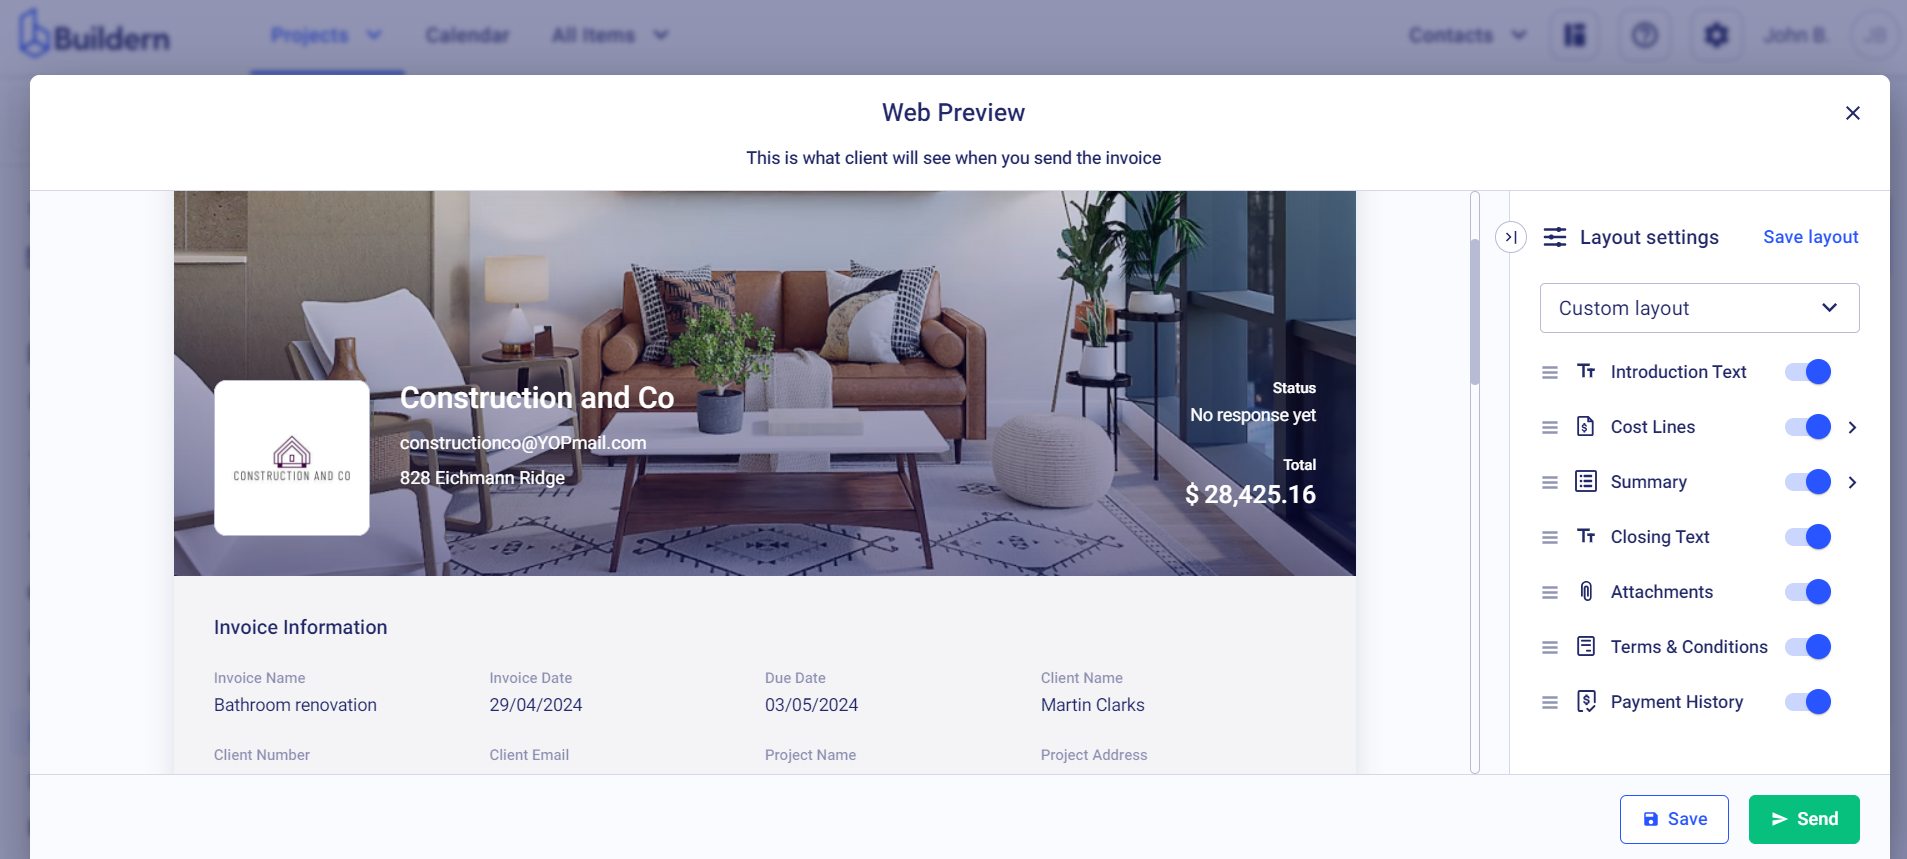
Once you have added all the necessary details to your invoice, you can easily preview it before sending it to your client.
By clicking on the "Preview" button, you will be able to see how your invoice will look when sent to the client.
The layout customization allows builders to limit or expand the things they want to show on the invoice. For example, if you only want to display the introduction text but would prefer to hide the closing text, you have the option to do so in the layout customization settings.
Moreover, you can also customize the columns by hiding and showing items you want your clients to see in the invoice. For instance, you can leave the cost codes, quantity, and unit price visible while opting to hide the tax columns.
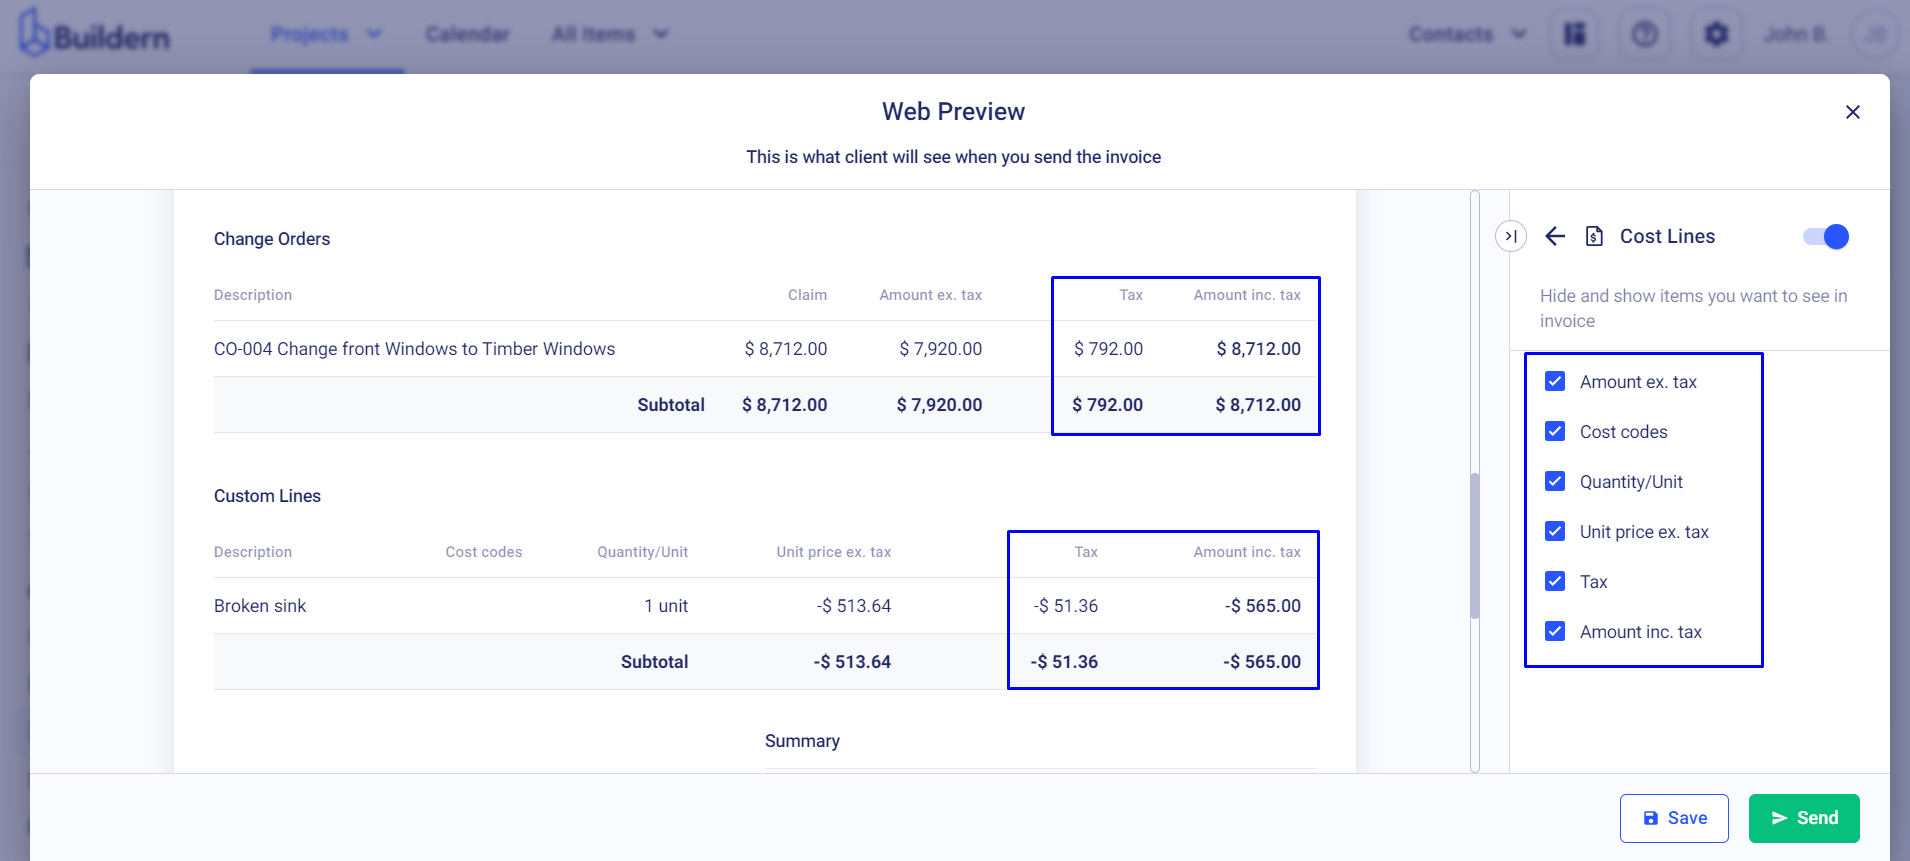
This level of customization ensures that the invoice only displays the most relevant information to your client, making it easier for them to review and process the payment.
Allowing your clients to see the payment history will mean they can see each previous payment. This also provides transparency in the payment process and gives your clients peace of mind.
Step 5. Send the Invoice
Once you have finalized the invoice, you can easily send it to your client with just a few clicks.
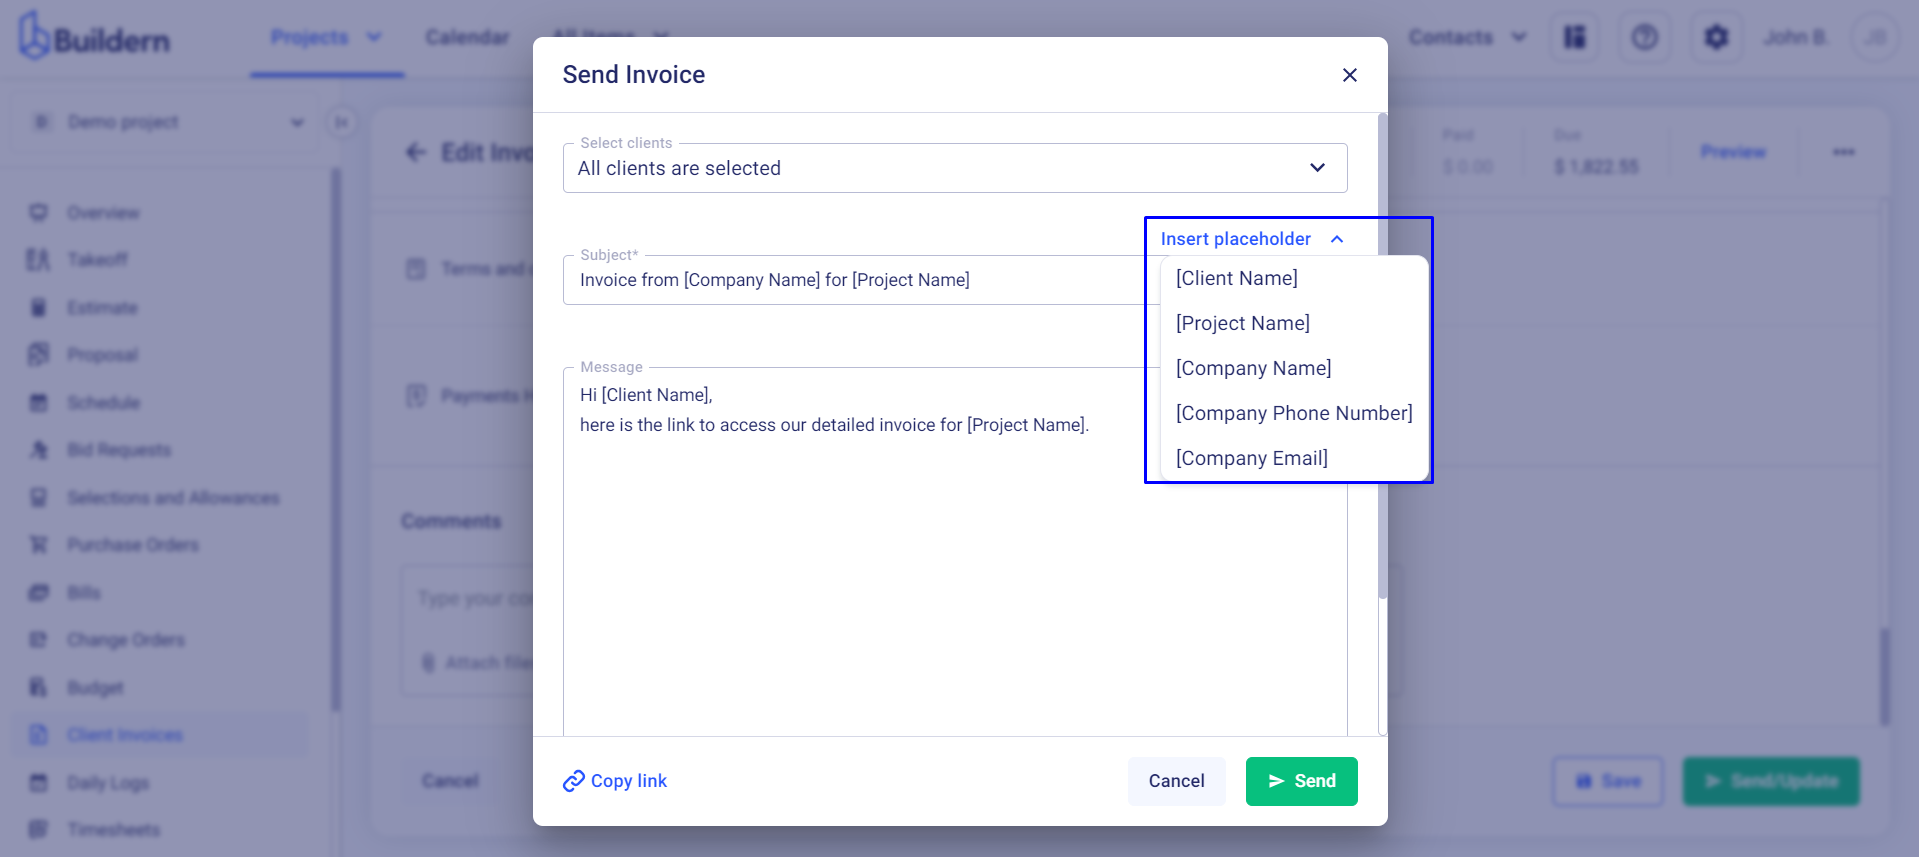
In the "Send" tab, you can select project clients and customize the subject line and the message with pre-made placeholders.
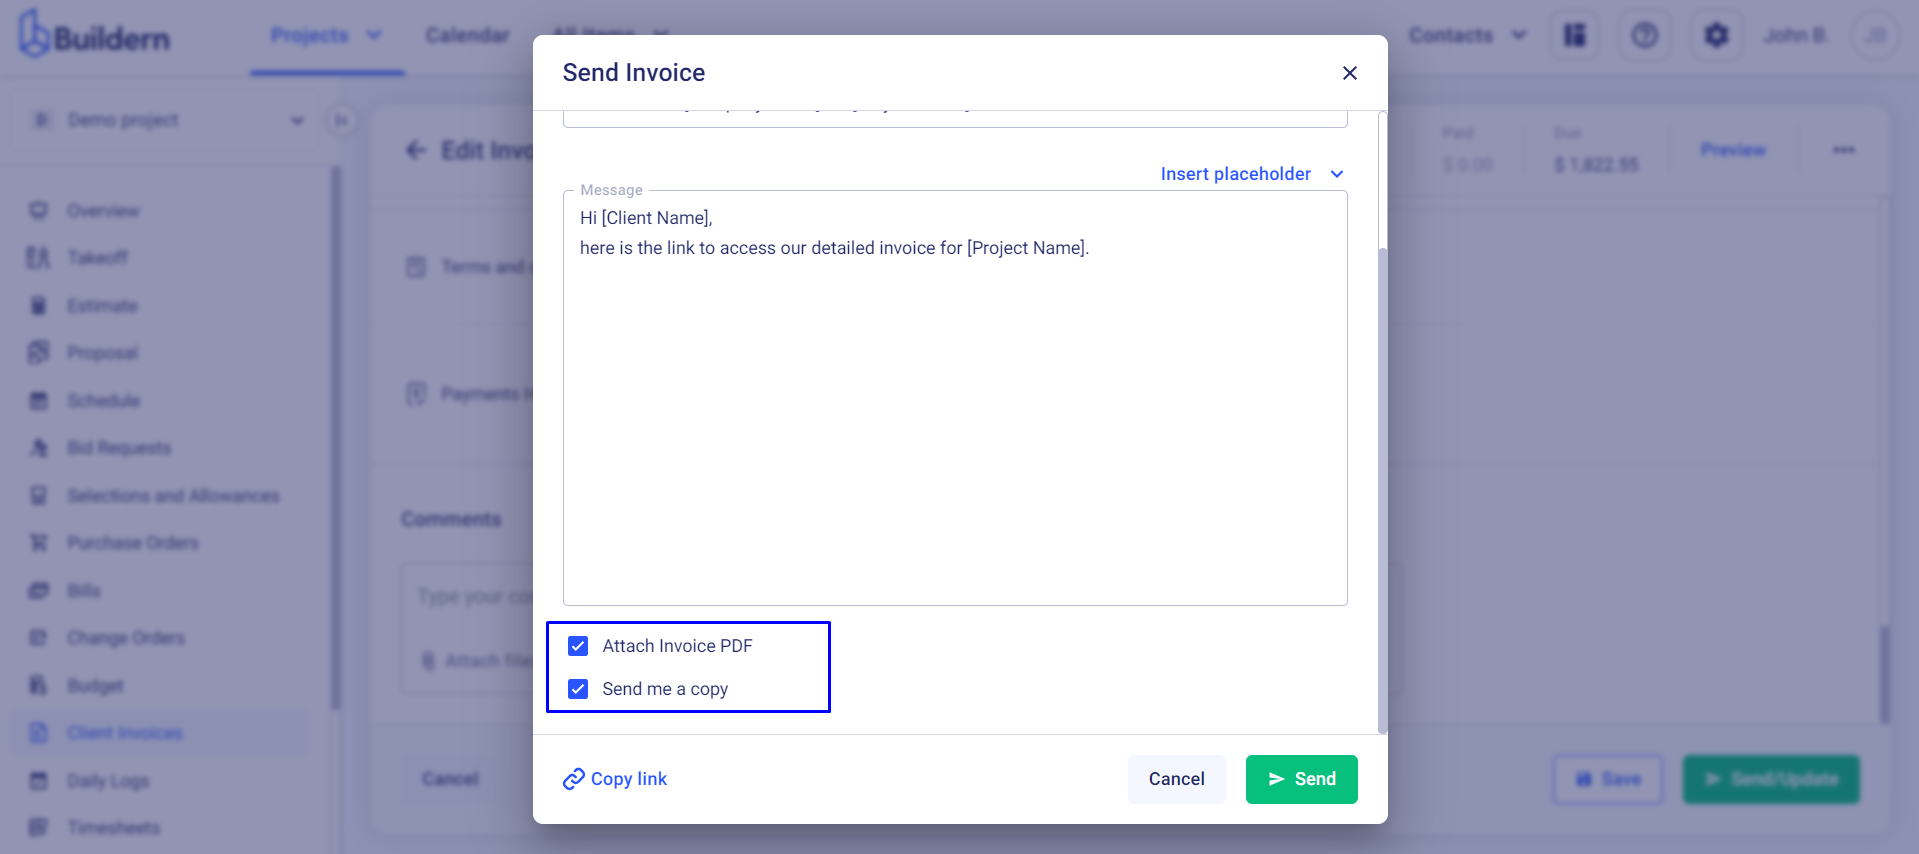
Moreover, Buildern allows you to attach a PDF version of your invoice to the email and also send a copy to yourself to ensure everything is correct before the client receives it.
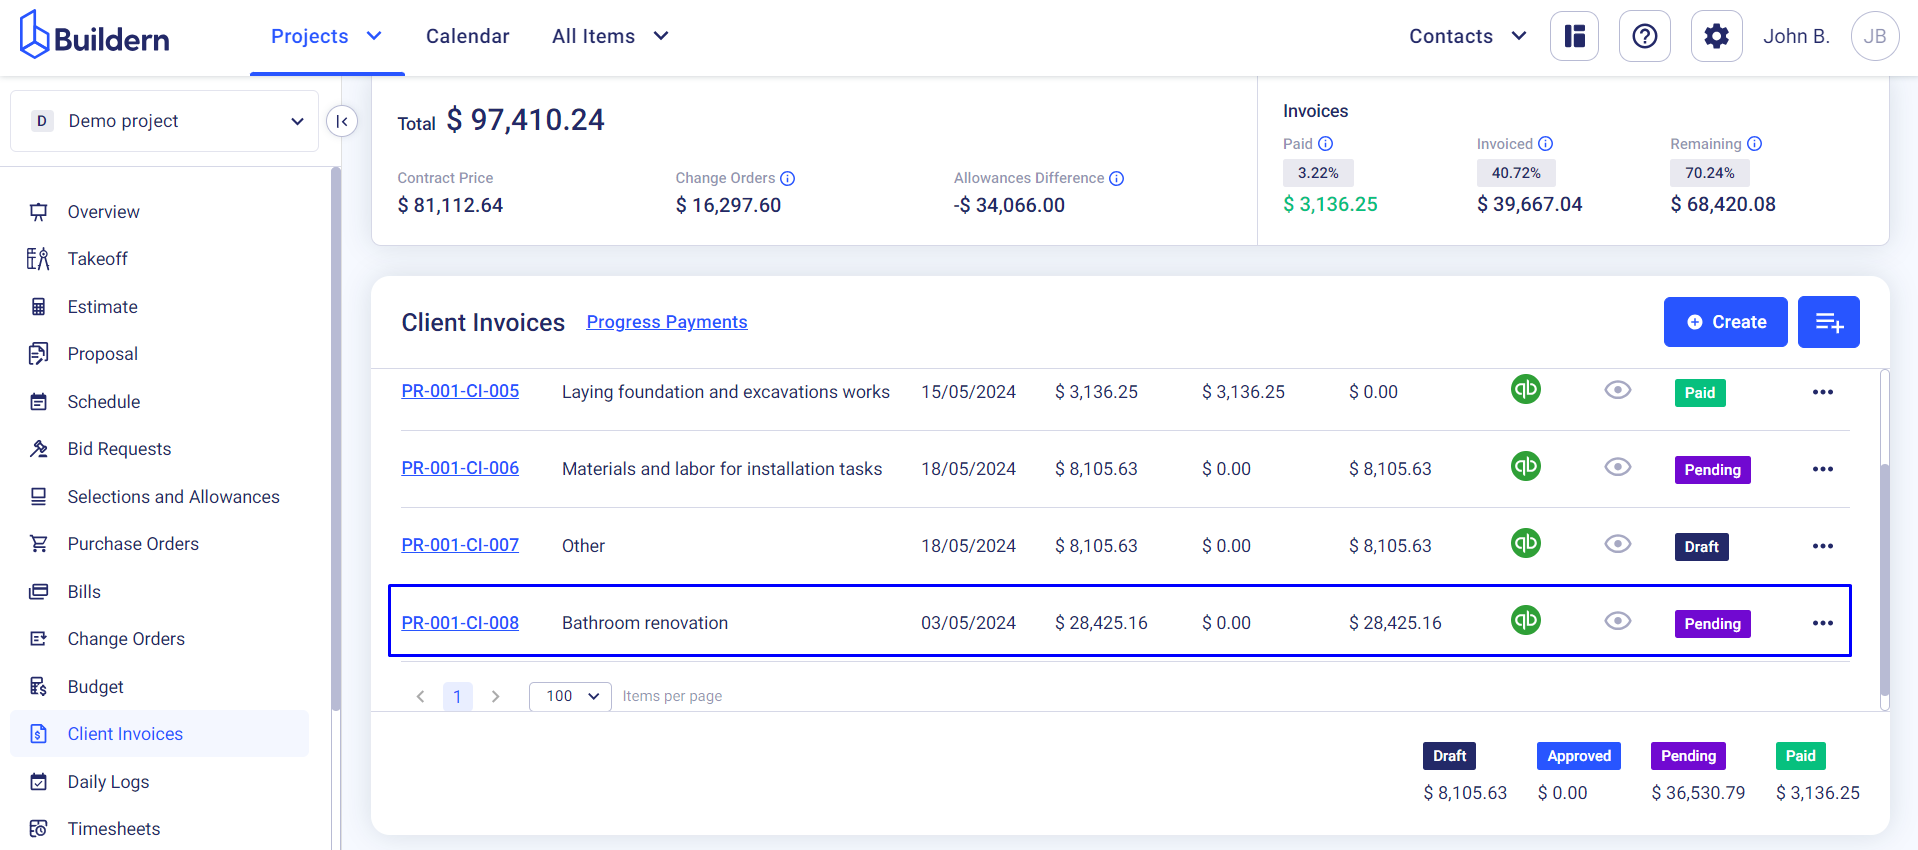
Once you send the invoice, it will appear among your other invoices with the Pending status.
💡Recommended Reading
How to Invoice Clients in Fixed Price Completion Percentage
How to Invoice Clients Based on Bills and Timesheets in Cost Plus Projects