Let’s put it straight!
Clients are free users in Buildern, so you can add as many clients as you wish, and rest assured that your collaboration will be maximum efficient and uninterrupted.
Buildern has created a simple yet comprehensive client portal with all the essential tools and modules available at your clients’ disposal.
Give Client Portal Access
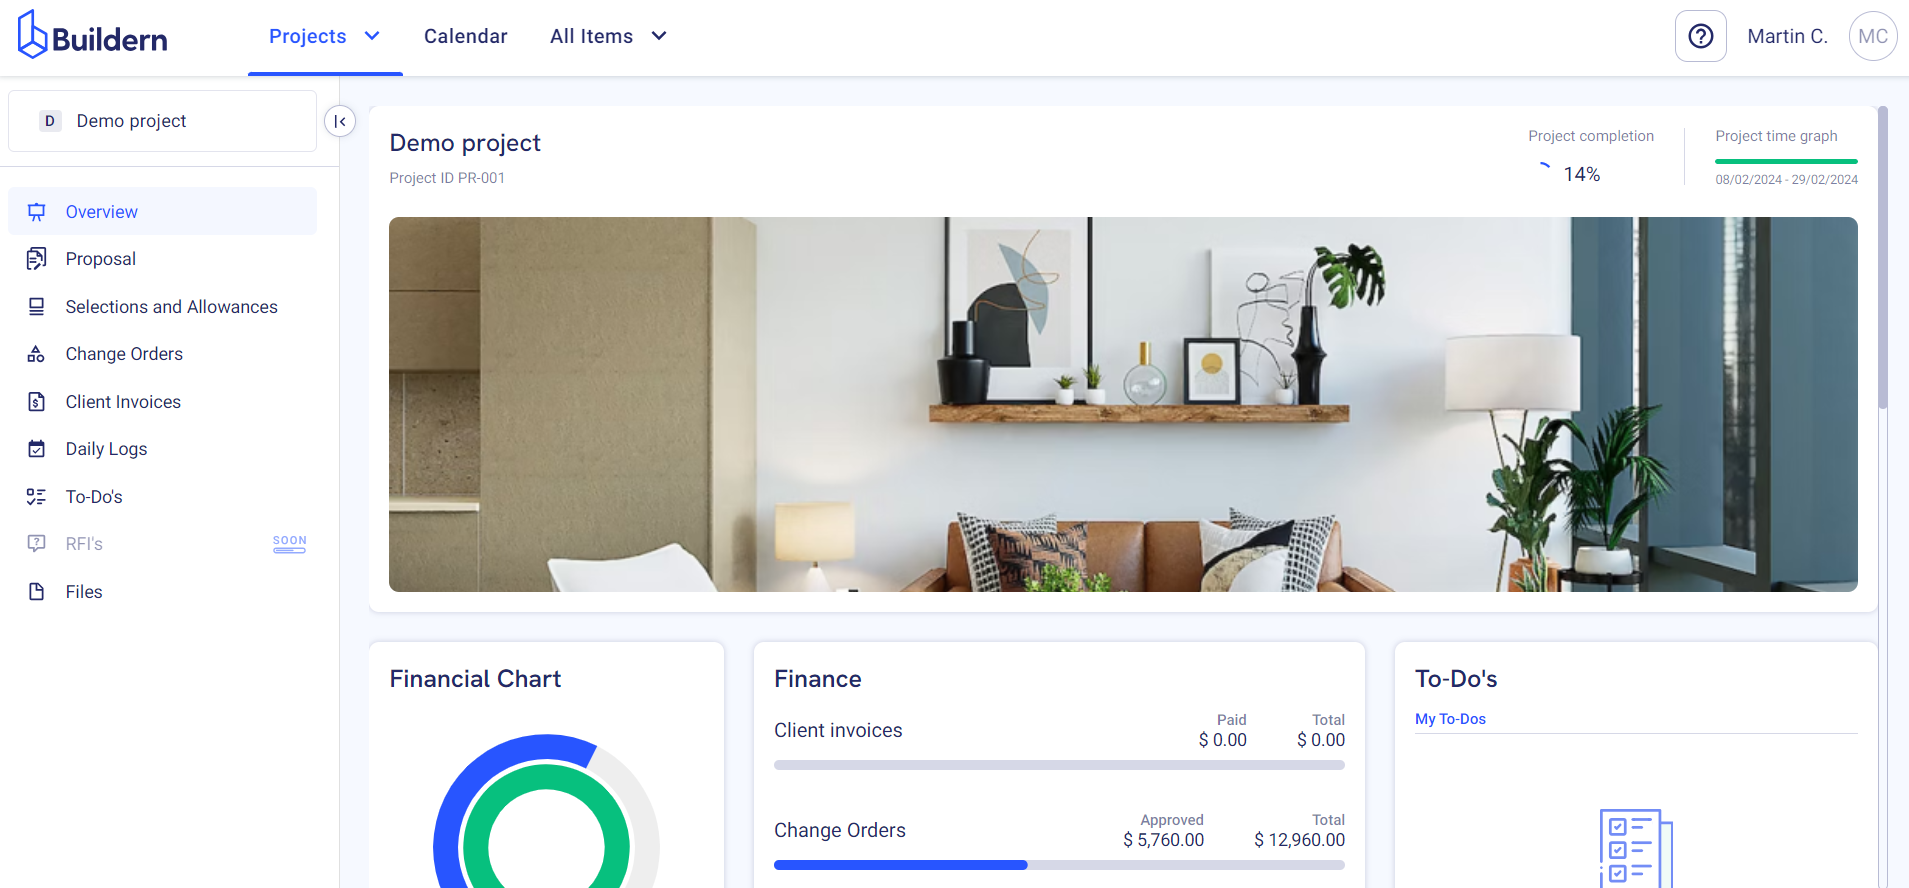
First, go to Contacts > Clients to see all your clients and manage their client portal access.

You will see all the essential data concerning your clients here, as well as those who have access to the client portal.
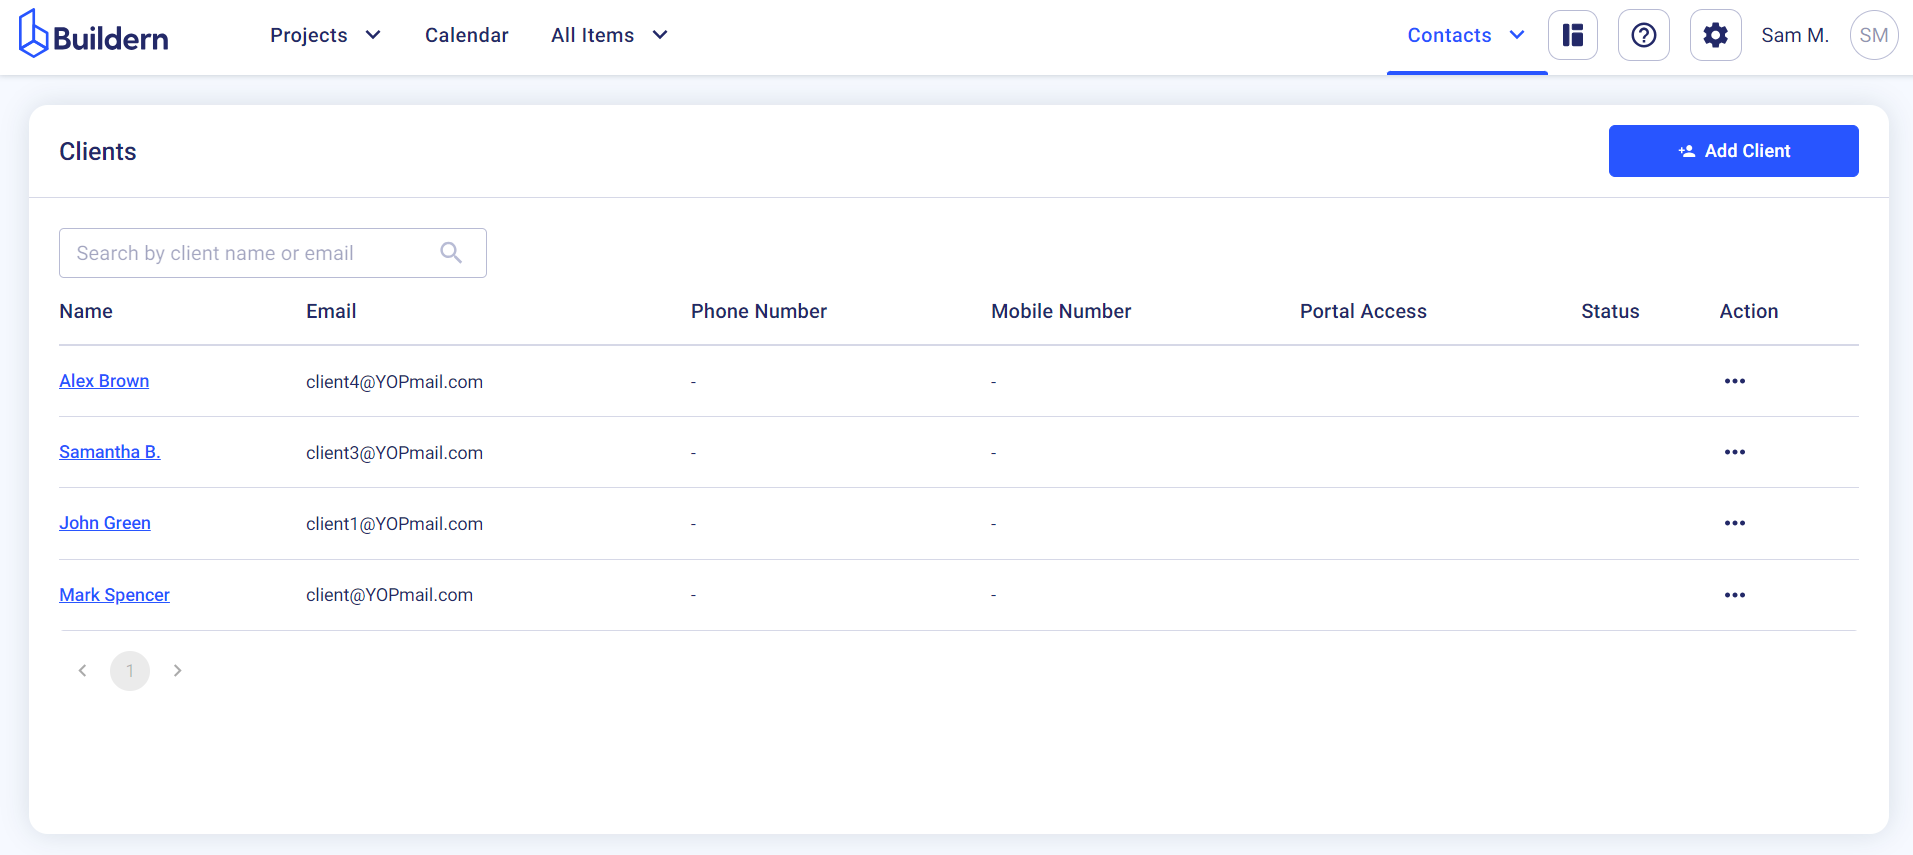
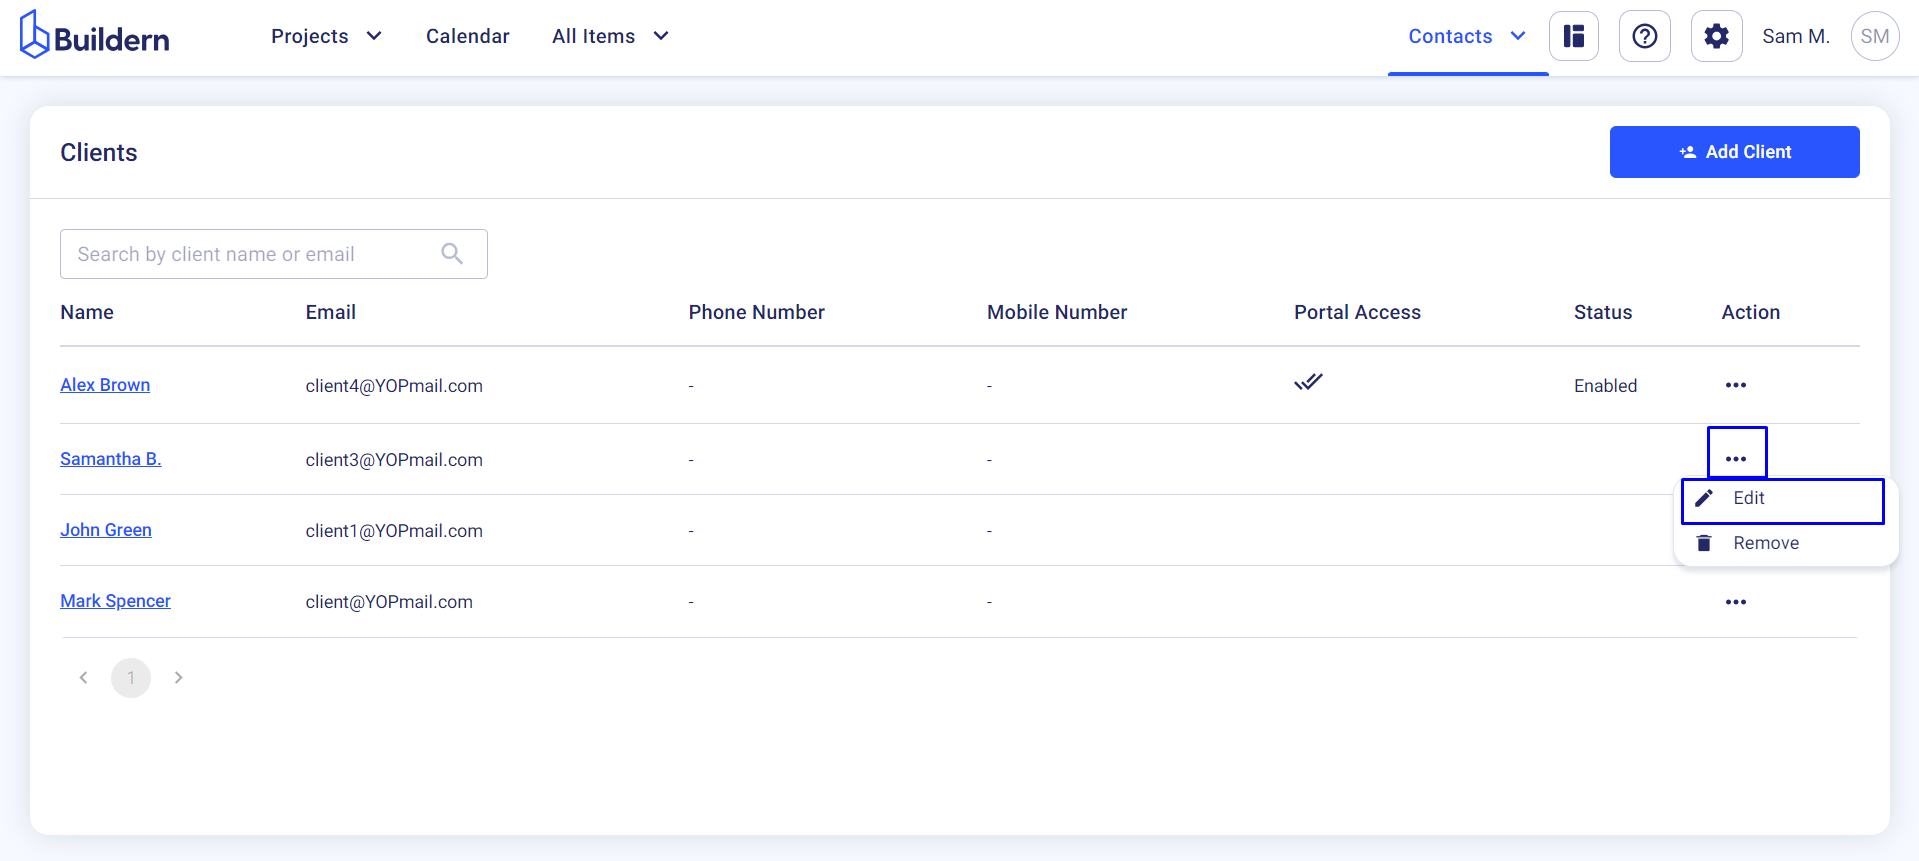
Choose the one you want to give client portal access to and click on the three dots under the Action column > Edit.
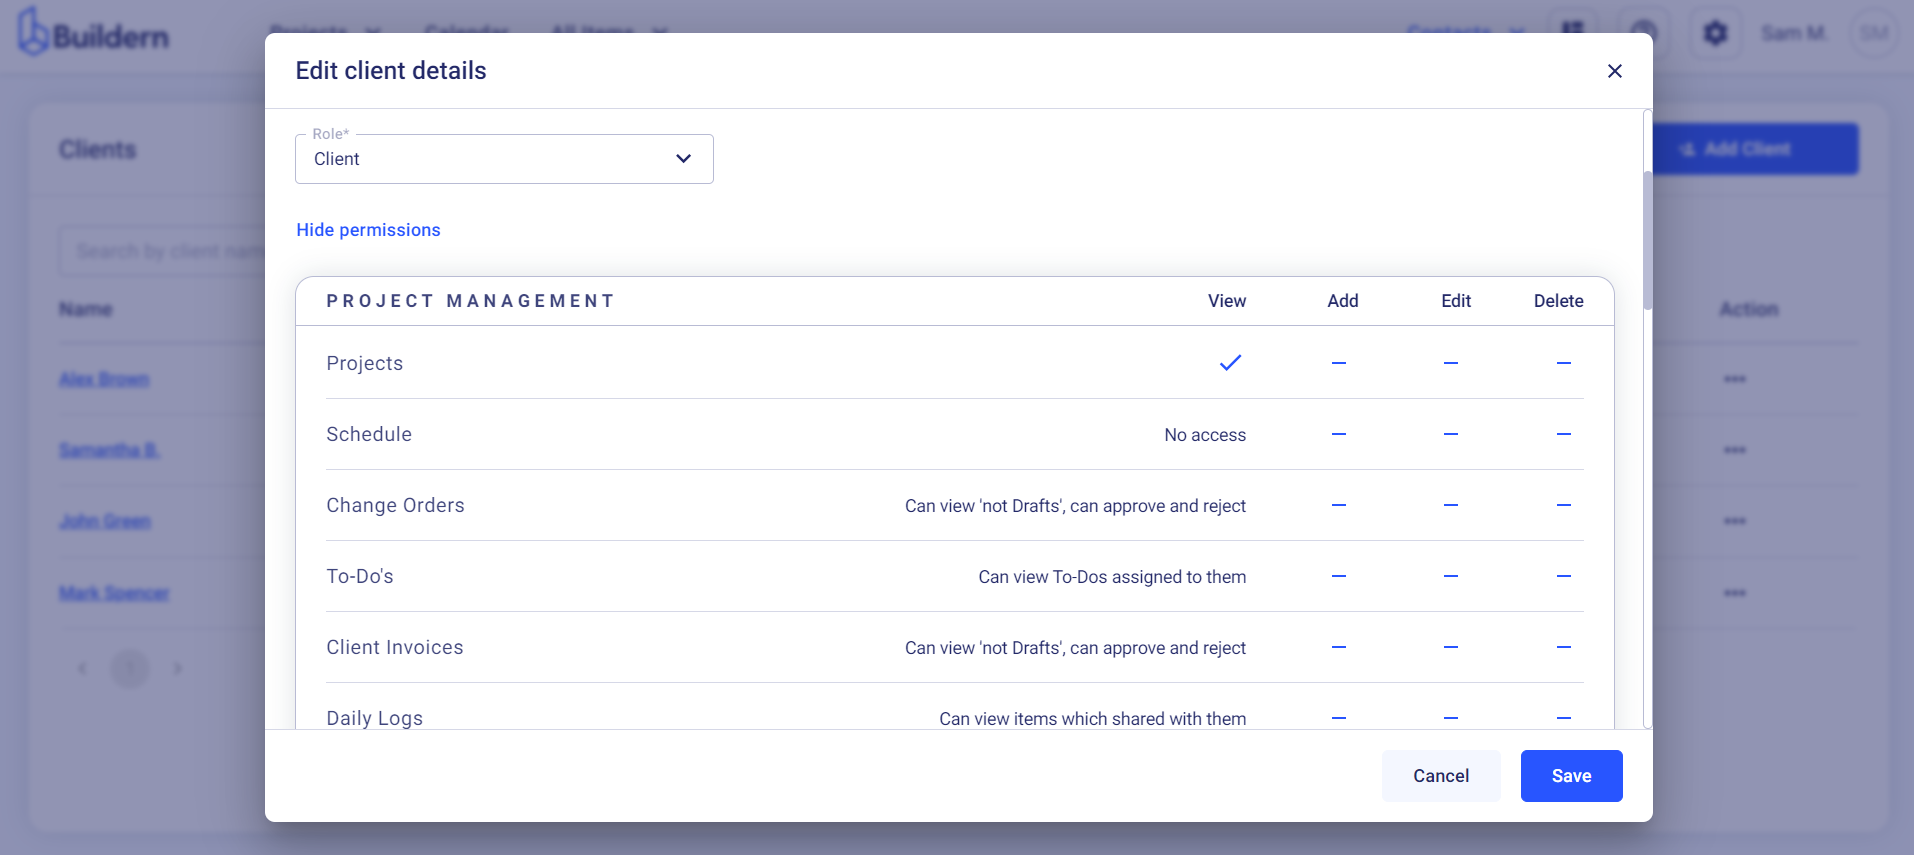
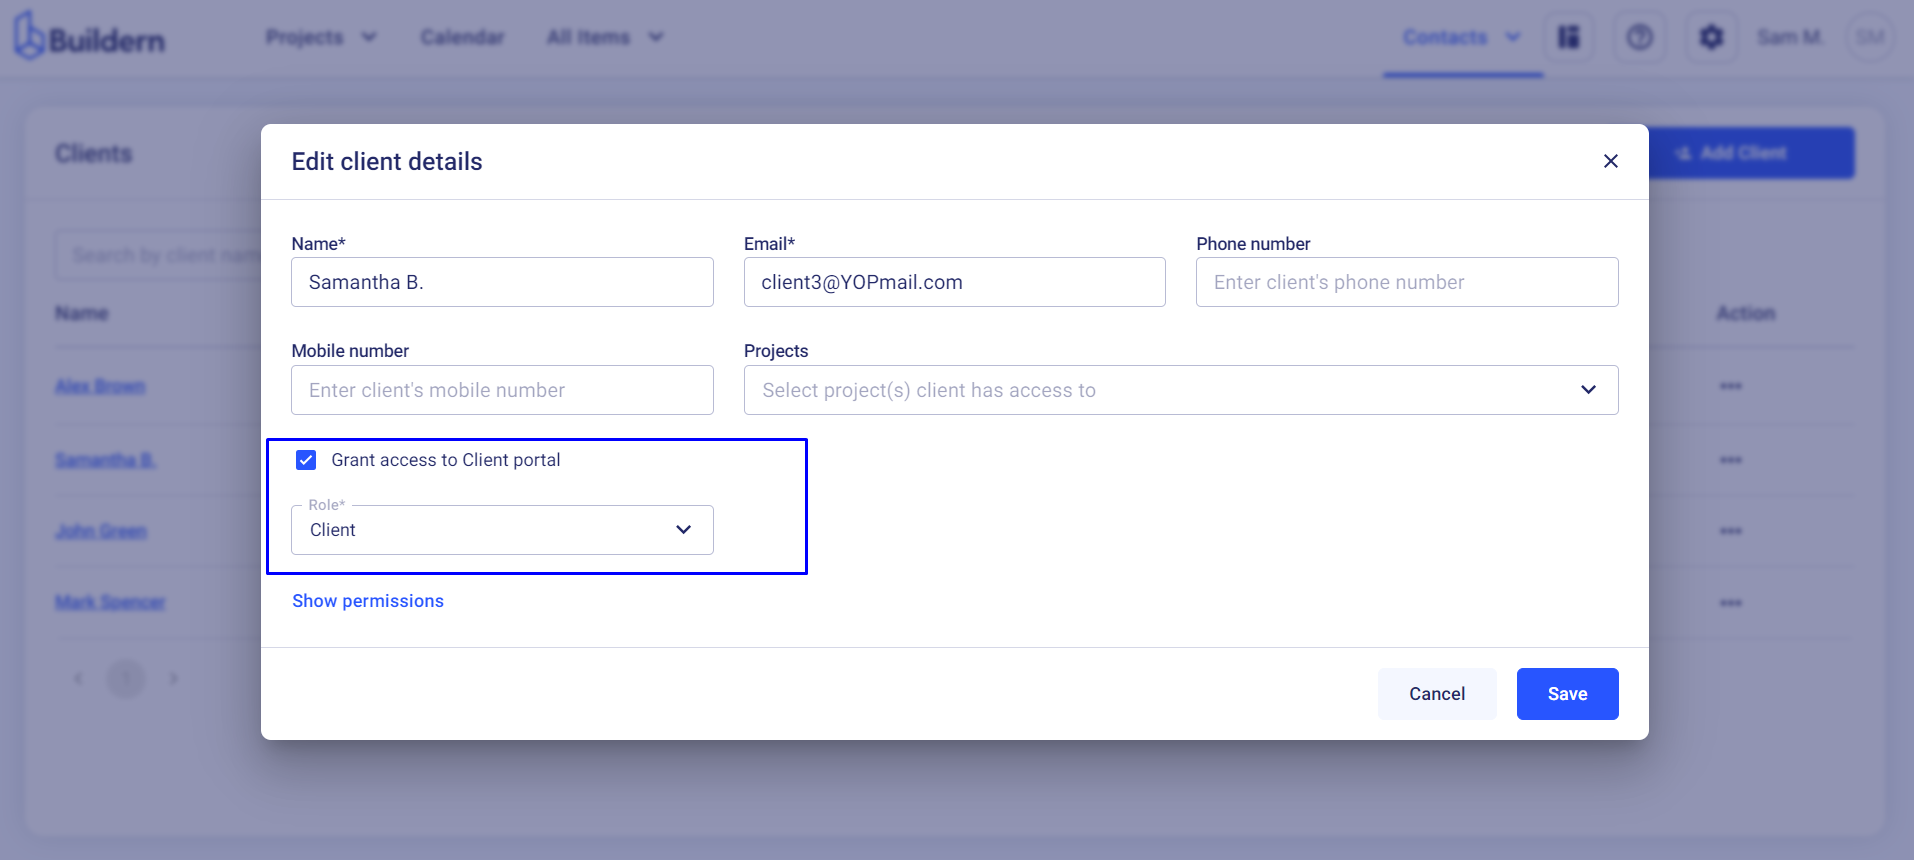
Put a checkmark next to the “Grant access to Client portal” field and choose their role (“Client” in our case).

You can then review your client’s permissions by clicking on Show permissions.
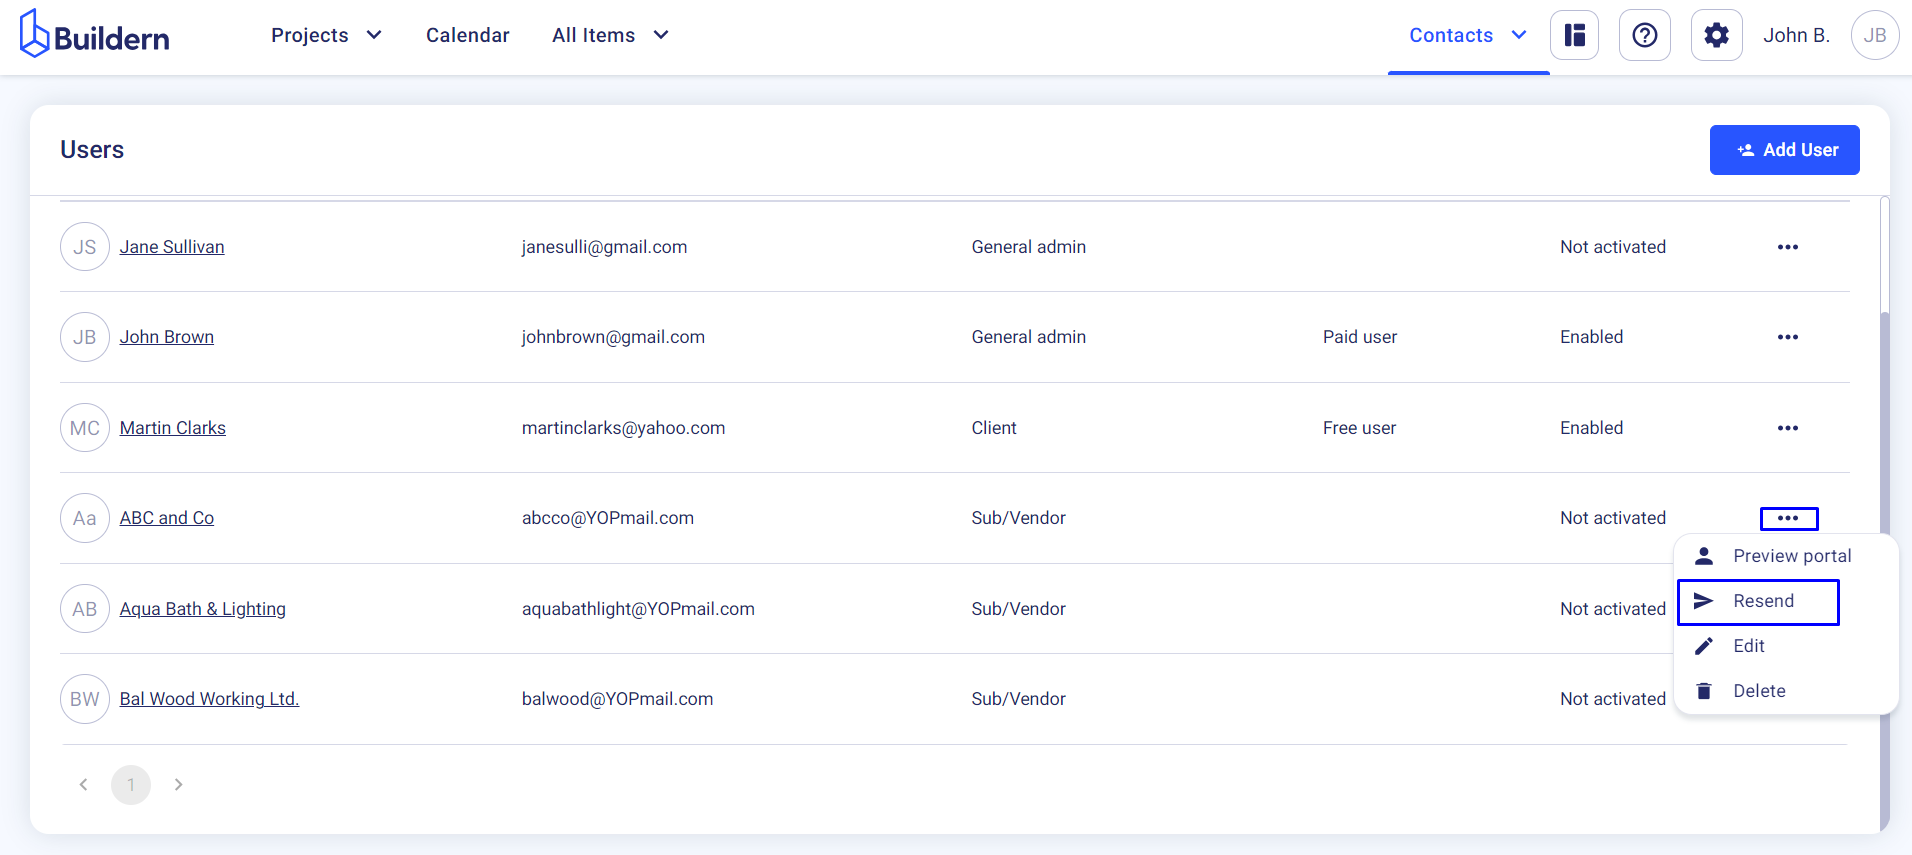
Let’s see how you resend an invitation to your clients.
-
Go to Contacts > Users
-
Choose the person you want to resend the invitation
-
Click the three little dots at the end of the line
-
Resend
Now that your client has access to the client portal, they will able to collaborate with you in Buildern and access only the information you let them see.
Edit Client Portal Access
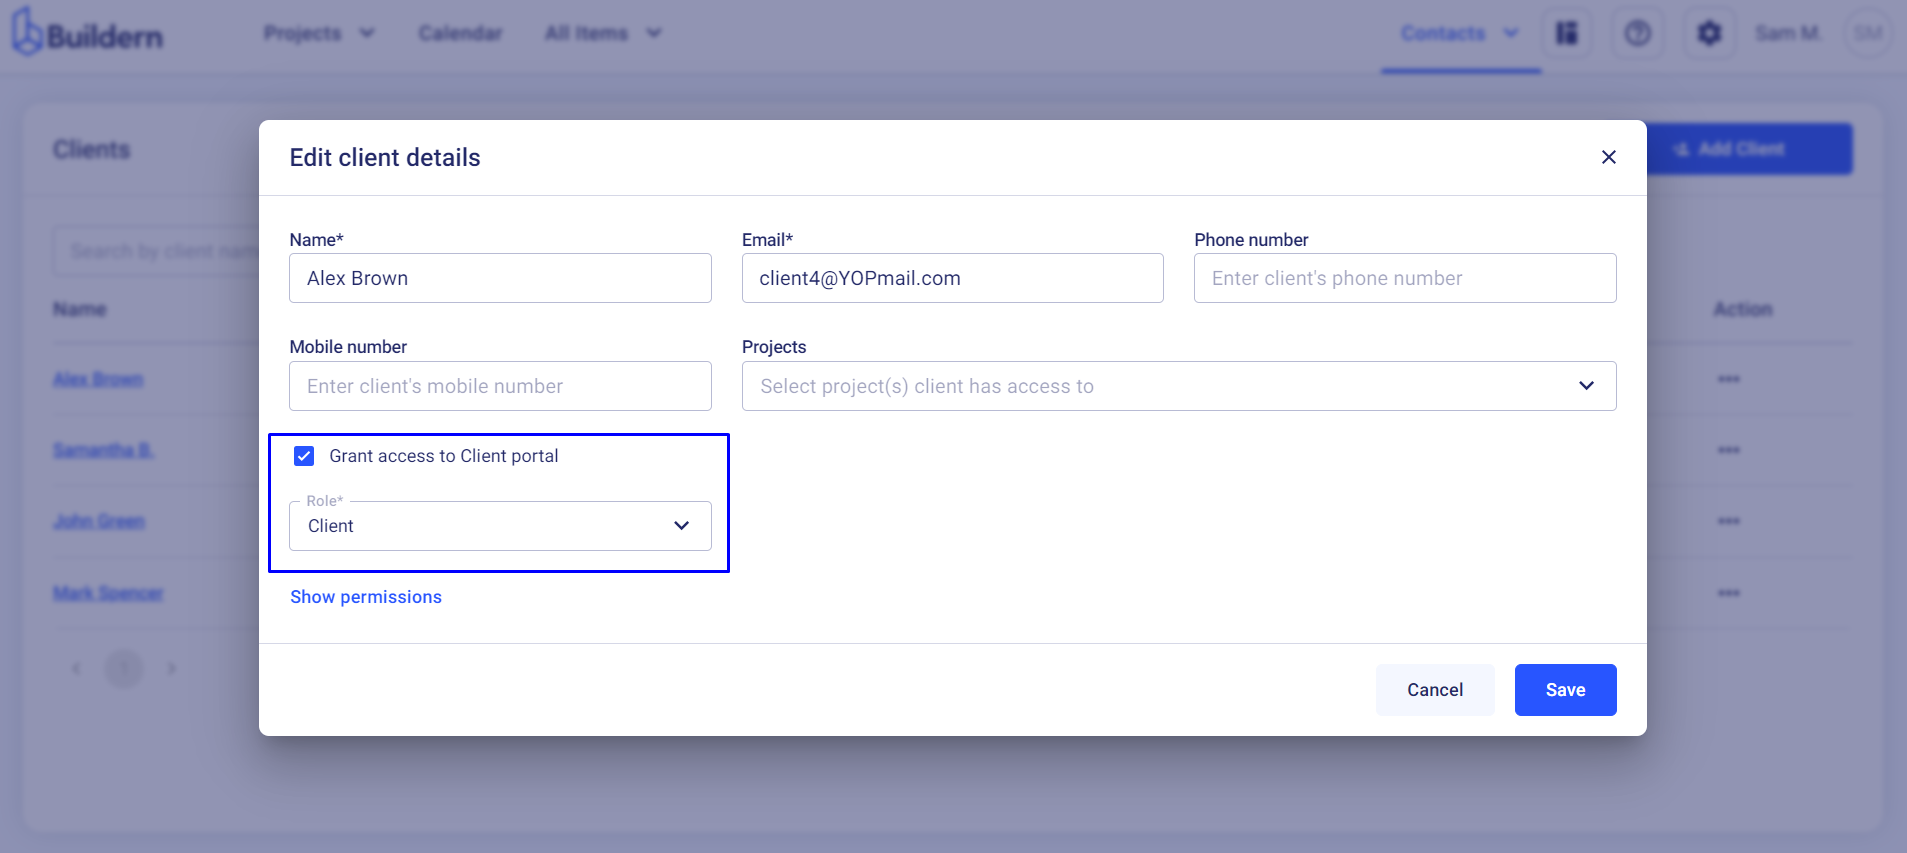
If you want to update the access for the other clients too, you can do it by editing their information. Click the three little dots at the end of the line, then the Edit button.
Mark the corresponding field and choose their role (Client in this case).
Save the changes and see a checkmark icon appearing next to the client’s name.

That’s how you edit a client’s access.
Add New Client and Give Them Client Portal Access
The logic is the same when you add new clients. Just click the Add Client button in the upper right corner, fill in all the essential information, and give them access to work in their project’s client portal.
Once you save the changes, your client will receive an invitation and should respond to it through the link sent to them via email.

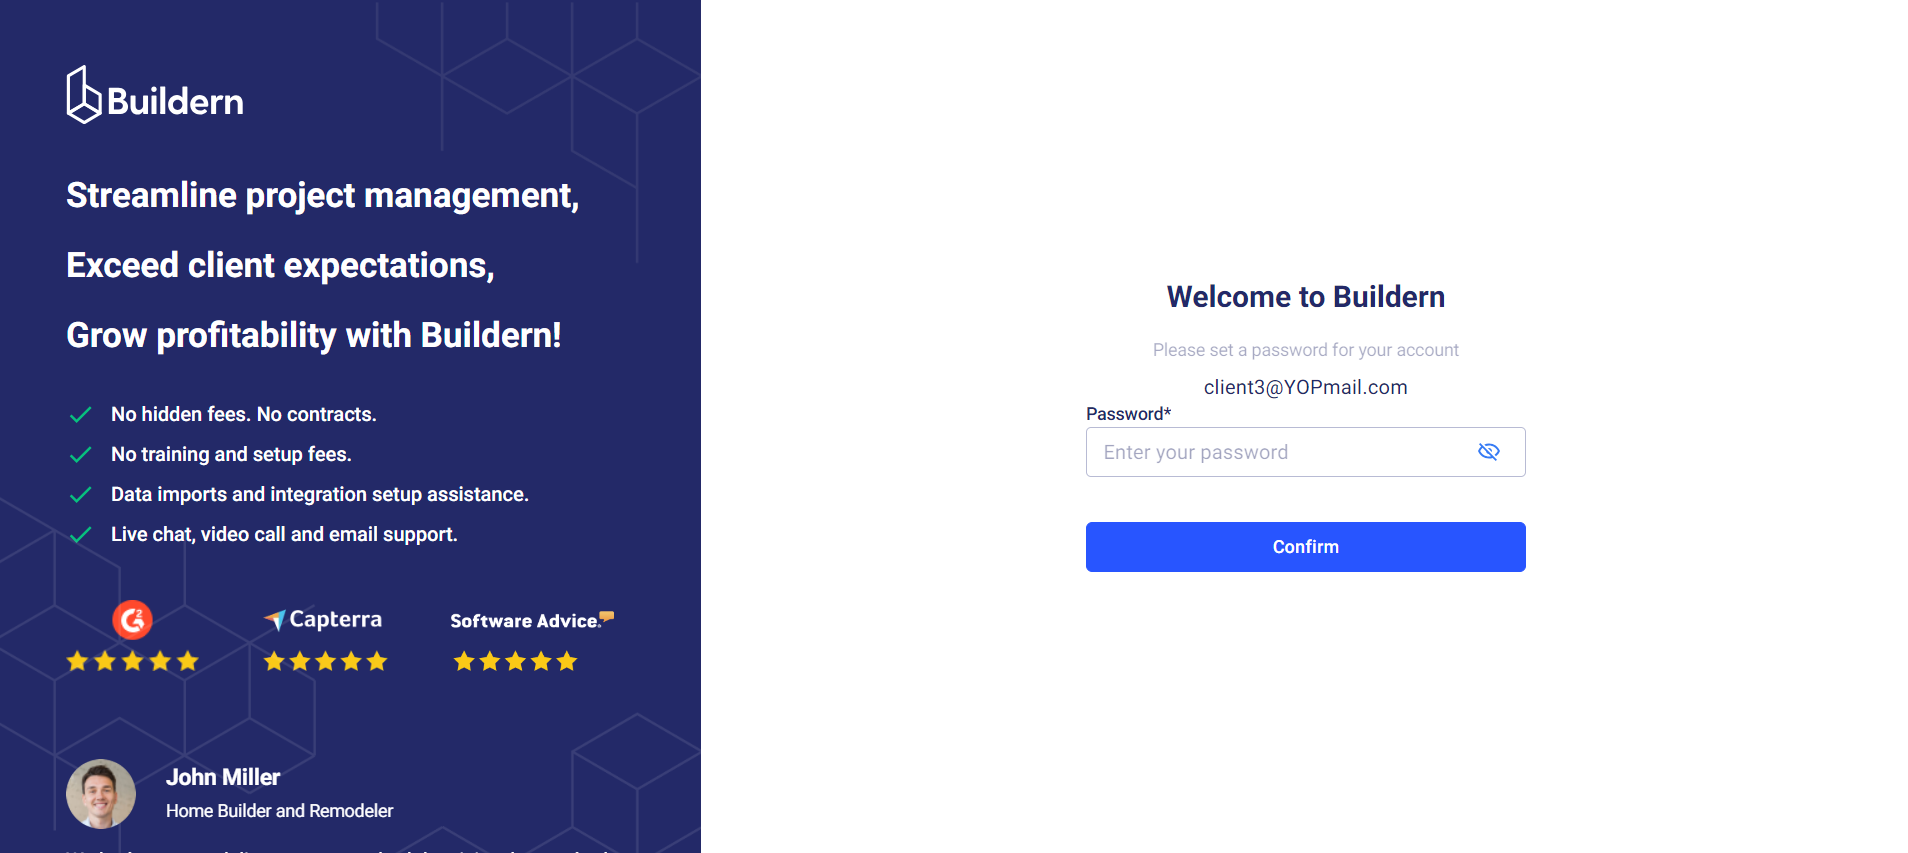
Your client should click the “Join for free” button received in the email and set a unique password to access the portal.
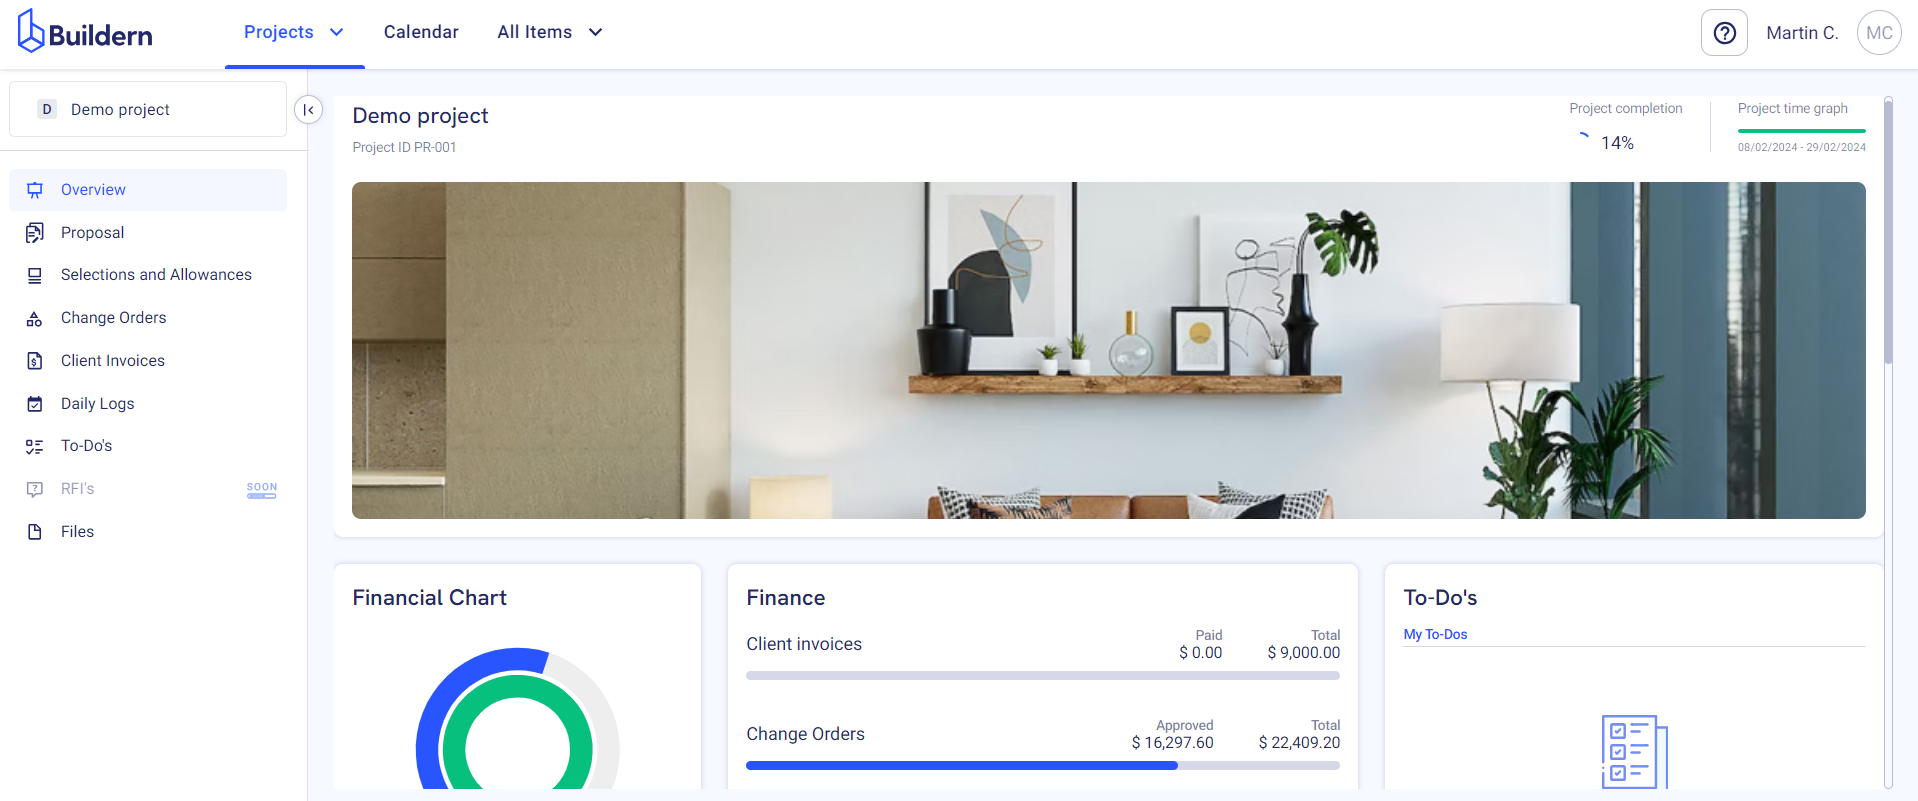
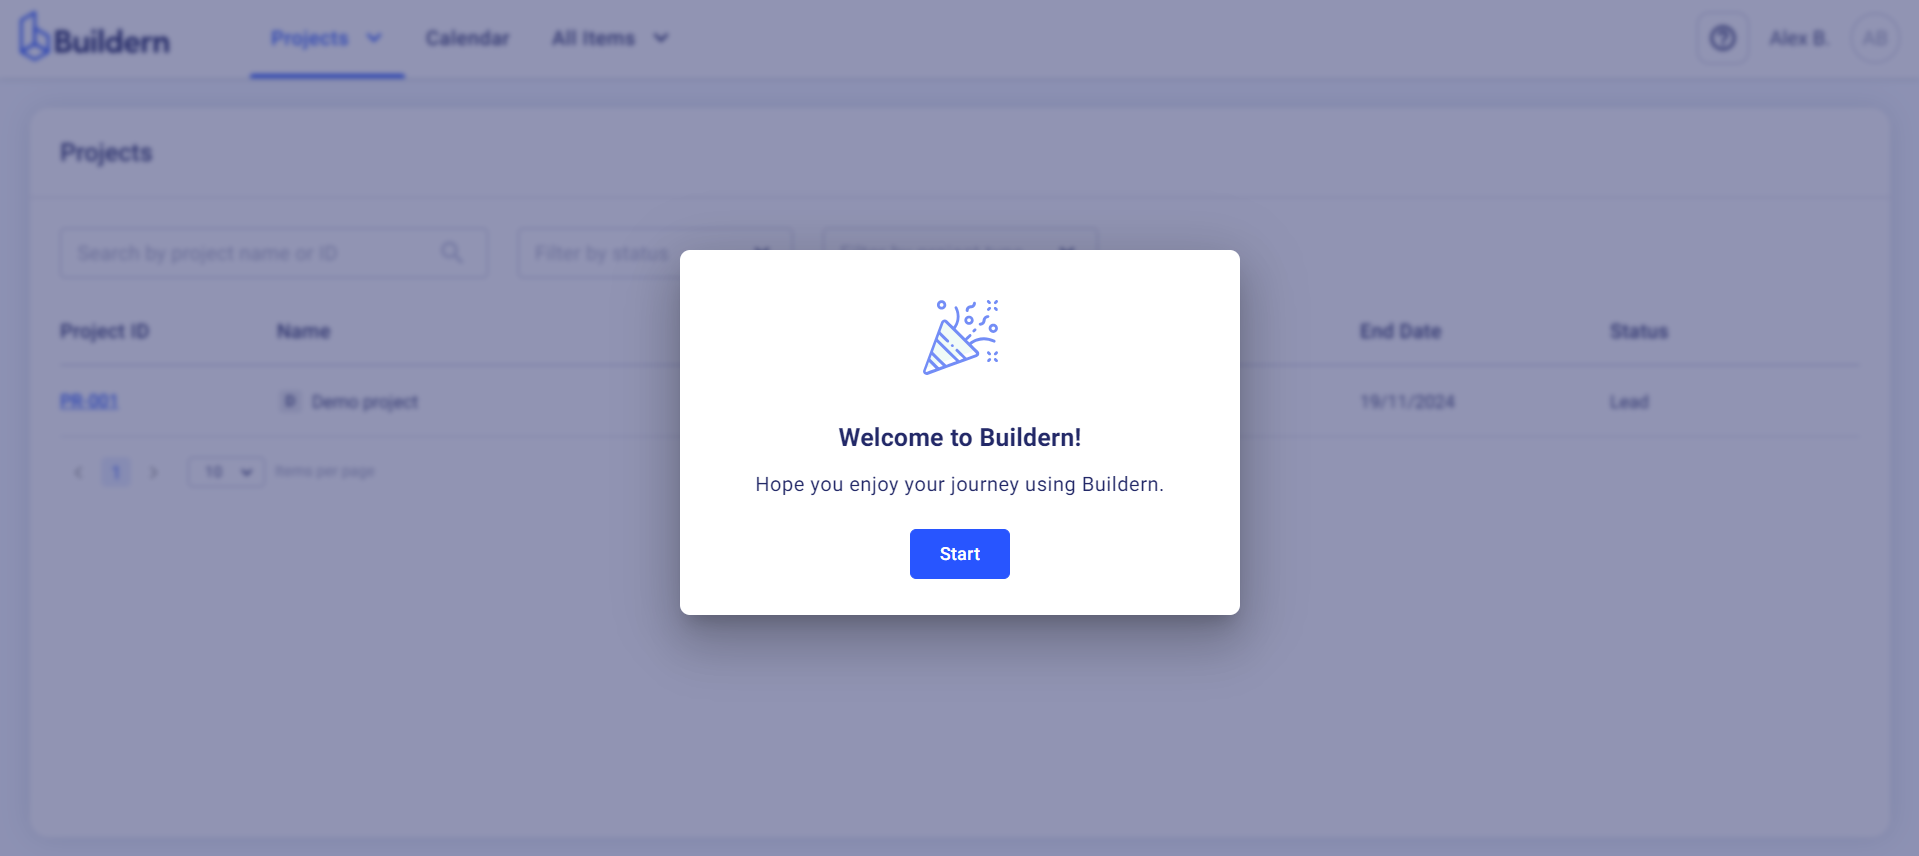
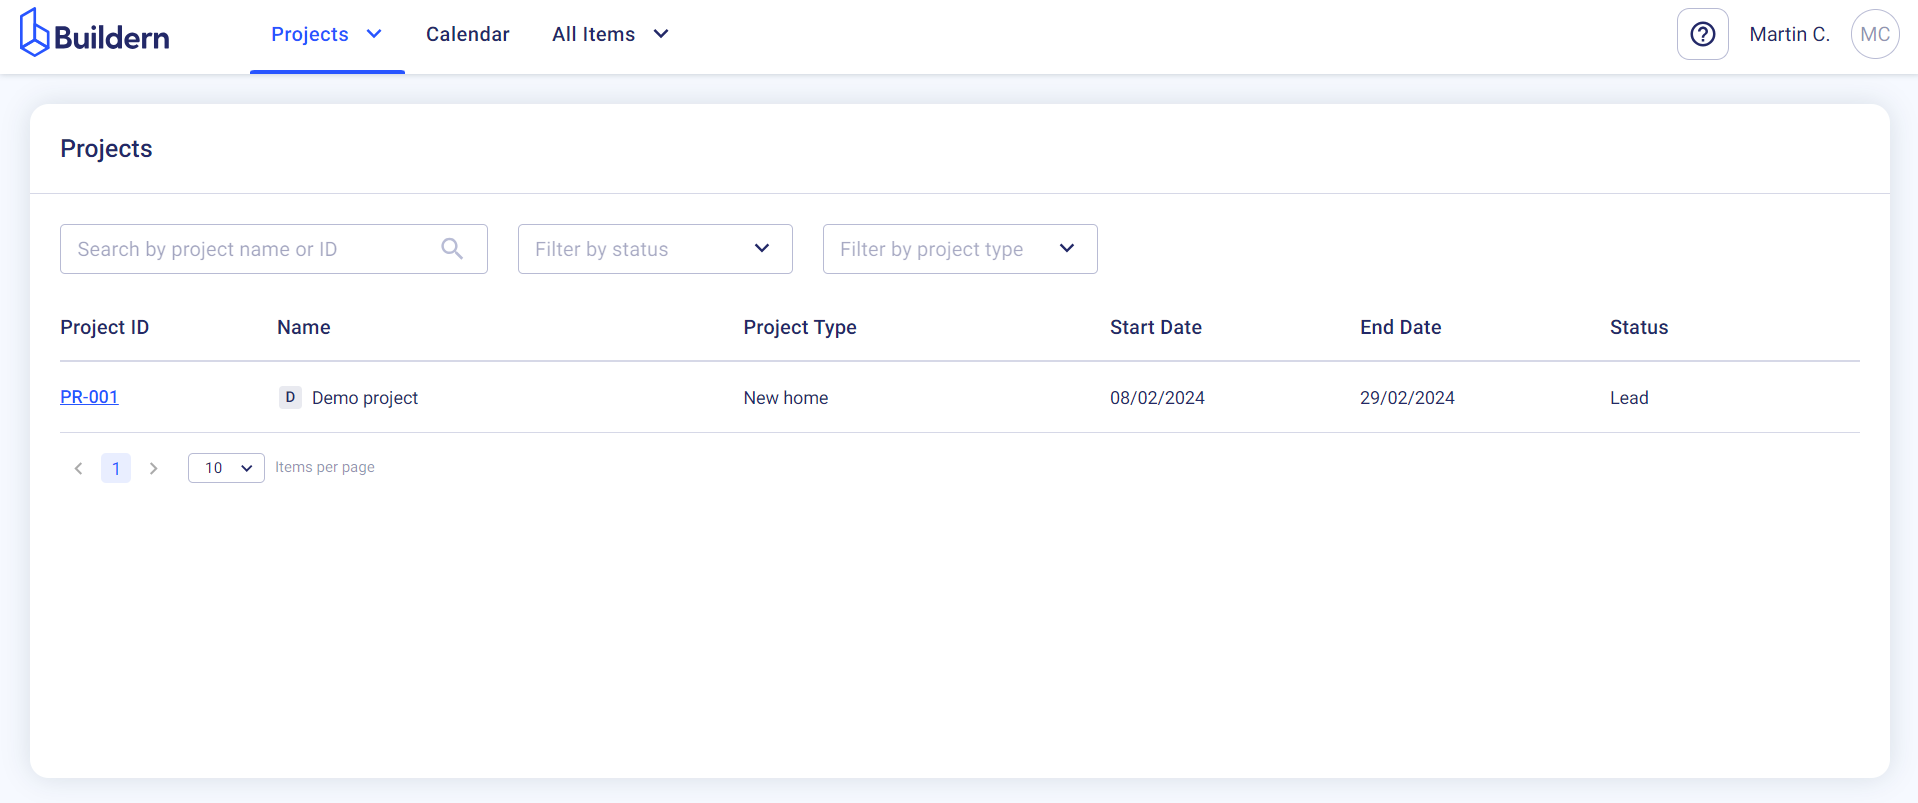
Once in, your clients will get access to all projects they are involved in.
They will see only the projects they are involved in.
Moreover, clients can use only the modules and information you allow them to access. All the selections, invoices, change orders, and other essential information will be securely stored in your client’s portal ensuring complete transparency and access to the workflows.