Our Dashboard is your all-in-one and fully customizable hub where you can monitor timelines, track budgets, and keep track of any other details. The dashboard has been created to simplify your construction project management by bringing all the essential information to one place.
💡There are two types of dashboards in Buildern:
-
A general dashboard with complete information about all projects
-
A project dashboard containing information about a specific project
Step 1: Navigating the Dashboard
Once you log in to your Buildern account, you’ll find yourself in the general dashboard.
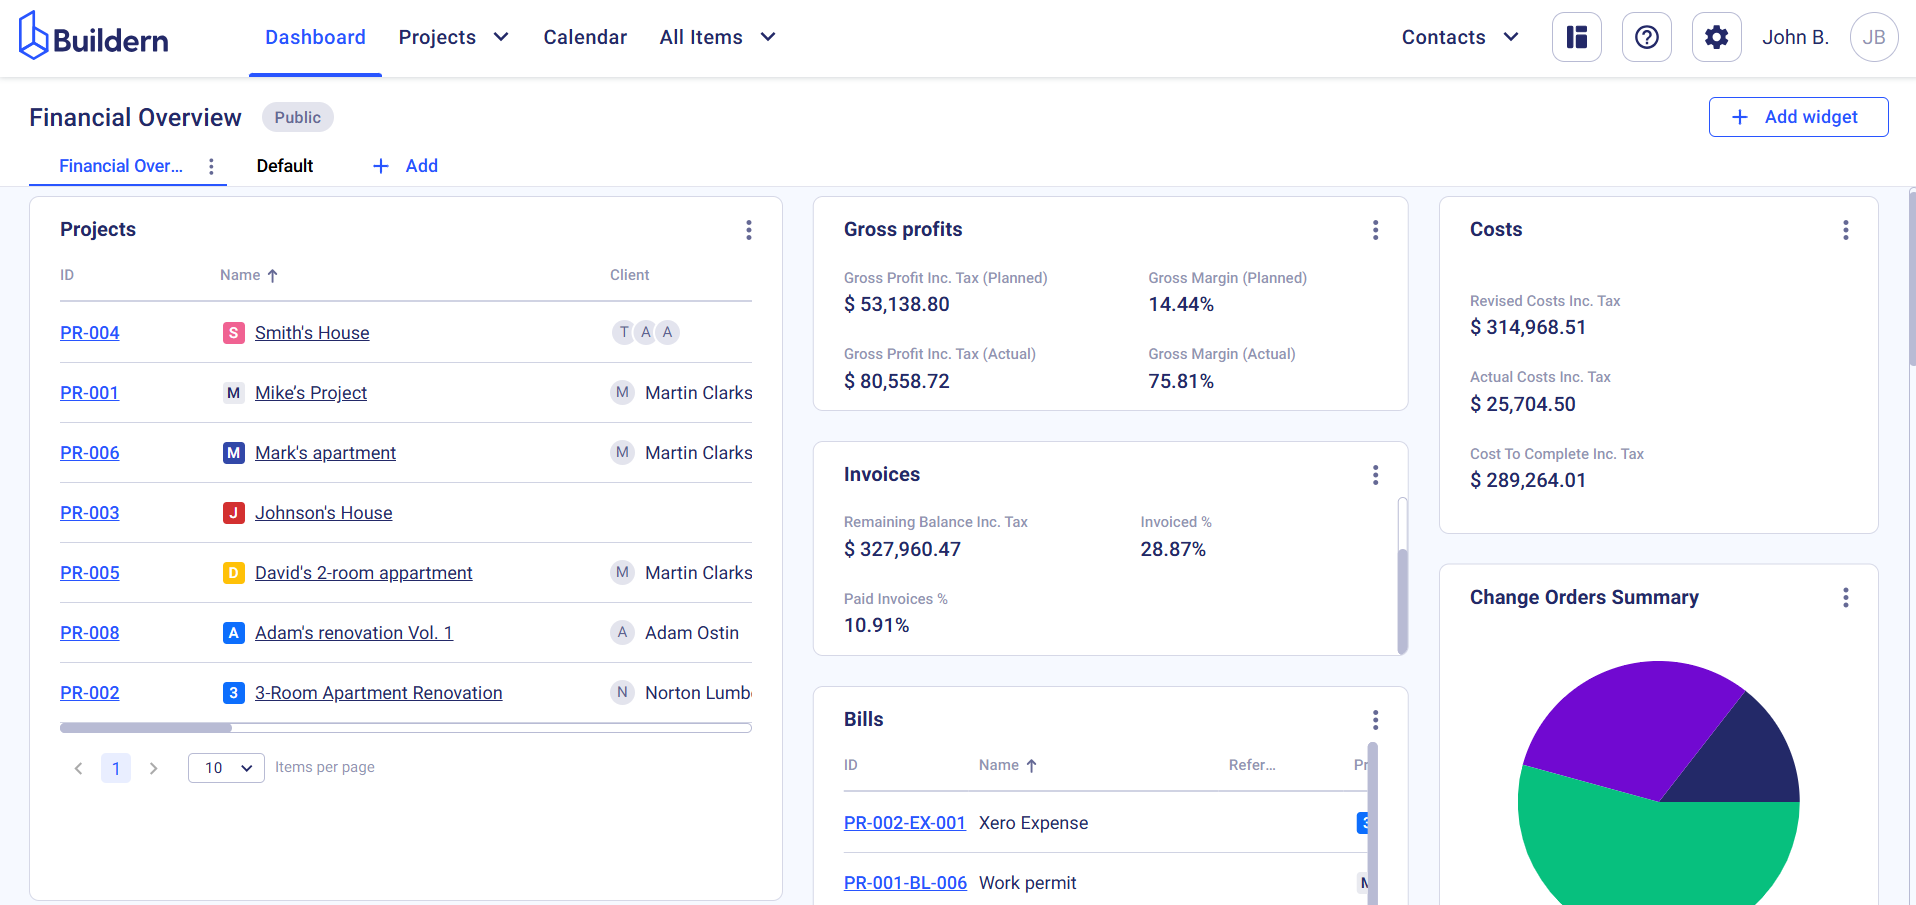
You can find all sorts of information covering your project management workflow with pie charts, graphs, and other visualizations. For instance, the financial information can include:
-
Contract Price: The total agreed cost for the project.
-
Allowances: Allocated budgets for specific project components.
-
Gross Margin: The difference between project revenue and costs.
-
Actual Costs: Real-time tracking of expenses incurred.
-
WIP (Work in Progress) and WIPAA (Work in Progress Accounting Adjustment).
-
Gross Profit: A snapshot of your profitability.
And so much more!
Step 2: Customizing Your Dashboard View
Buildern gives you full control over what you see on the Dashboard. You can customize all the widgets, columns, and filters to ensure you’re always looking at the most relevant and up-to-date information.
1. Start with only the widgets you need and add more as your project evolves.
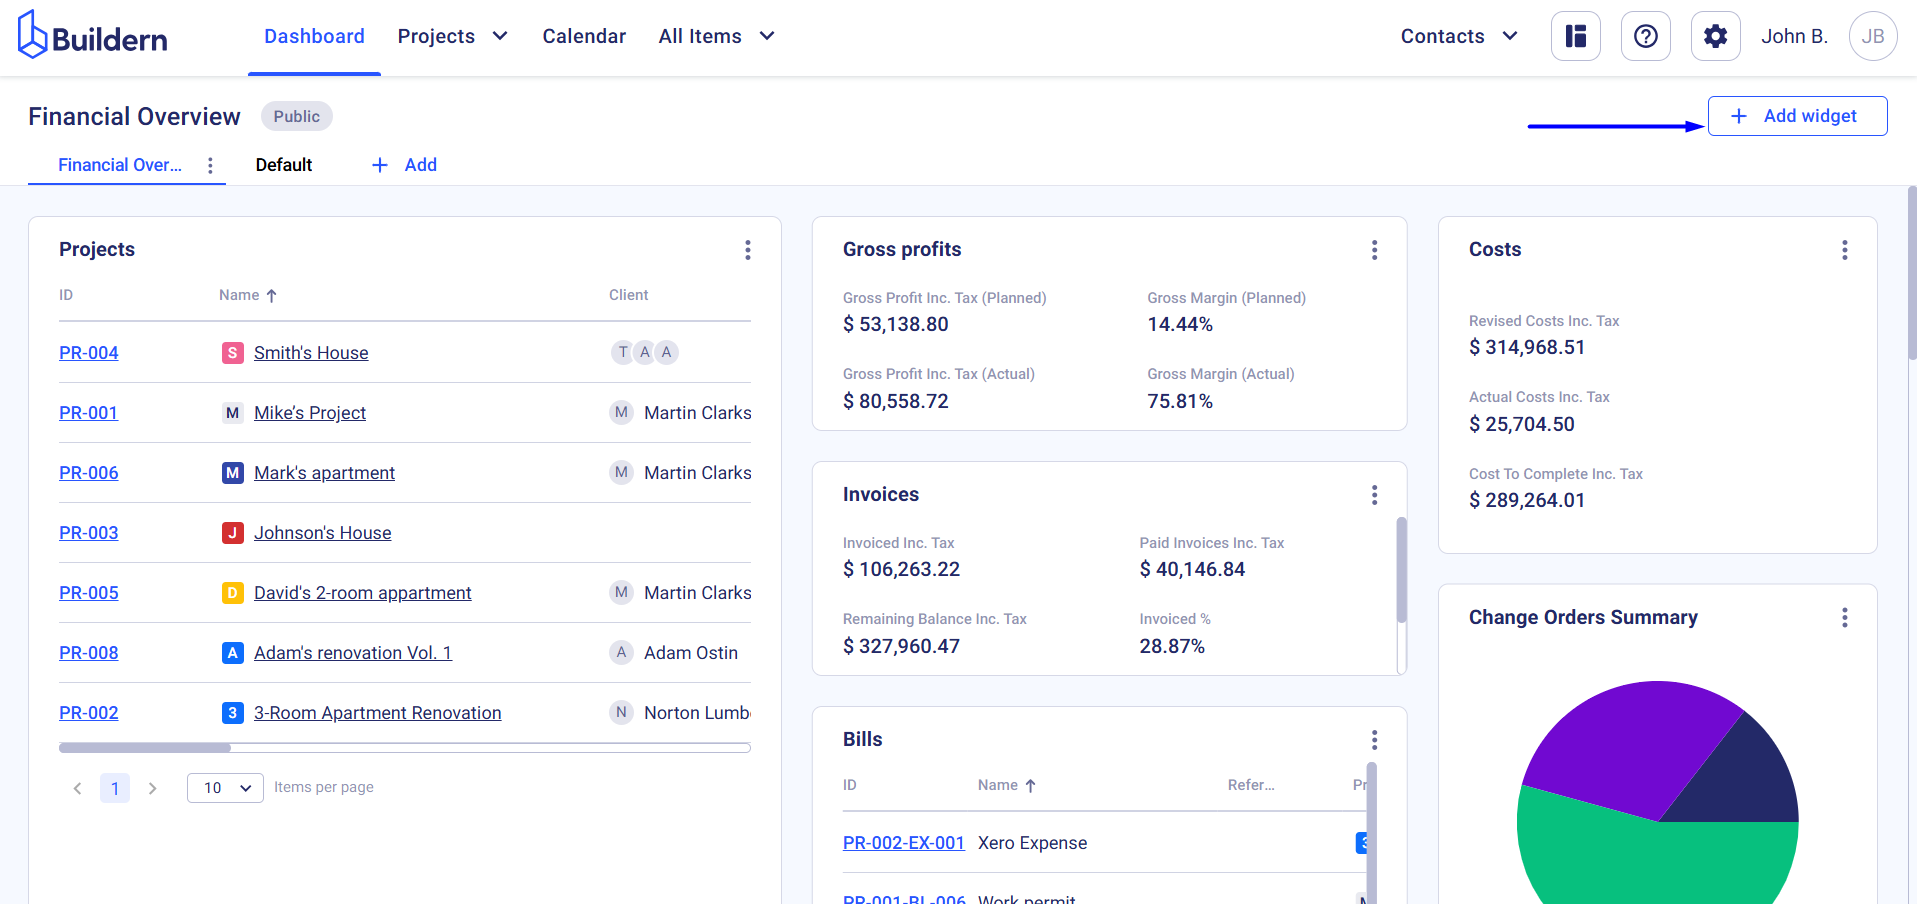
Click the Add Widget button in the upper right corner of your screen.
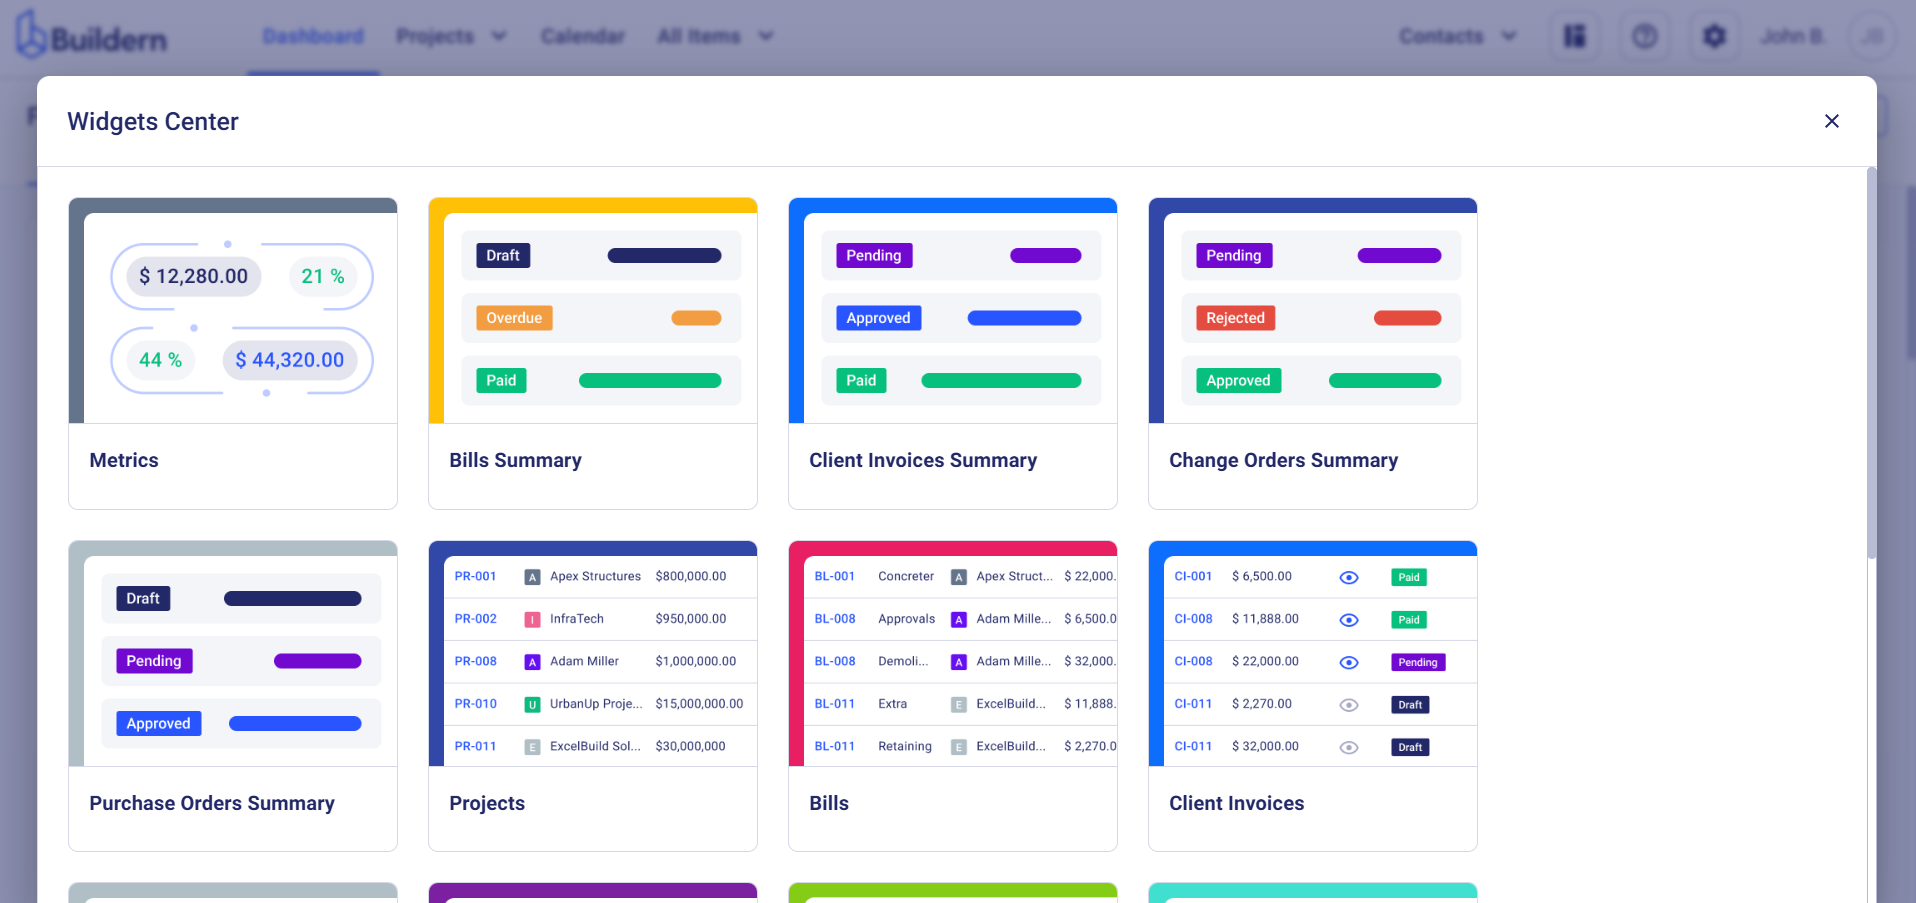
Choose anything from the library of premade widgets that includes:
-
Bill, Invoice, Change Order (Variation), and Purchase Order summaries
-
Timesheets
-
Files
-
RFIs
And many other widgets.
2. Rearrange widgets to highlight the most important data.
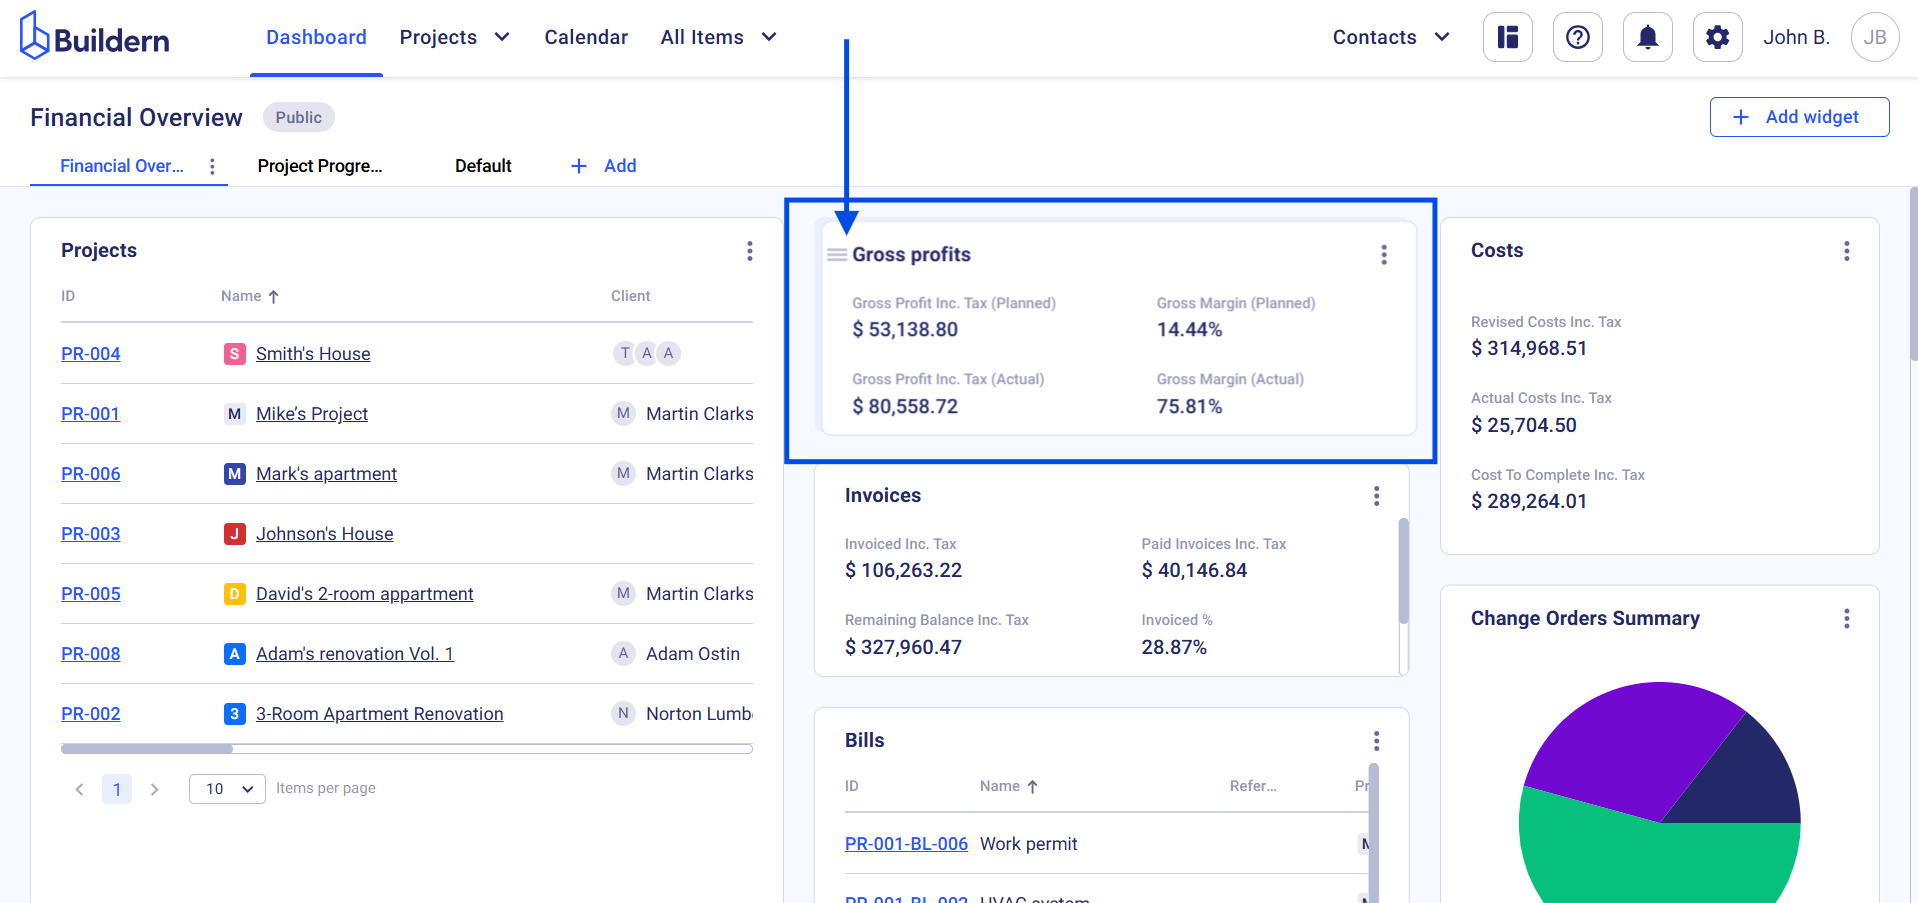
Hover your cursor over the top bar of the widget. Your cursor will turn into a drag icon. Click and hold the widget to drag it to the desired position of the Dashboard.
3. Resize widgets with a single click
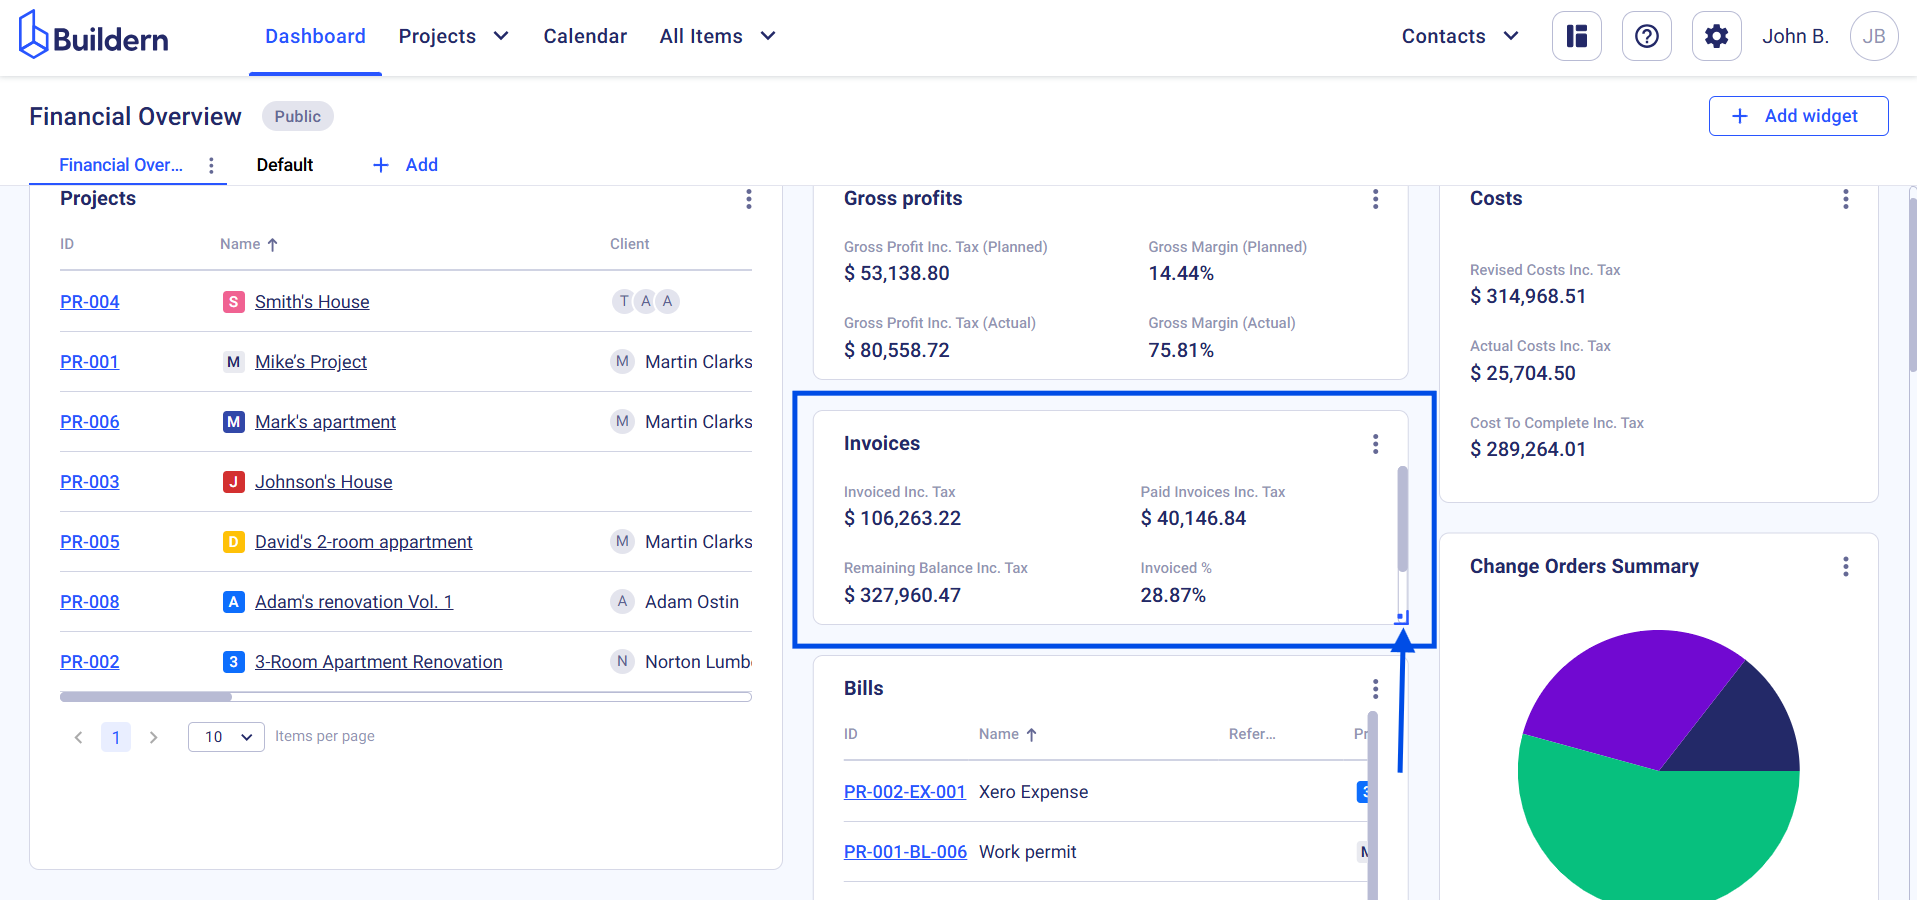
Move your cursor to the bottom-right corner of any widget. A resize handle (double arrow) will appear, allowing you to change its size.
4. Adjust settings for each widget to display the data that best supports your workflow.
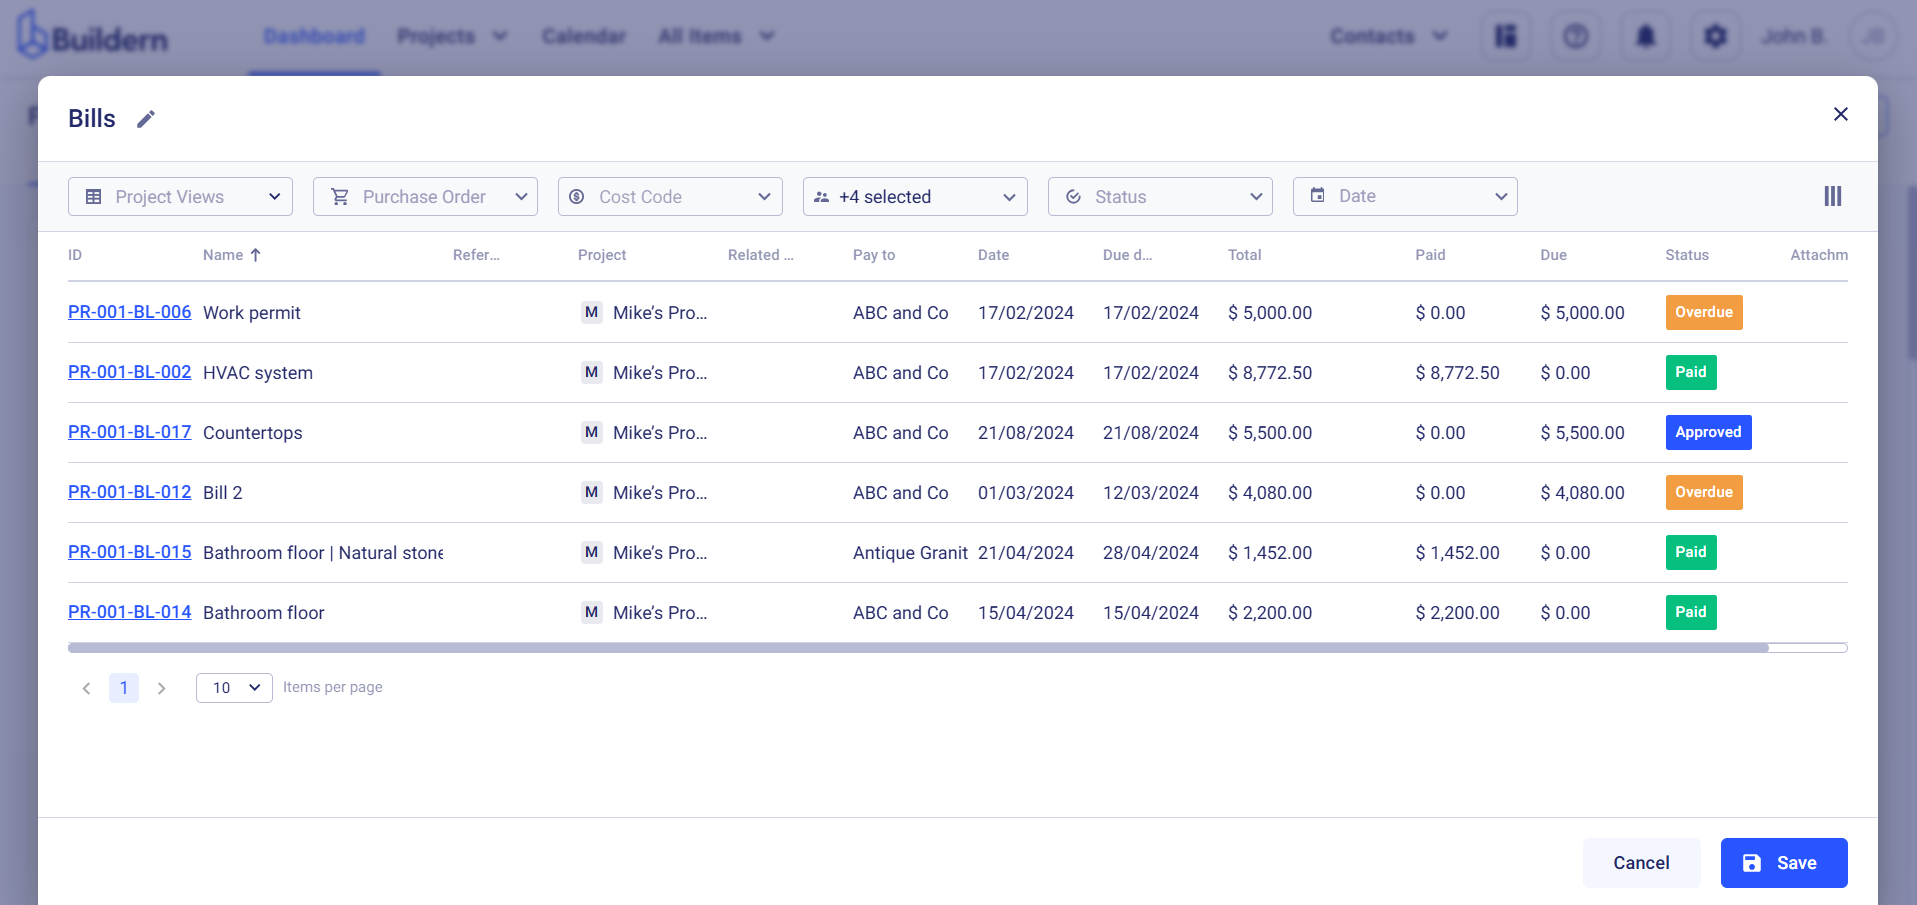
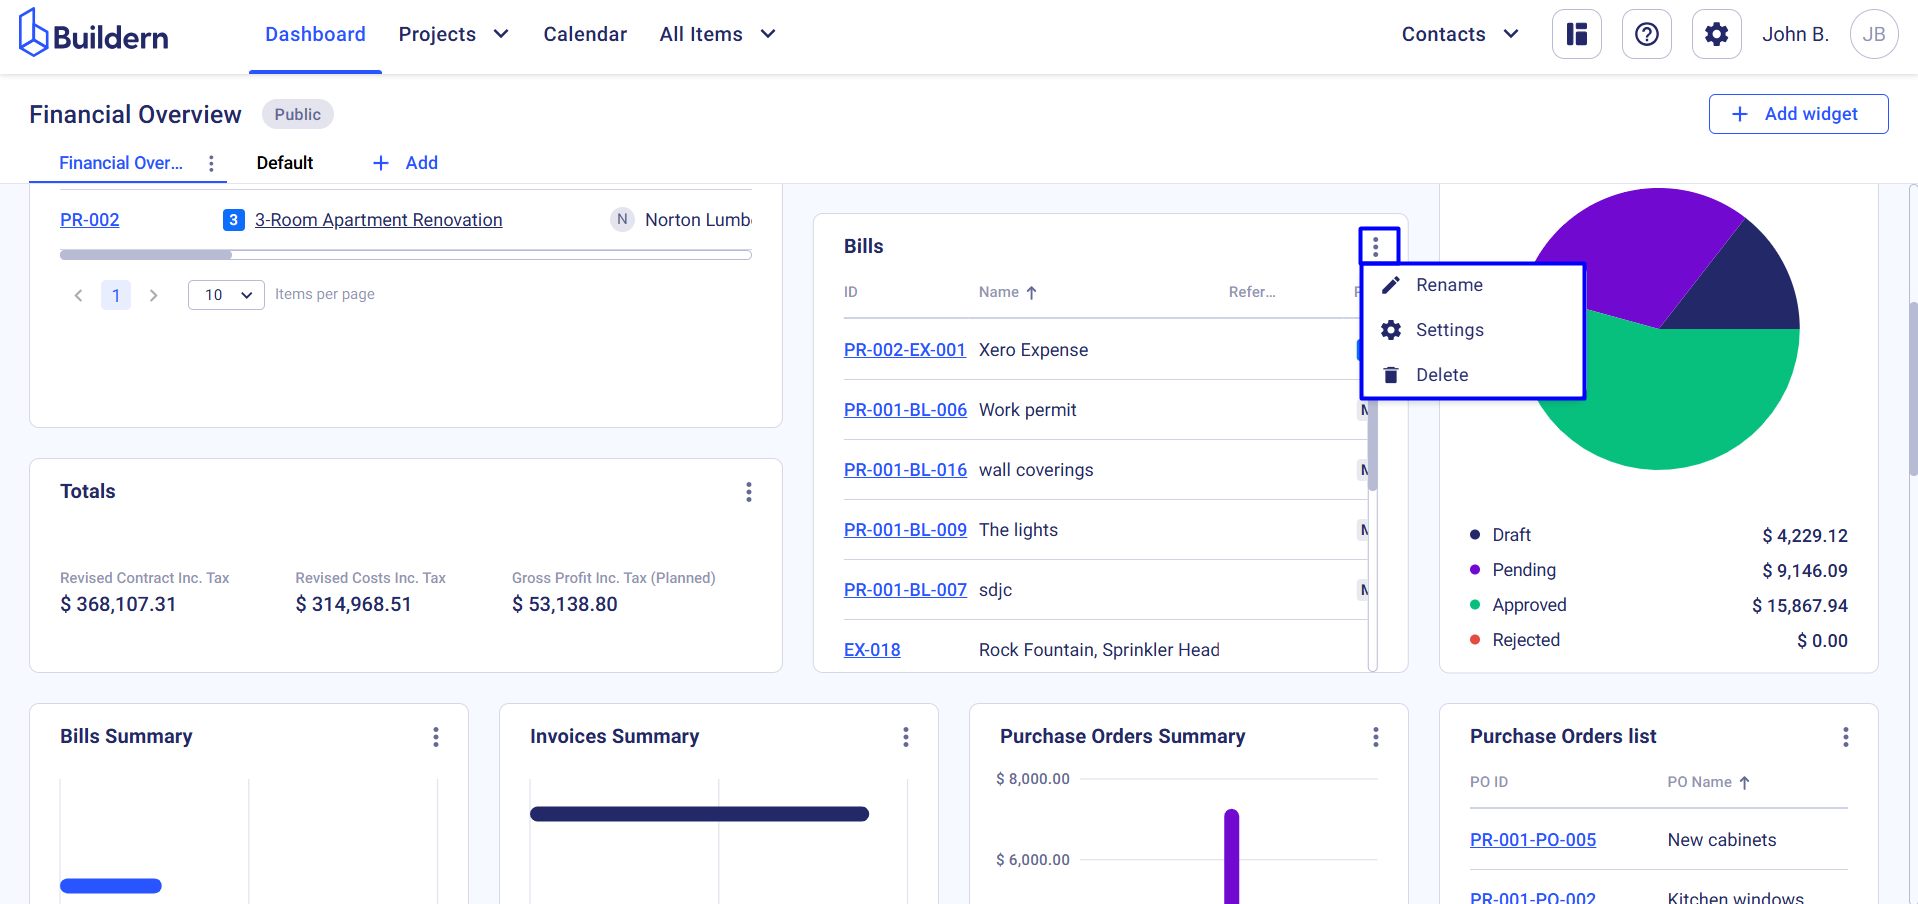
For instance, you can choose what kind of bills are shown in the Bills widget. To do this, click on the three little dots at the upper right corner of the widget and choose Settings.
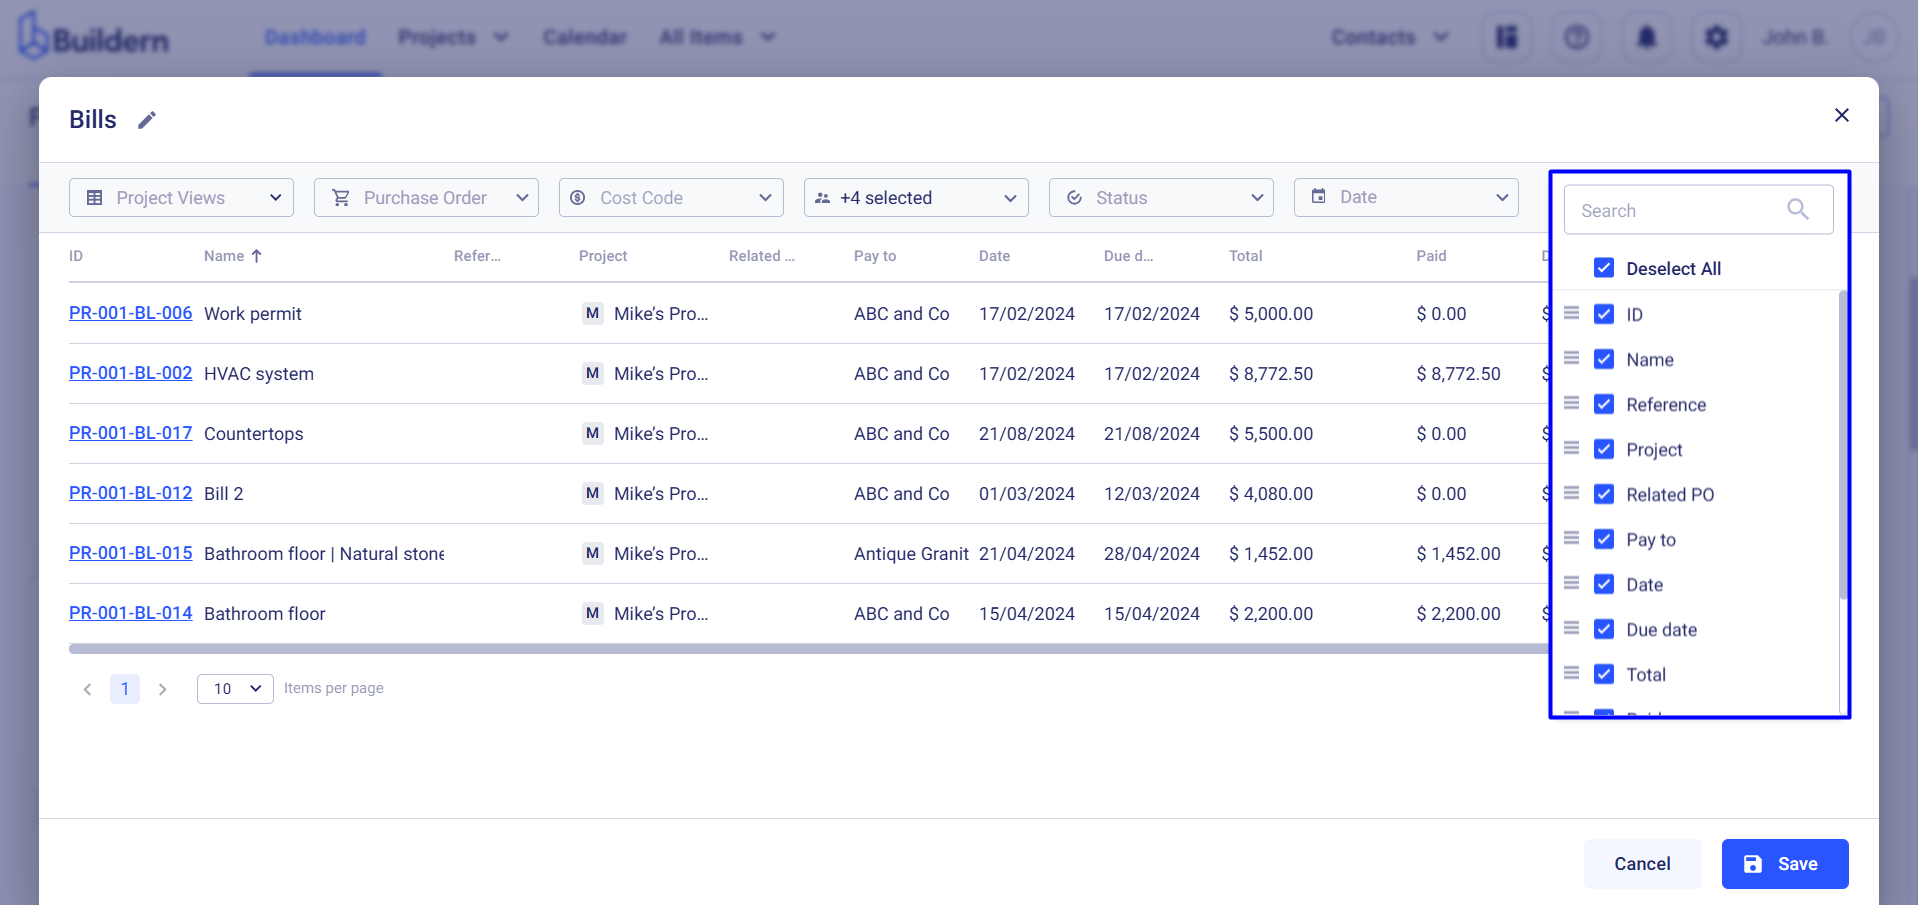
A new window will open where you can set specific filters for the widget view. Filter data based on the following aspects:
-
Purchase Orders
-
Cost Codes
-
Subcontractors and Vendors
-
Status
-
Date
You can also show and hide columns, reorder, and resize them after adding them to ensure seamless viewing options and convenience.
Once you save the changes, the current widget will display only the filtered information.
Step 3: Managing Views, Access, and Permissions
At Buildern, we prioritize privacy and security to ensure that sensitive project information is always protected. The Dashboard is designed with flexibility in mind, allowing you to create multiple views for different purposes and control who has access to each view.
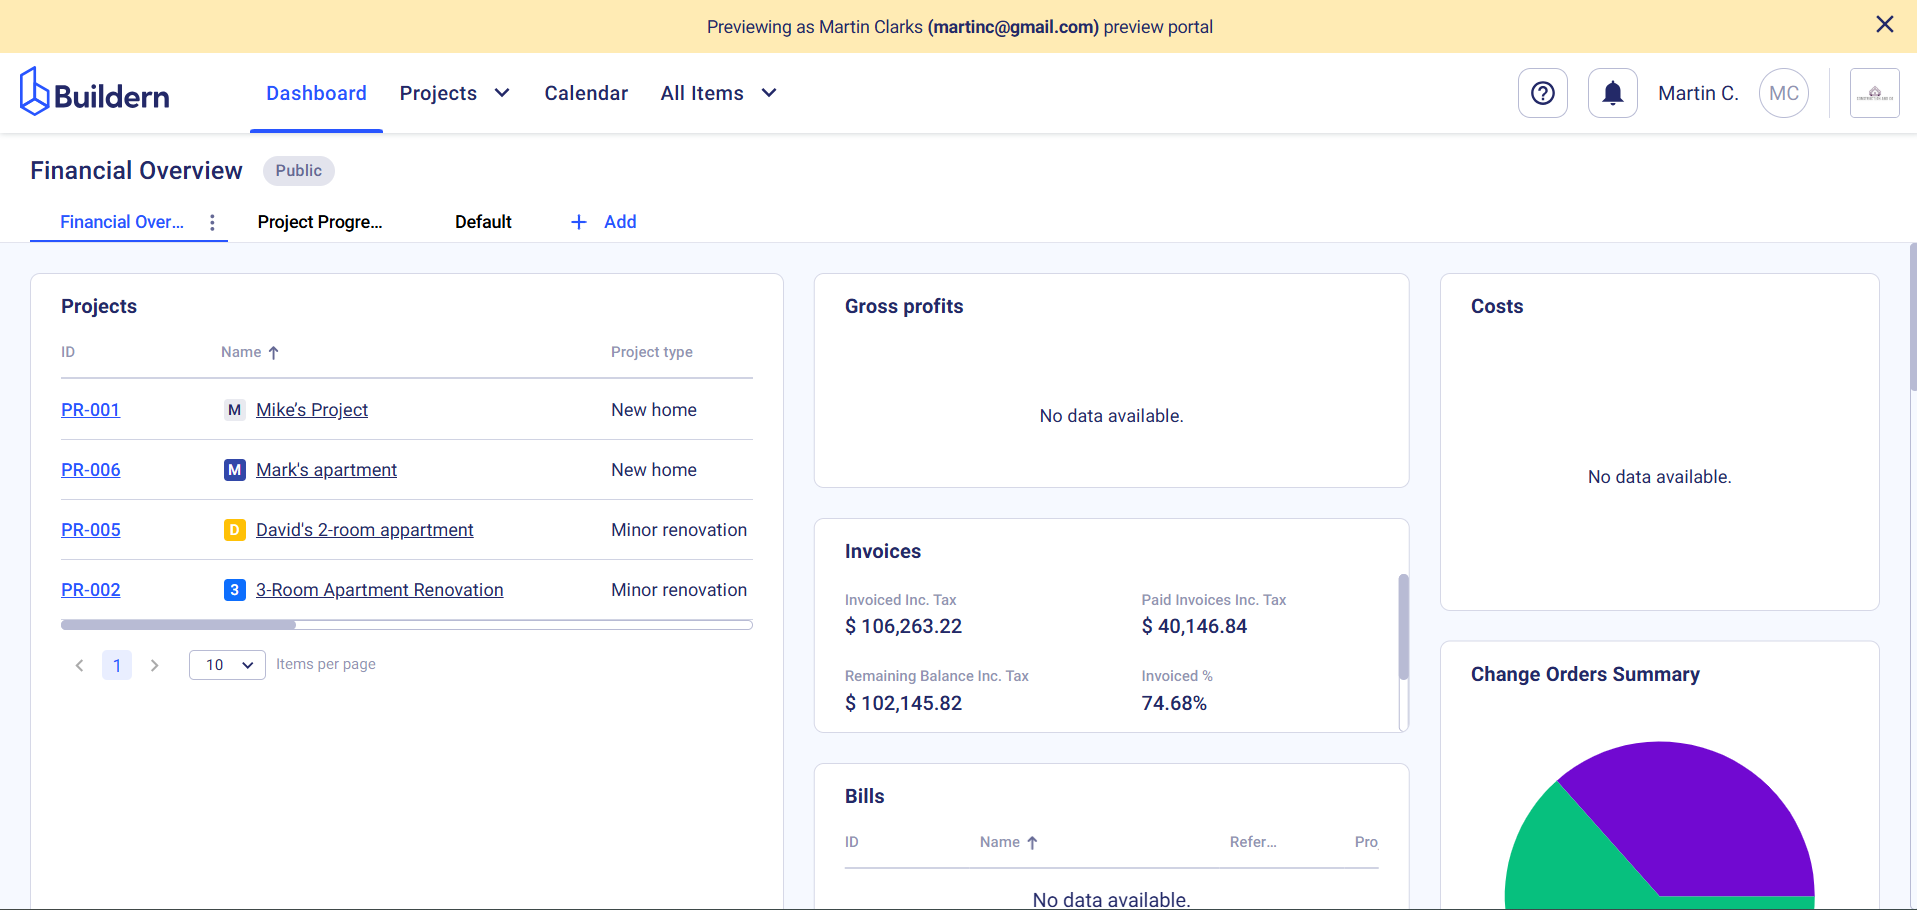
If a user doesn’t have access to specific data, they still won’t be able to view it in the shared dashboards. For instance, if a client doesn’t have access to bills, costs, and specific financial metrics, they will have no data in the corresponding widgets (see the image below).
Let’s further see how you work with multiple views and manage their access.
Creating and Managing Multiple Dashboards
Buildern lets you set up custom dashboard views tailored to specific team needs or roles. For example:
-
A Financial View to focus on invoices, bills, and key financial metrics.
-
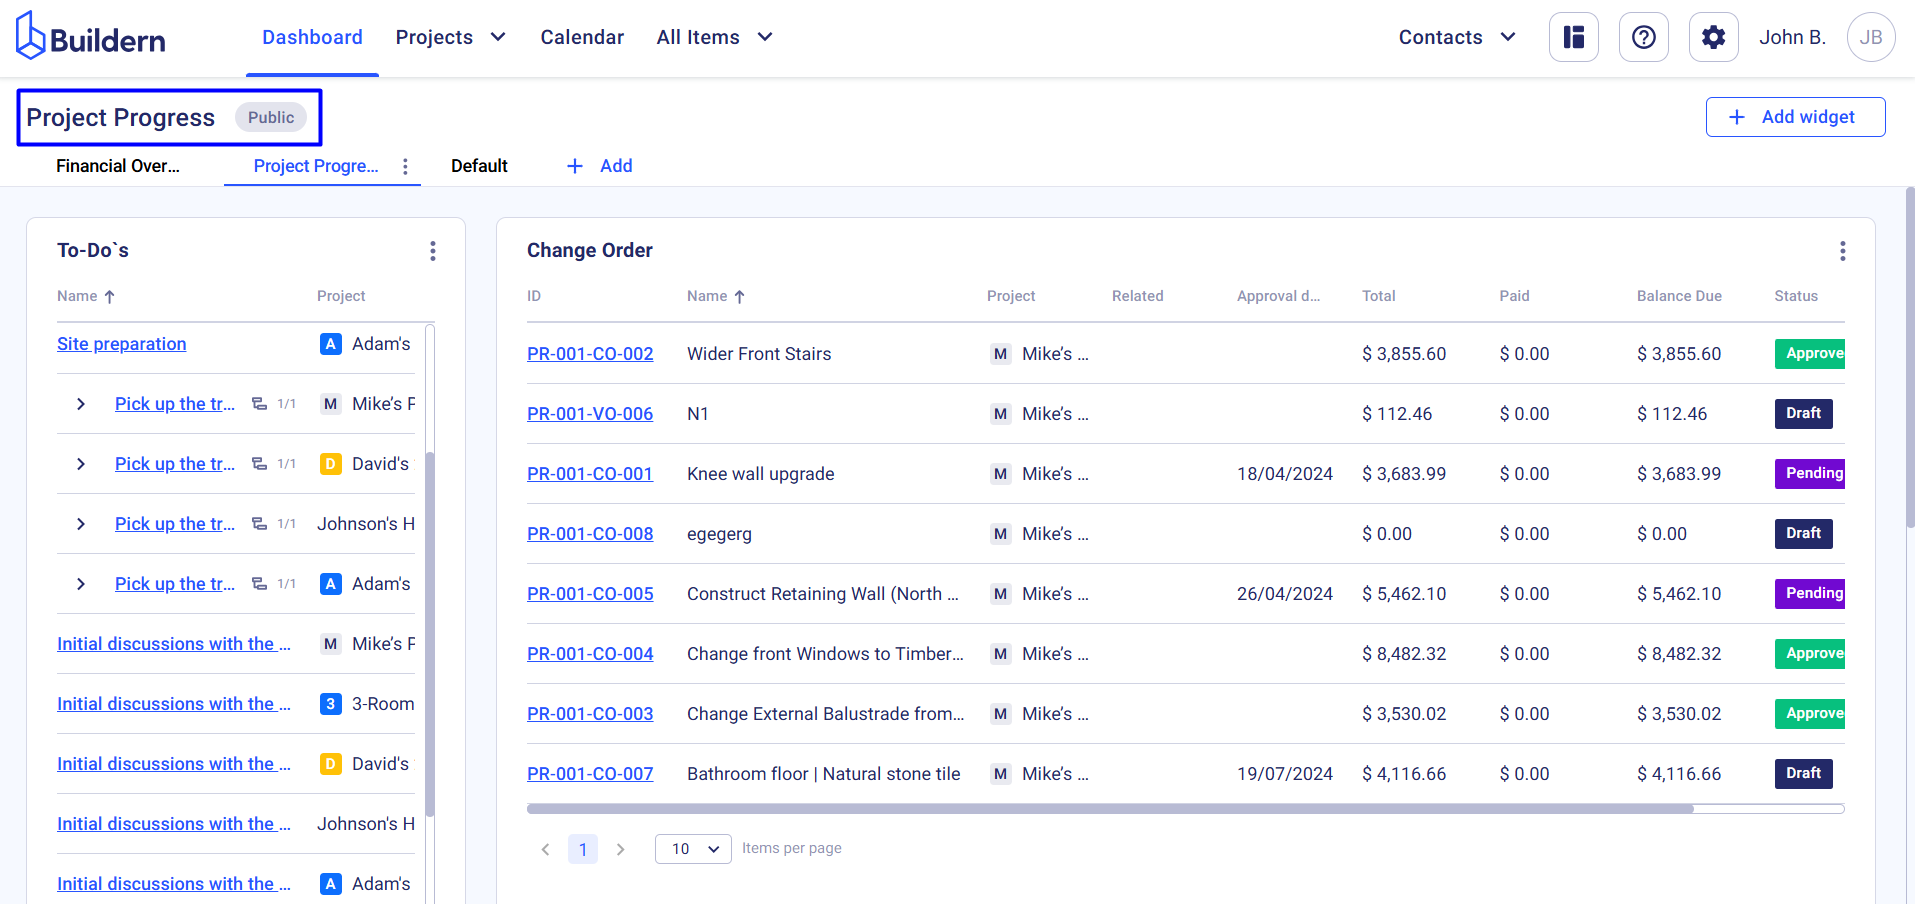
A Project Progress View to monitor tasks, timelines, and change orders.
-
A Procurement View to track purchase orders and material status.
How to Create a View
-
Click on the +Add button in the upper part of your screen
-
Select the access level and give a descriptive name
-
Add and customize widgets relevant to the purpose of this view
Controlling Access and Permissions
While selecting the access level for the dashboard view, you have the following options:
-
Public - All users to see the dashboard
-
By Role - Only selected roles can see the dashboard
-
Private - Visible only to the dashboard creator
💡Learn more about managing roles and permissions in Buildern.
