❕But first, let’s go through the basics.
Cost codes play a fundamental role in construction project management, serving as the backbone for accurate budgeting, financial tracking, and reporting. In essence, cost codes are alphanumeric identifiers assigned to specific tasks, materials, or expenses within a construction project.
💡Learn more about cost codes in construction in our blog.
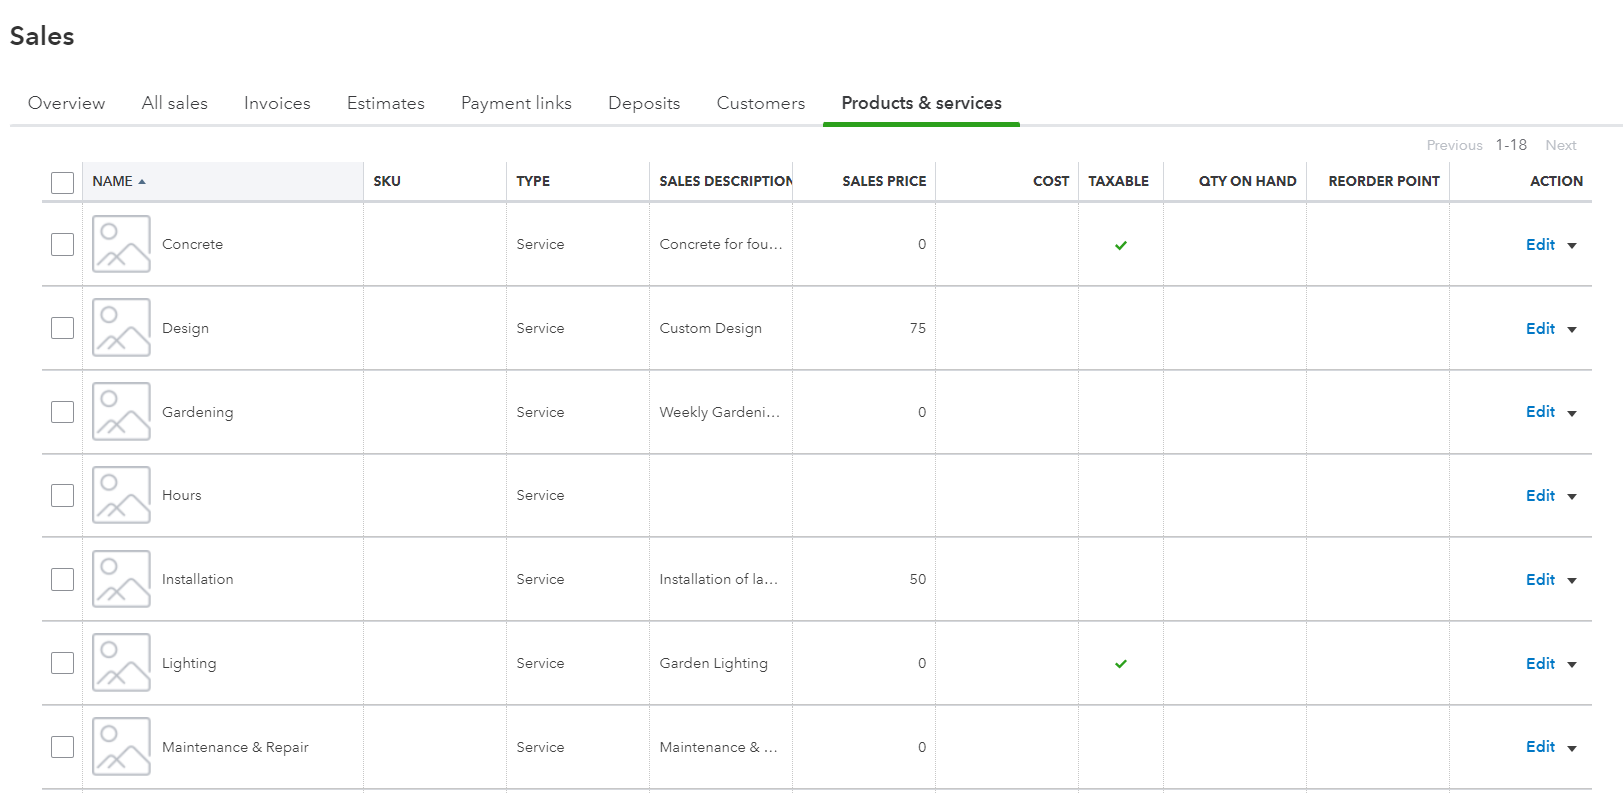
Cost codes in Buildern will sync with the Product and Services section in QuickBooks.
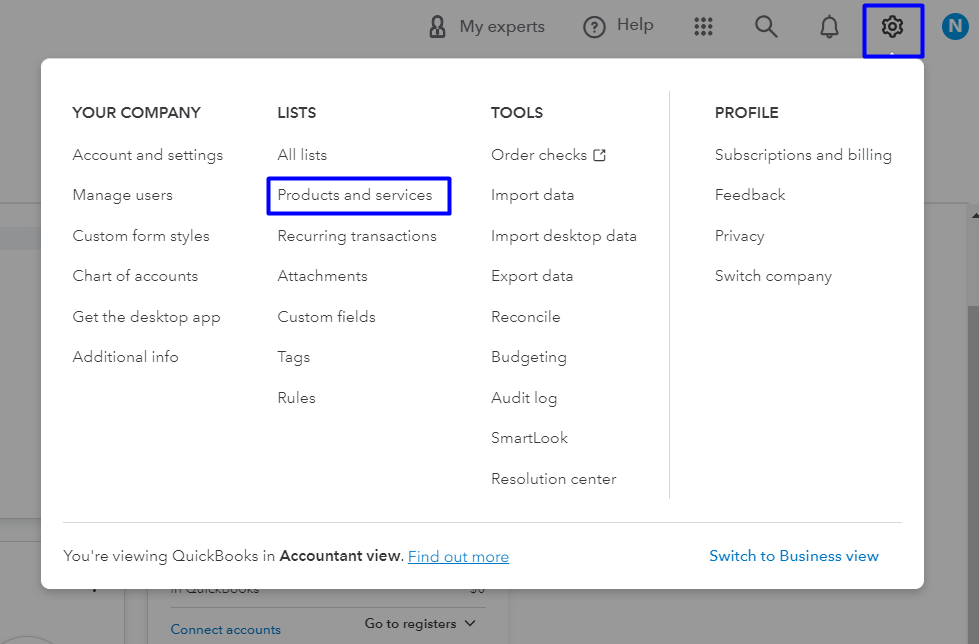
Here’s how to find yours in QuickBooks.
Go to Settings → Product and Services
Here, you’ll find all kinds of cost codes created and used before.
Moving all this data to Buildern is a part of our two-way integration (meaning anything you add, edit, or delete in one software will automatically change in the other).
To get started you will need to have your Buildern and QuickBooks accounts connected.
💡Learn more about how to do it here: How to Connect Your Buildern Account to QuickBooks?
If you have already connected your accounts but don’t know where to start, go to Settings → Accounting Integration in Buildern. Or simply click here.
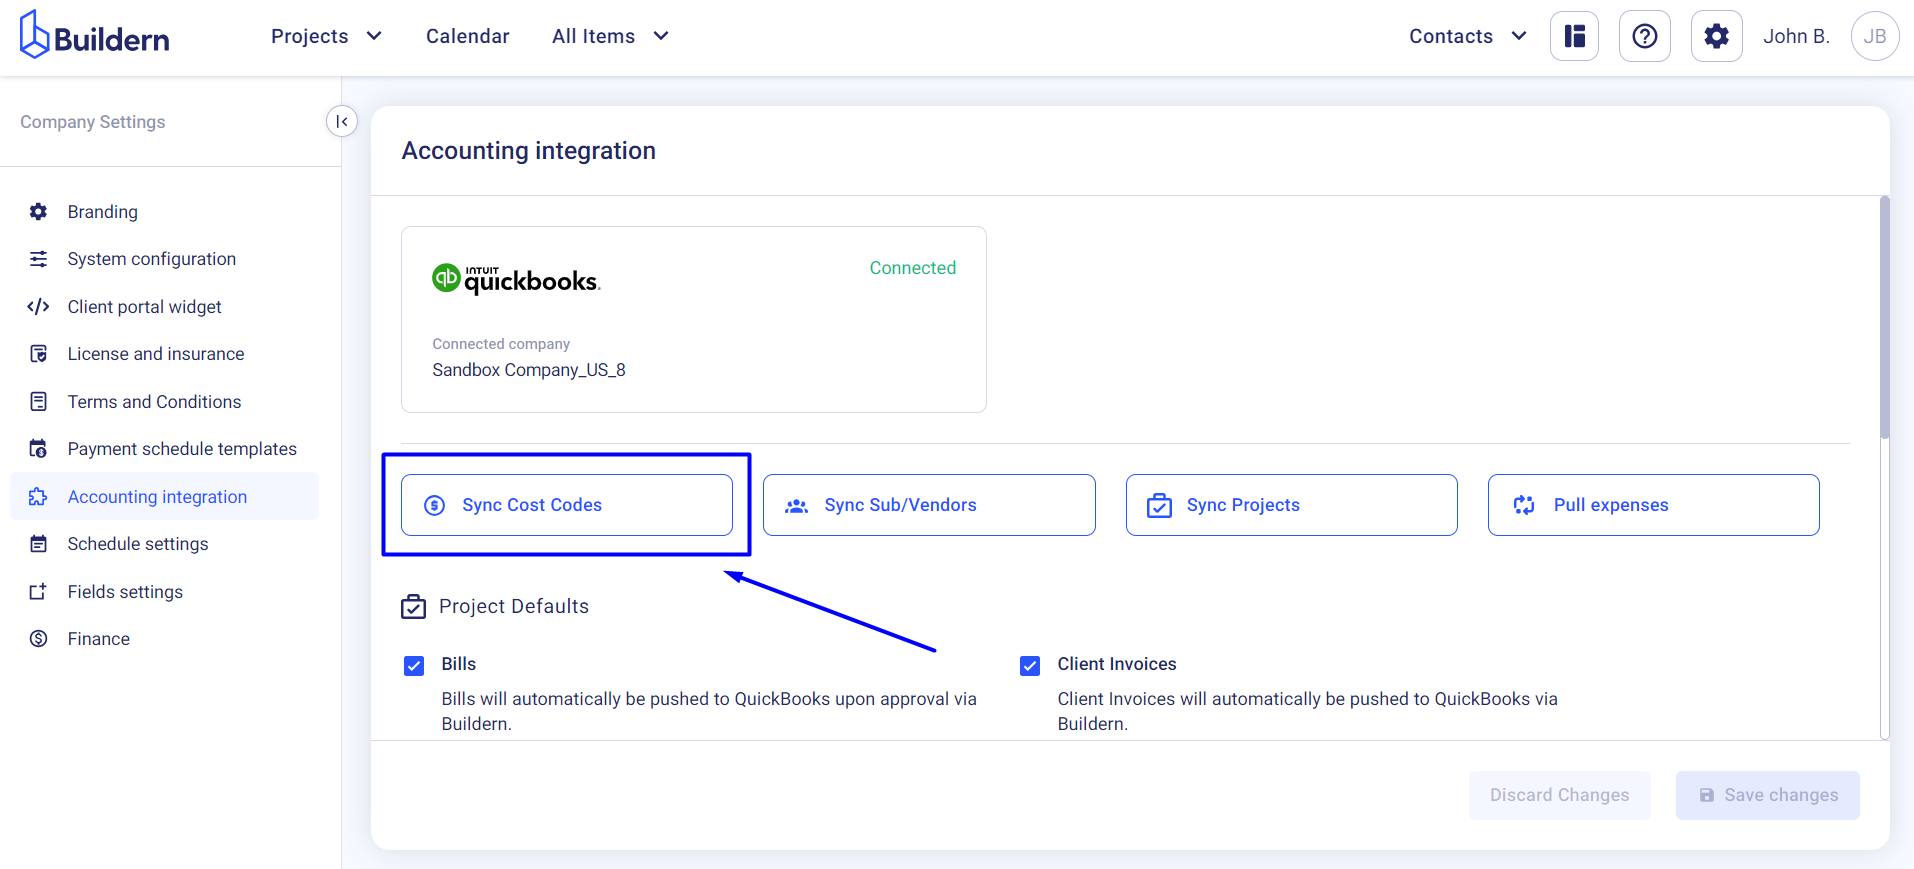
Click the “Sync Cost Codes” button.
The pre-added cost codes in QuickBooks will appear under the “Buildern ← QuickBooks” tab.
You will have three options here:
-
Create new cost codes in Buildern to match your QuickBooks data.
-
Match your QuickBooks cost codes with those already created in your Buildern account.
-
Leave them unmatched.
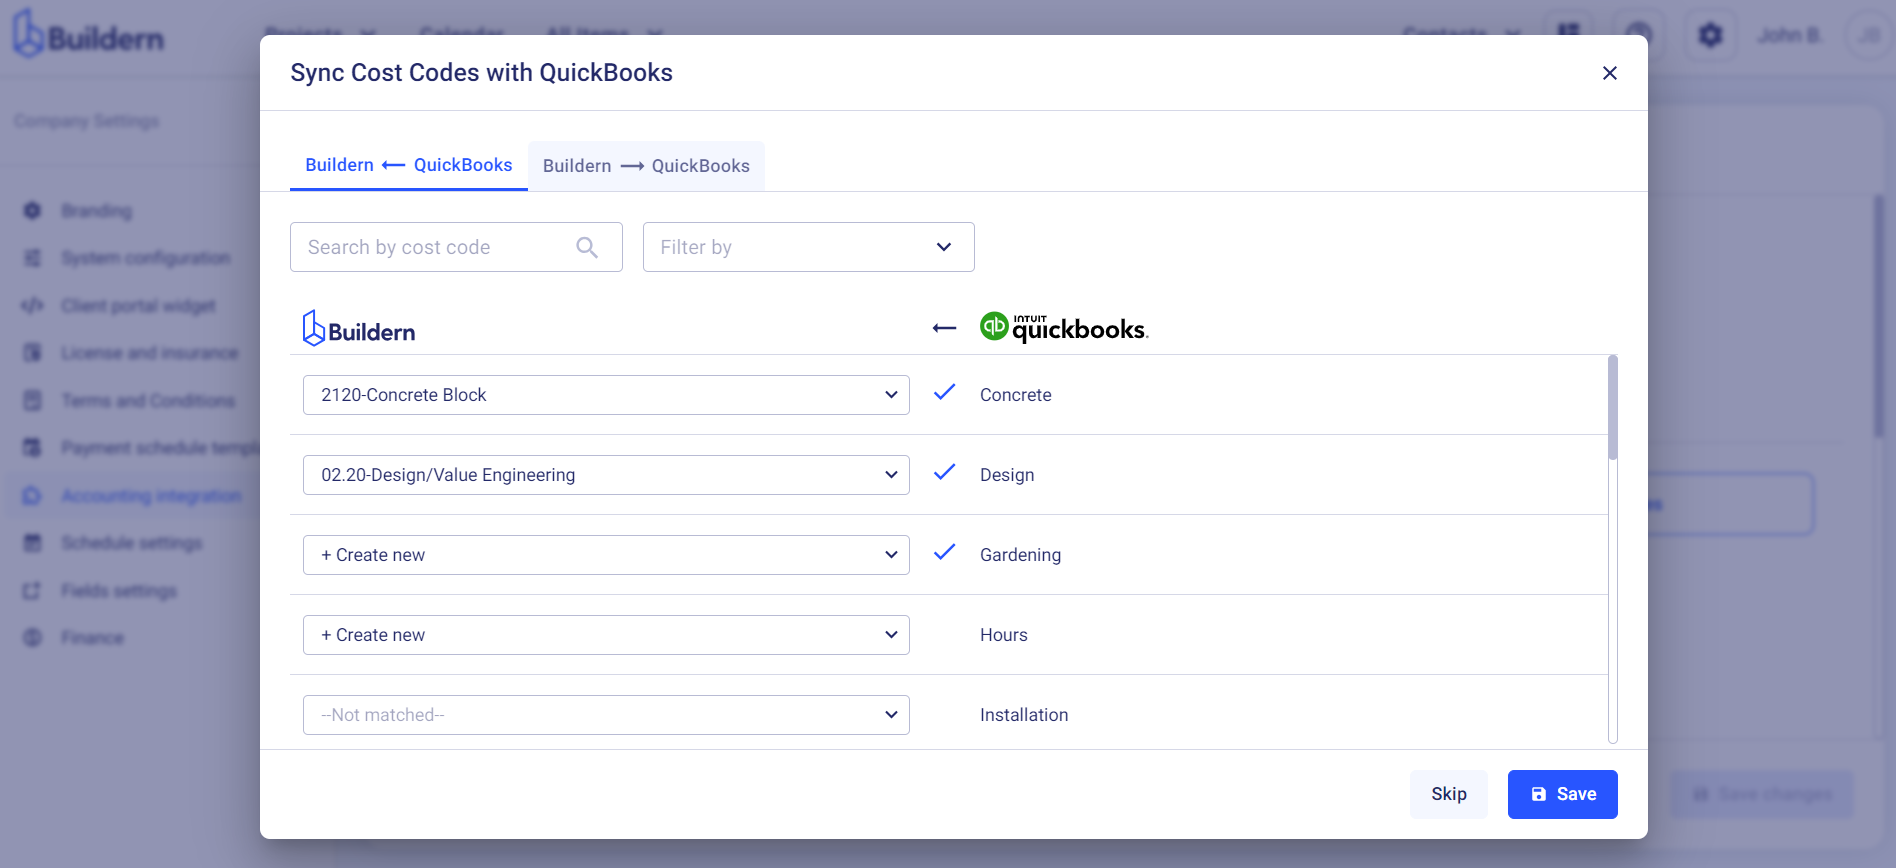
Once you finish the “Buildern ← QuickBooks” setup, switch to the “Buildern → QuickBooks” tab.
Use the same approach here.
Create, match, or leave unmatched the corresponding cost codes and save the changes.
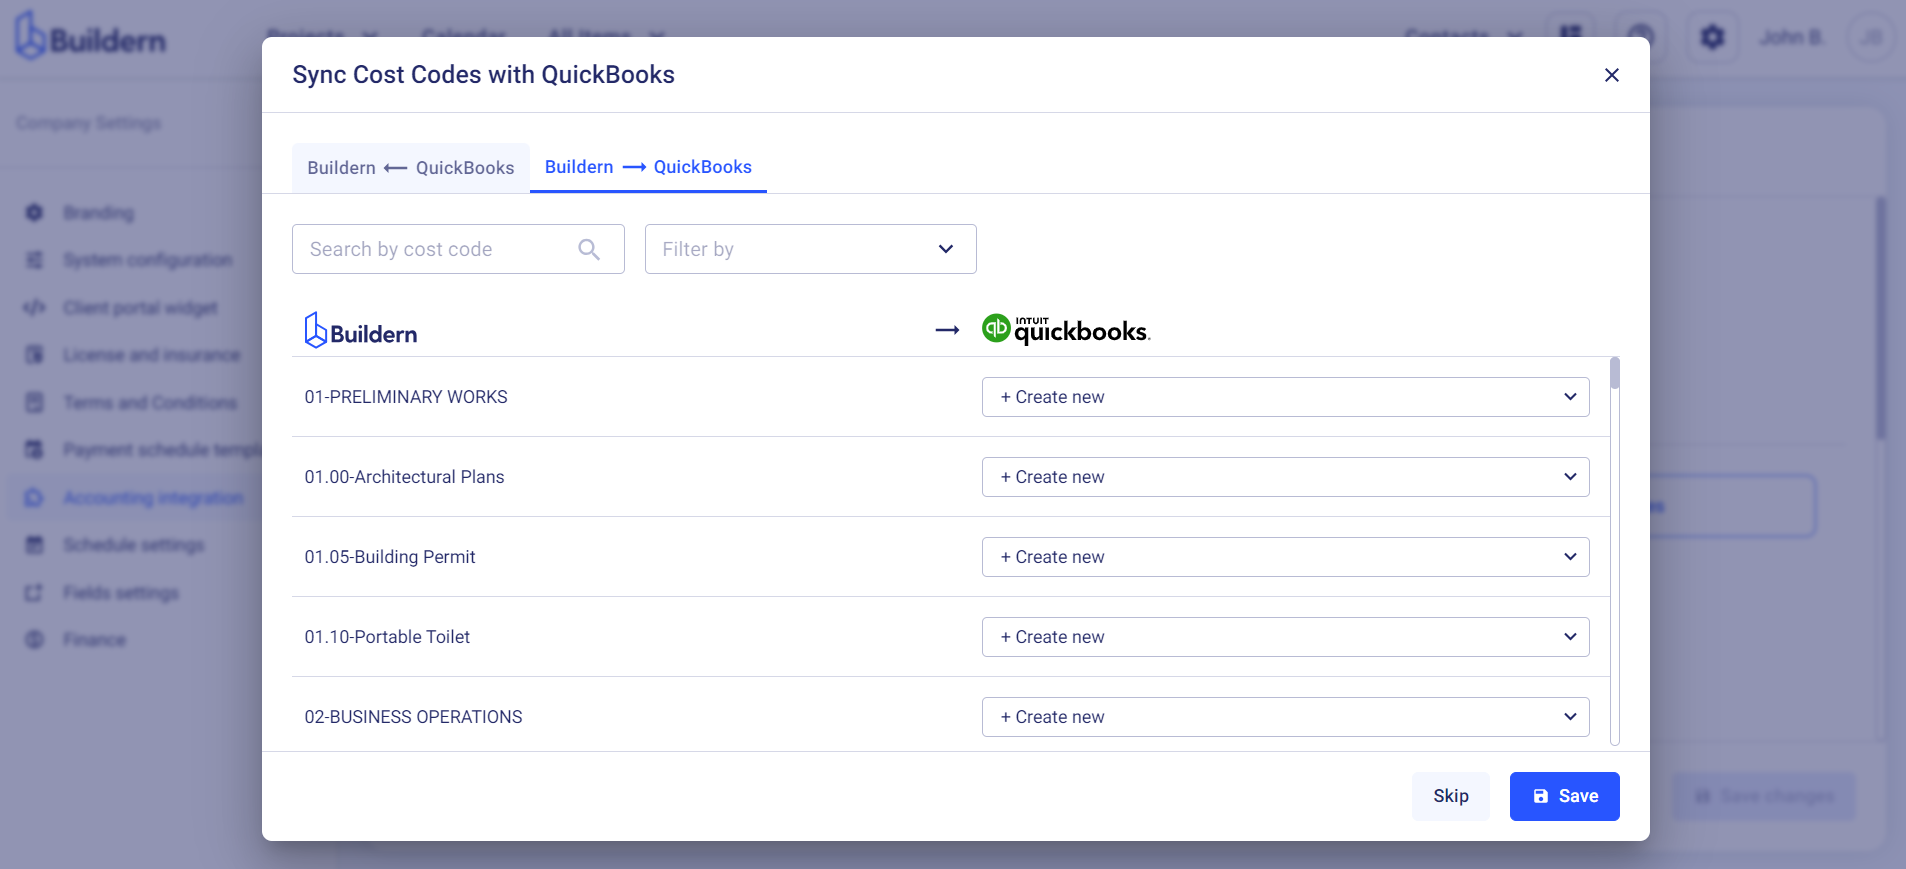
Save the changes once you finish setting up.
We can now go to the Cost Codes section in Buildern to see if all the data has been entered successfully.
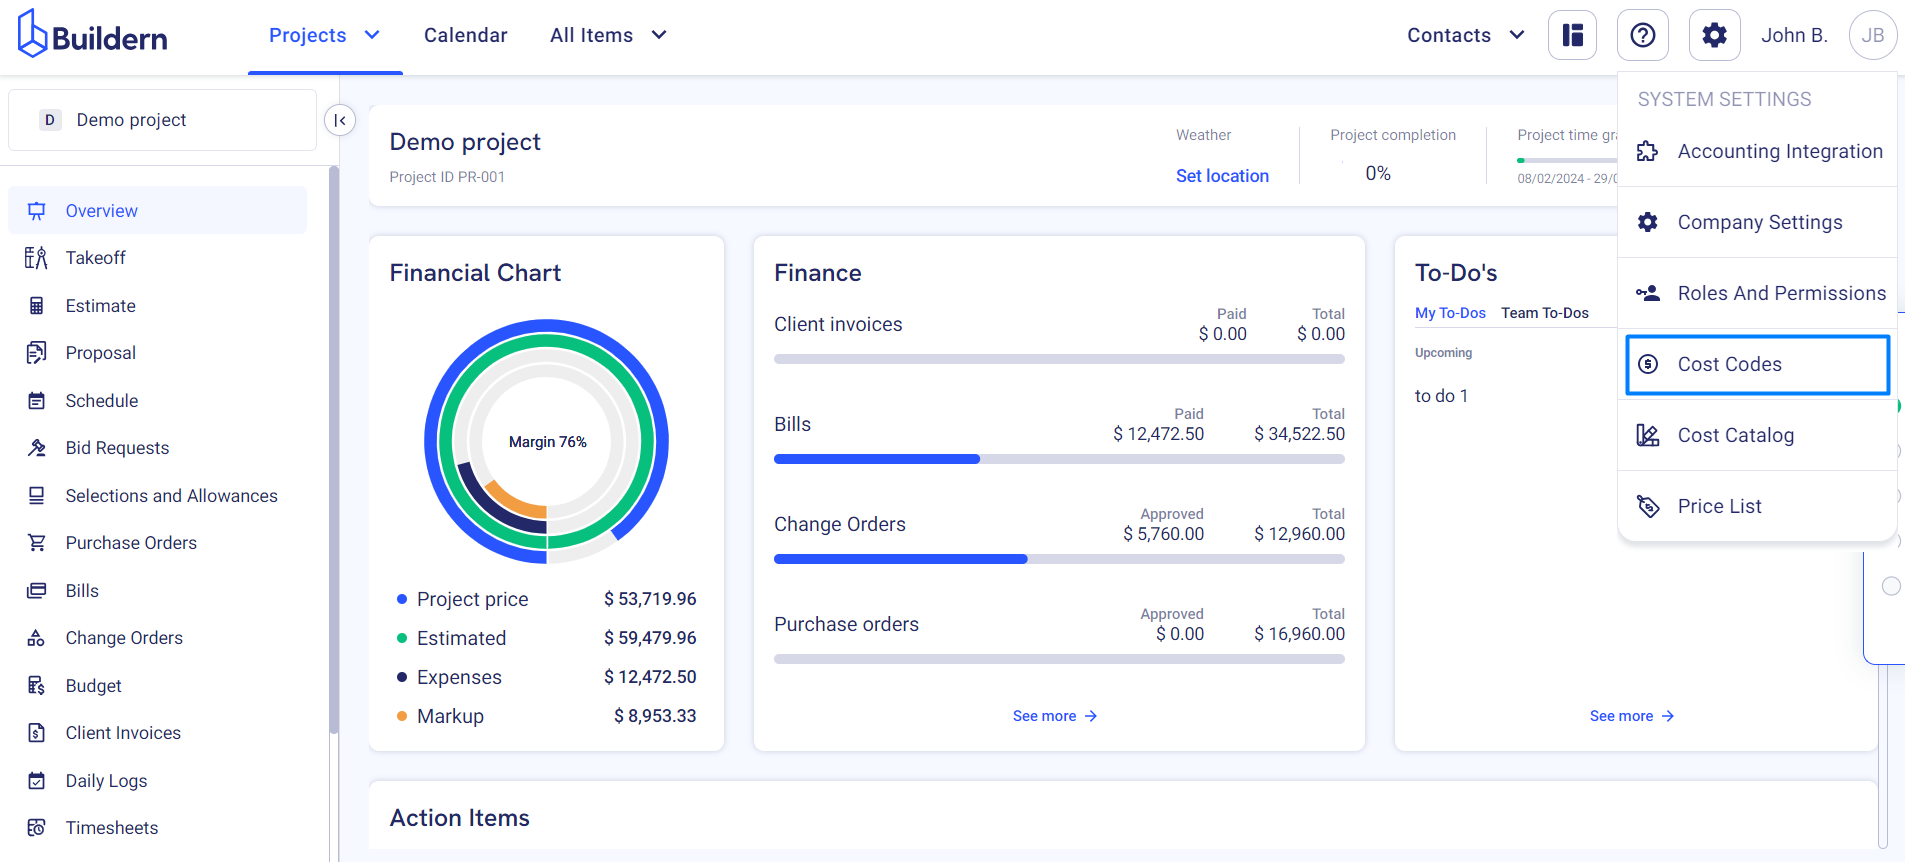
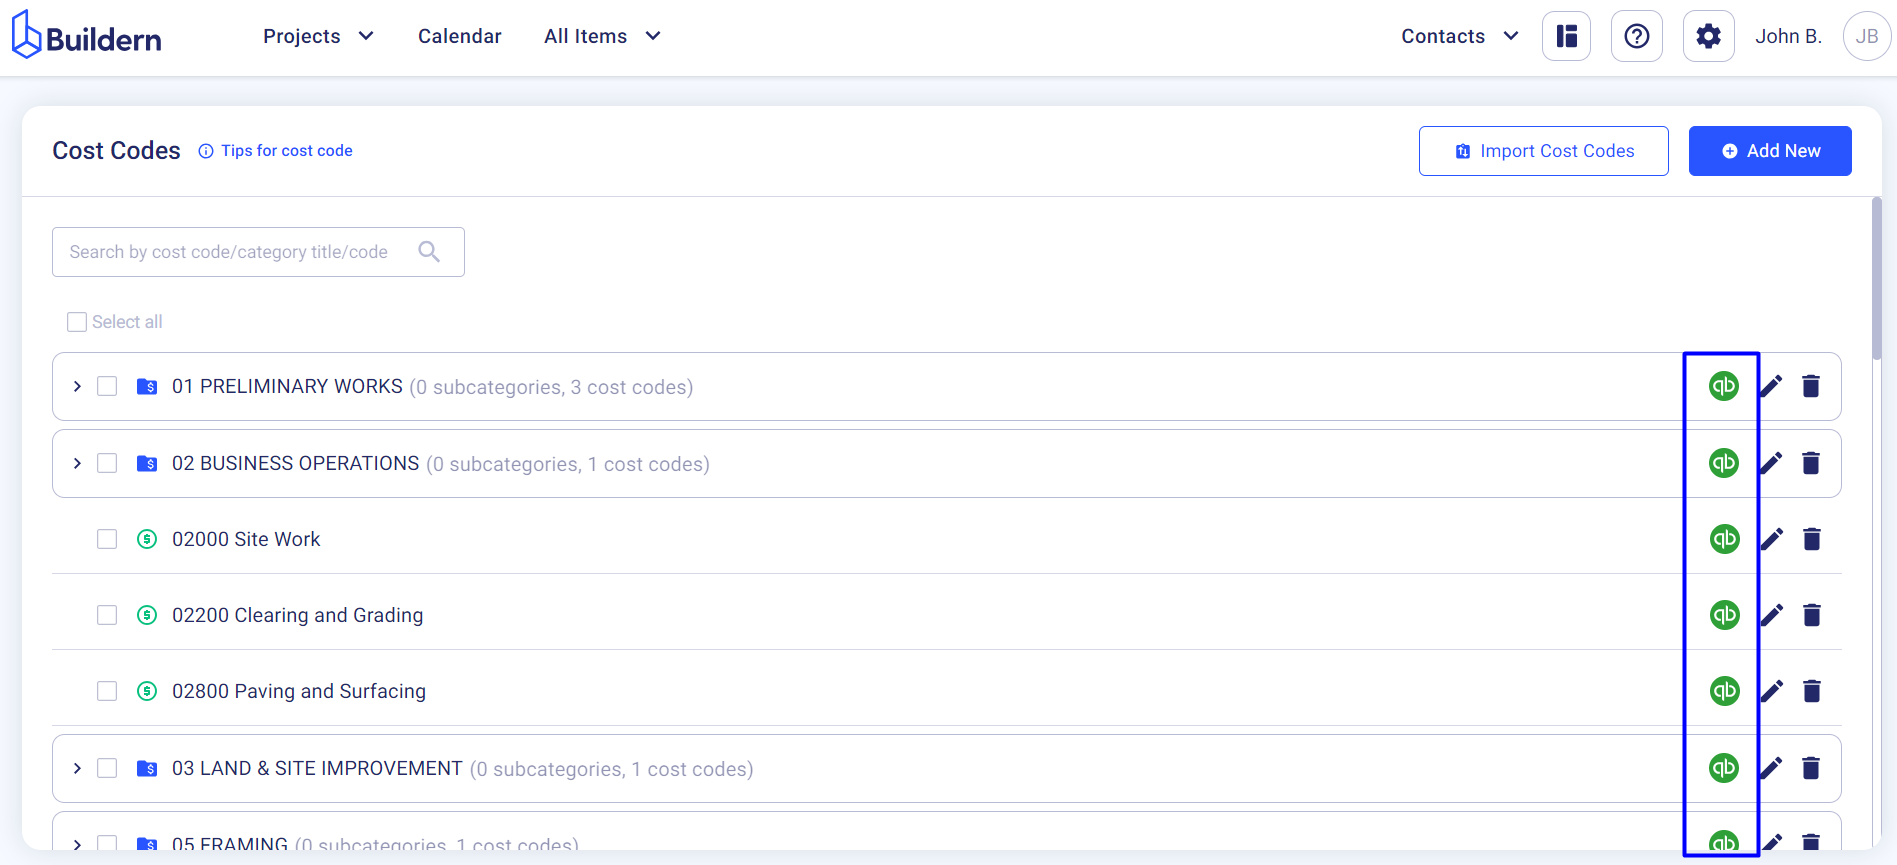
You’ll see that cost codes synced with QuickBooks have the software’s logo at the end of the line.
