By following these instructions, you’ll streamline your financial management processes and ensure smooth transactions between your Buildern projects and QuickBooks accounting software.
Continue reading or watch our detailed video guide. ⬇️
Let's get started!
1. Log in to Buildern
Ensure having valid credentials before getting started.
2. Go to the Accounting Integration Settings in Buildern
Once you are in, go to your “Accounting Integration” section.
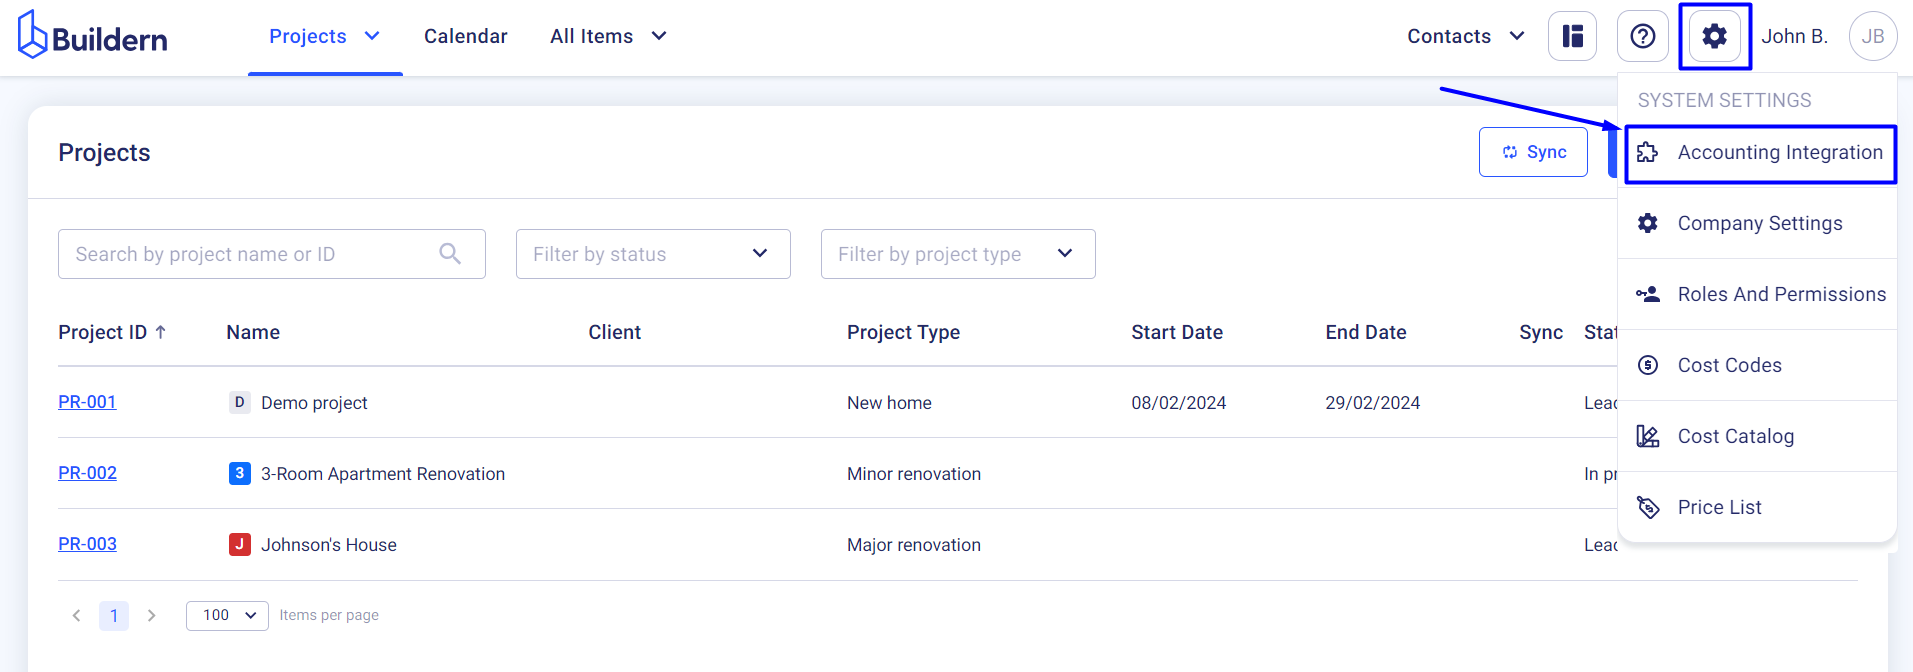
This is where you set QuickBooks as the primary accounting software and integrate both your accounts.
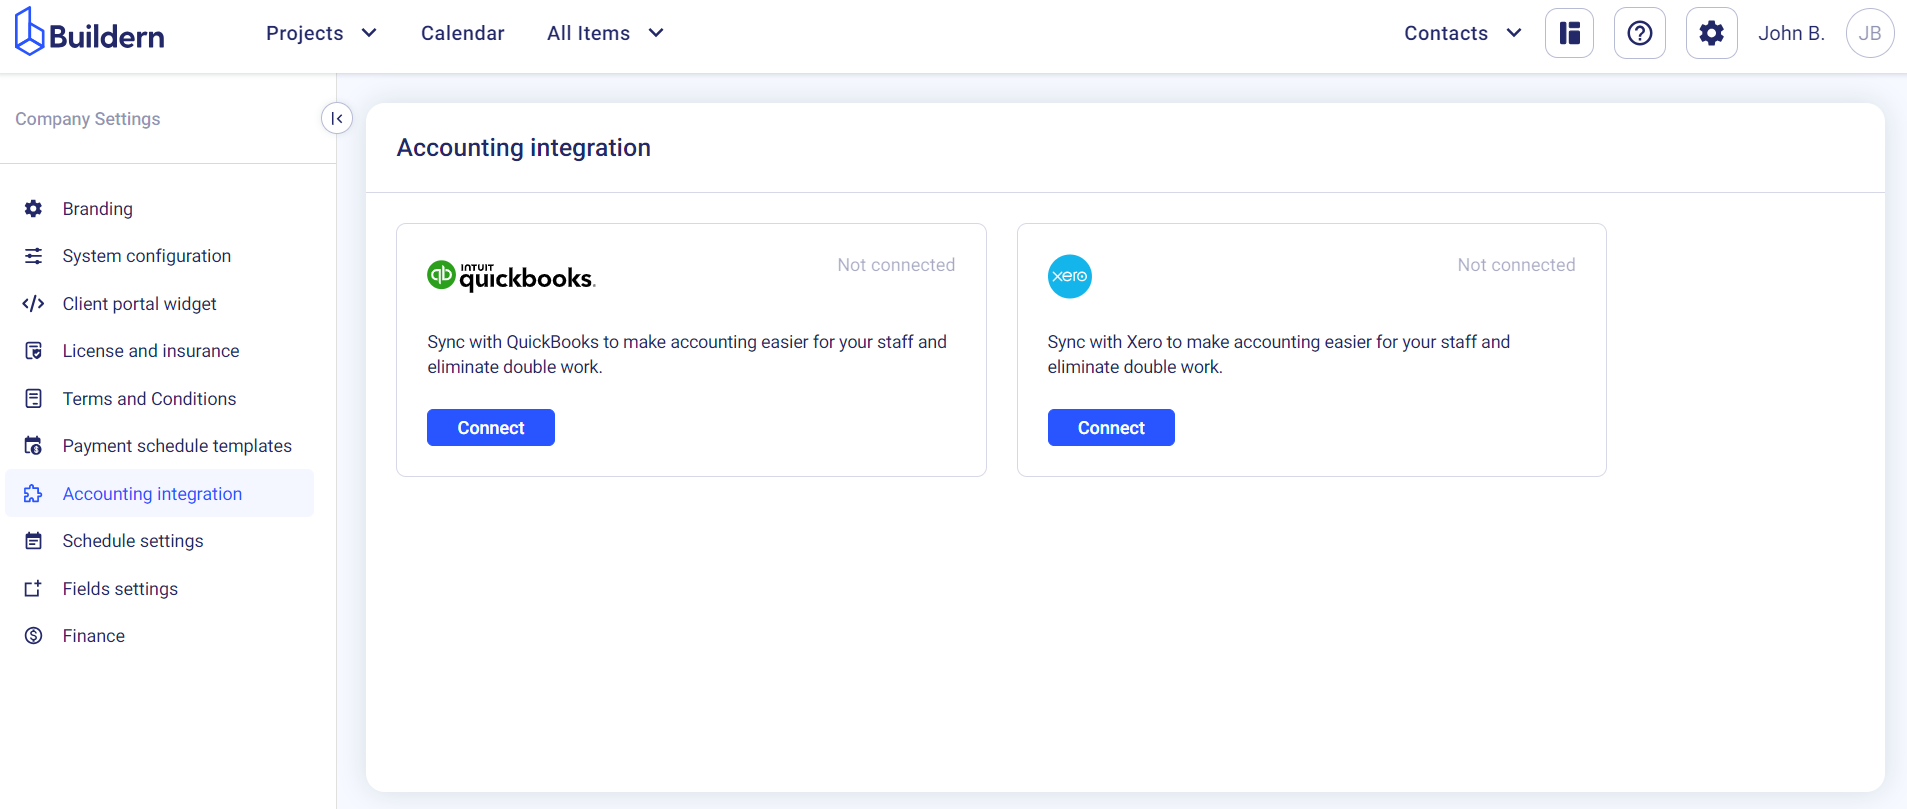
Click the “Connect” button to get started.
The page will reload and take you to the QuickBooks sign-in page.
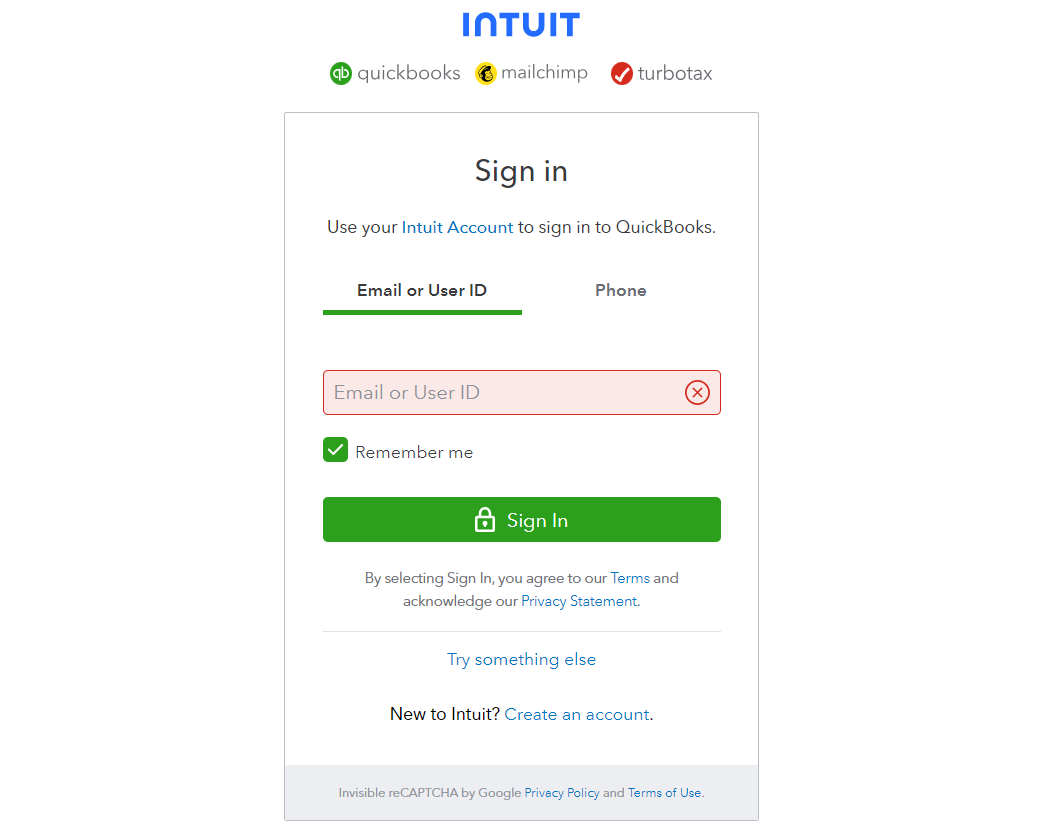
Once in, you will be redirected to your Buildern account to continue the integration.
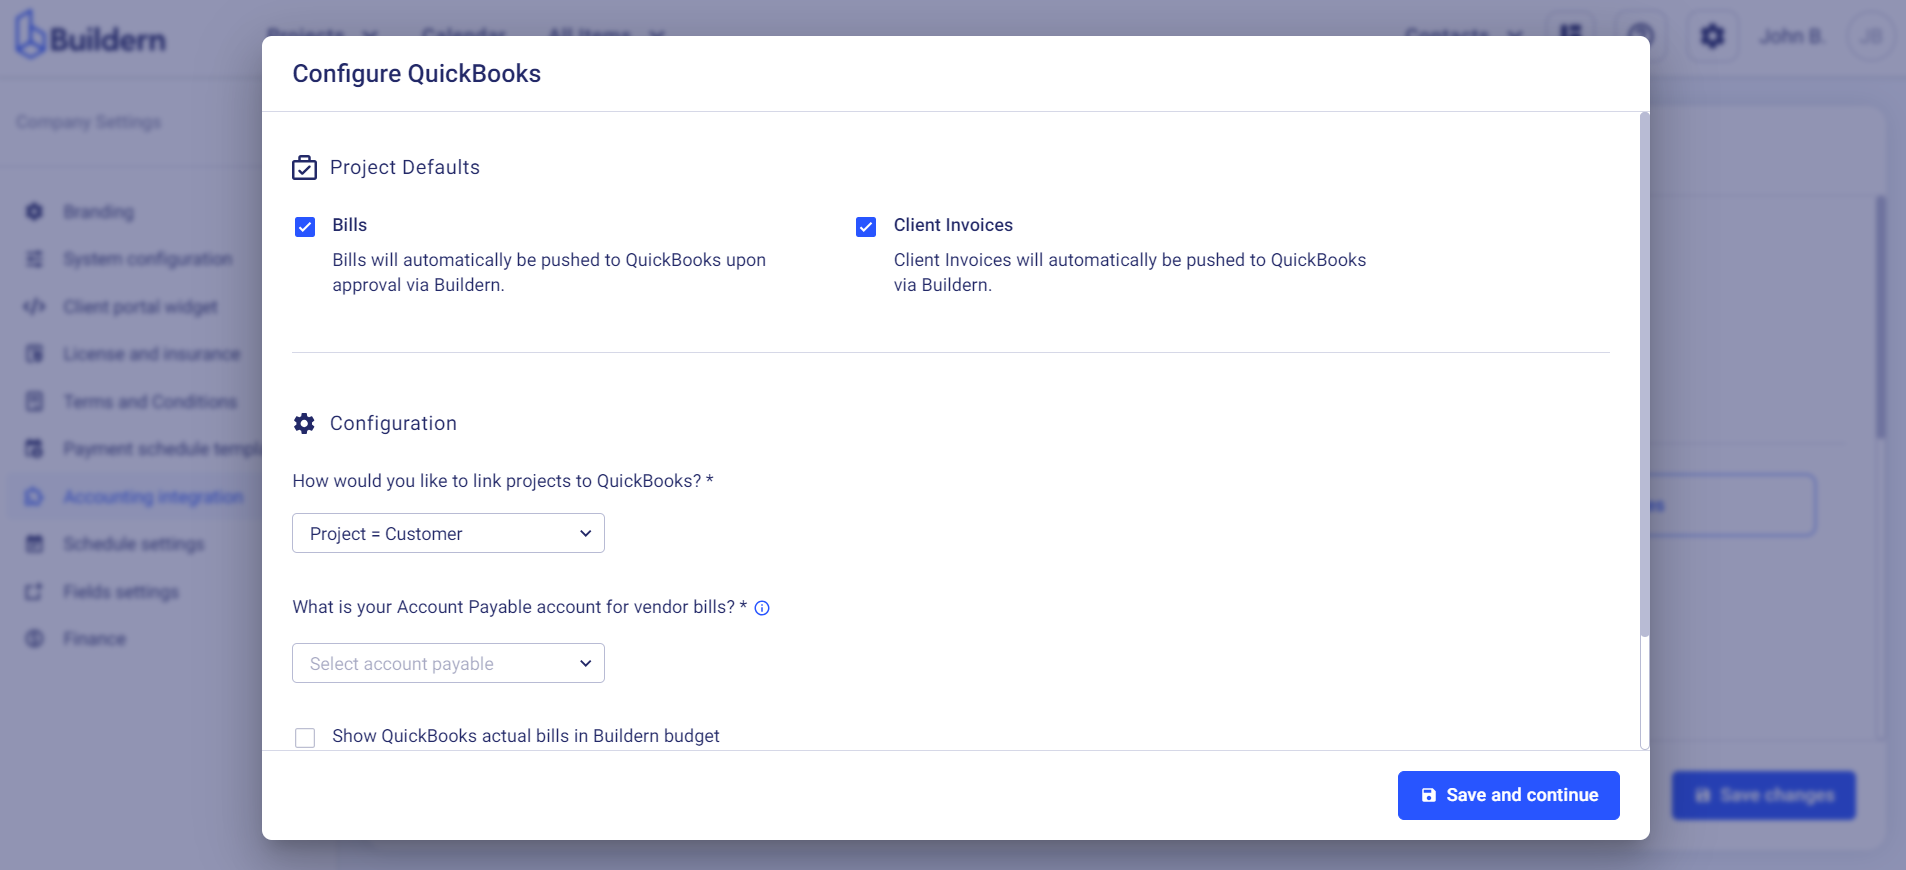
Tick the bills and client invoices checkboxes if you want the two software to sync the corresponding data.
Moreover, at this stage, you will have two options for linking projects to QuickBooks:
-
Project = Customer
-
Project = Job
This means the projects created in Buildern will sync either with the Customer or Job databases in QuickBooks.
Here you will also need to set your Account Payable for vendor bills.
If you want to configure your Account Payable in QuickBooks, you can do it in advance and then proceed with the integration.
Follow these steps to ensure your account has been set up correctly in QuickBooks (this will ensure smooth and error-free integration with Buildern):
1. Go to your QuickBooks settings
2. Select the Chart of accounts
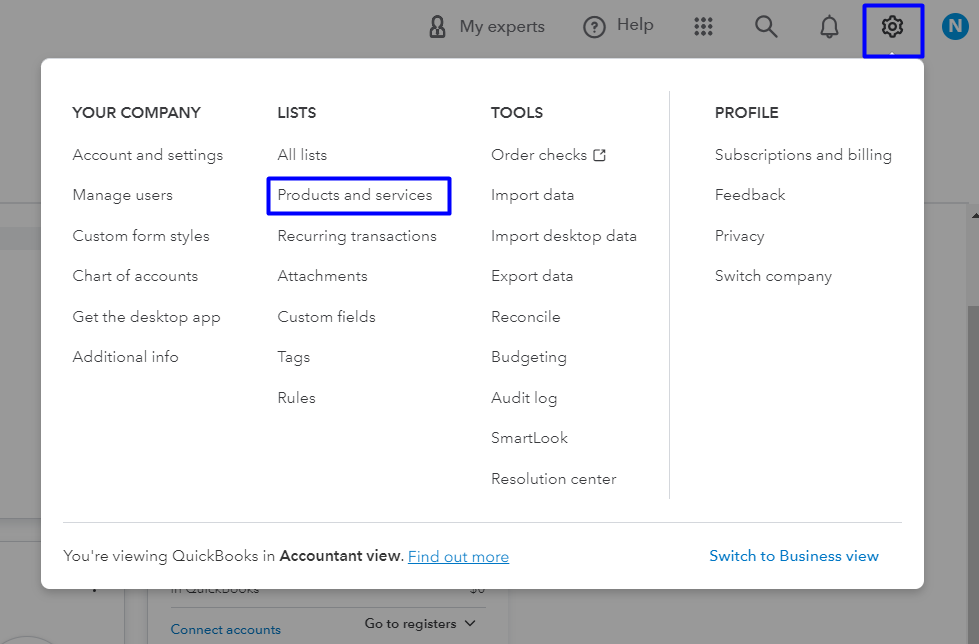
3. Select and modify an account to make it an Account Payable (A/P)
4. (Optional) Or create a new Account Payable (A/P)
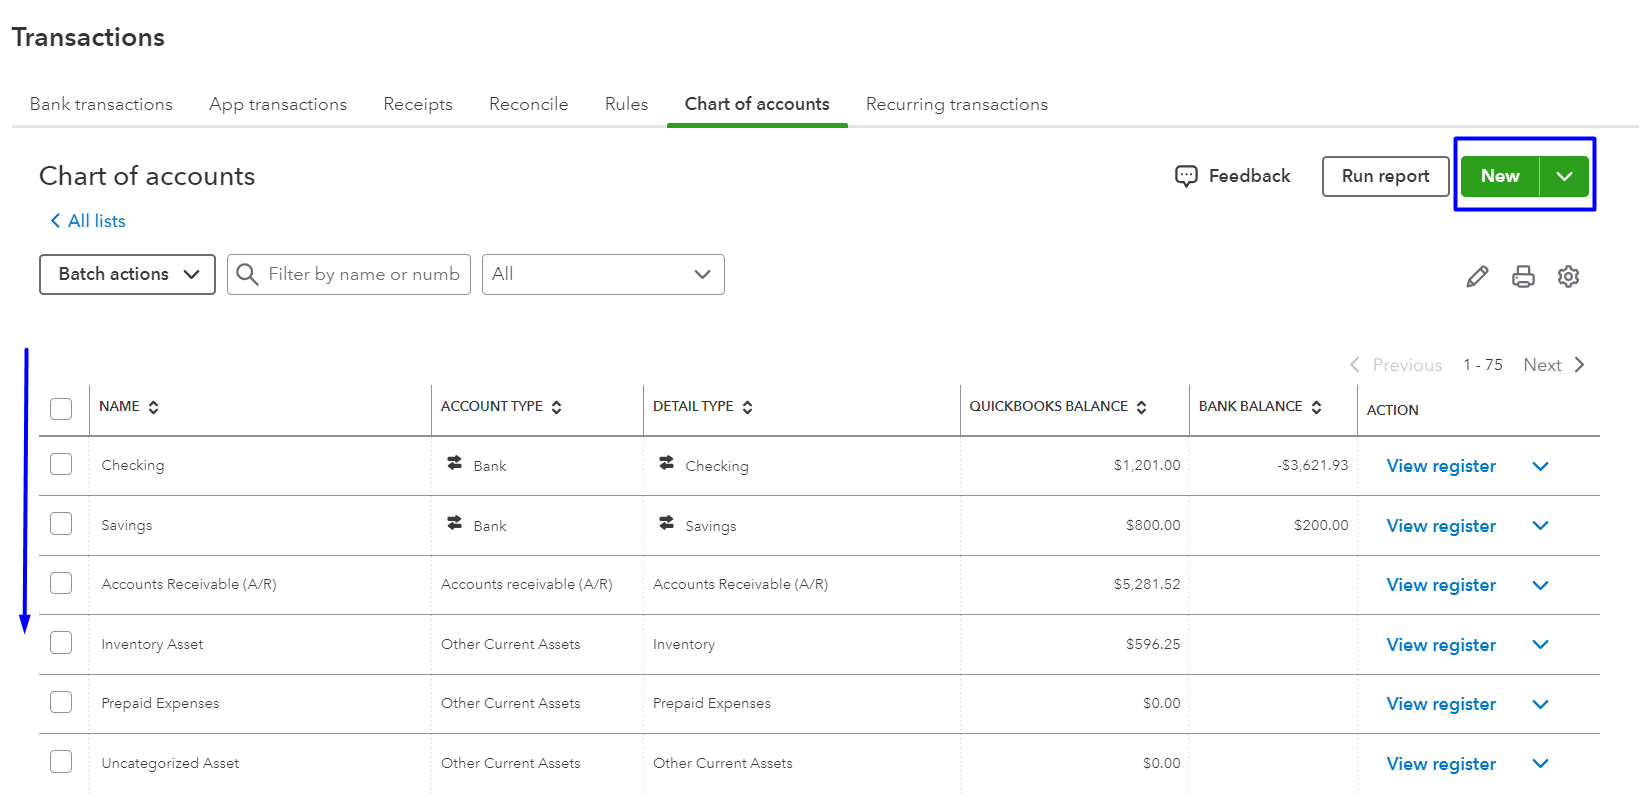
Once done, return to your Buildern account, update it, set the Account Payable in the corresponding field, and save the changes.
💡Recommended Reading