Managing timesheets is a critical part of running a successful construction business. Accurate timesheets ensure that your team gets paid for the work they've done and allow for precise project costing.
Adding Construction Timesheets on Buildern
The first step in managing timesheets for your construction projects is to understand how the system works and train your team to use it.
Let's start by adding timesheets on Buildern.
Clock in/out through the mobile app
Your team members can clock in and out or add timesheets manually.
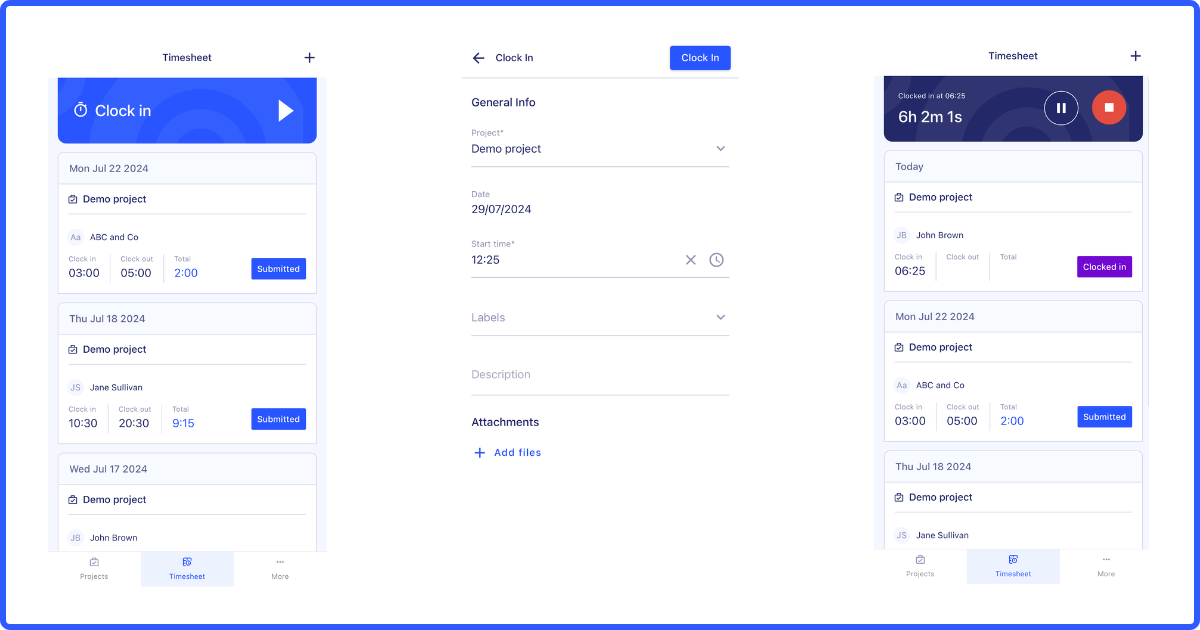
This is done using Buildern mobile app, which is available for both iOS and Android devices. The app allows you to track accurately your team’s hours worked by clocking in when they start the day and clocking out when they finish.
Add manual timesheets through the mobile app
If you need to log in timesheets with backdates, you can add them manually either through the mobile app or from Buildern’s web version.
Here’s how to add timesheets manually via the app:
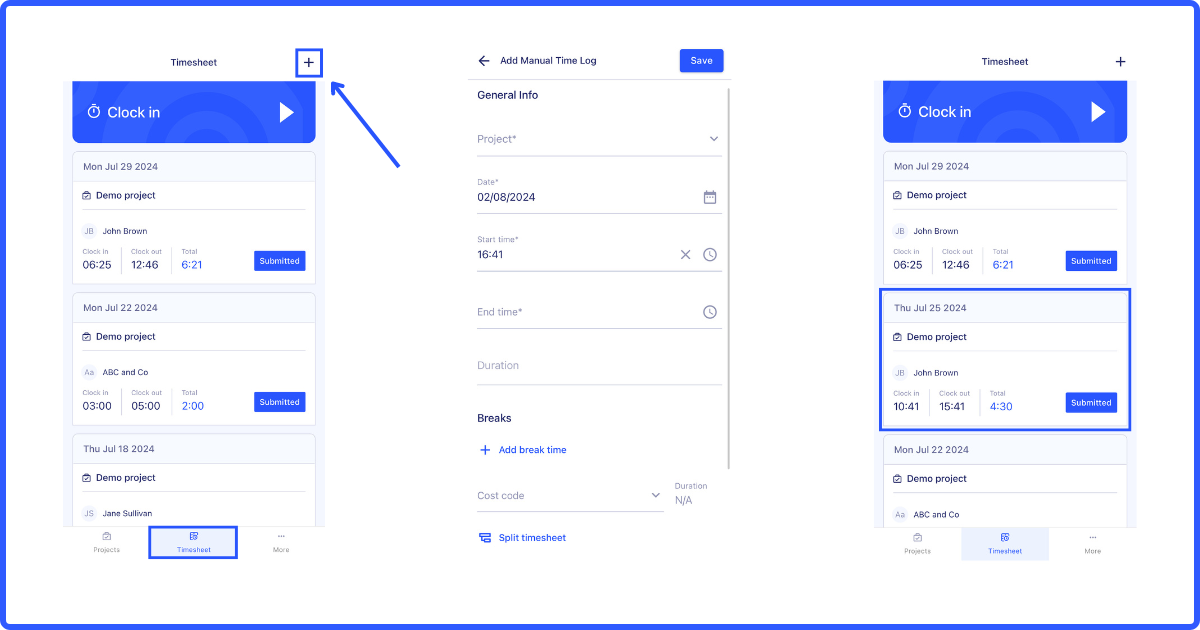
Step 1. Go to the Timesheets tab and click the + icon in the upper right corner.
Step 2. Fill in the required information:
-
Select the project
-
Set the date and start/end times
-
Add breaks
-
Choose the cost codes
-
Add labels, description, and attachments
Step 3. Save the timesheet.
The manually added timesheet will appear with the Submitted status in the corresponding project’s timesheets and in the All Timesheets sections.
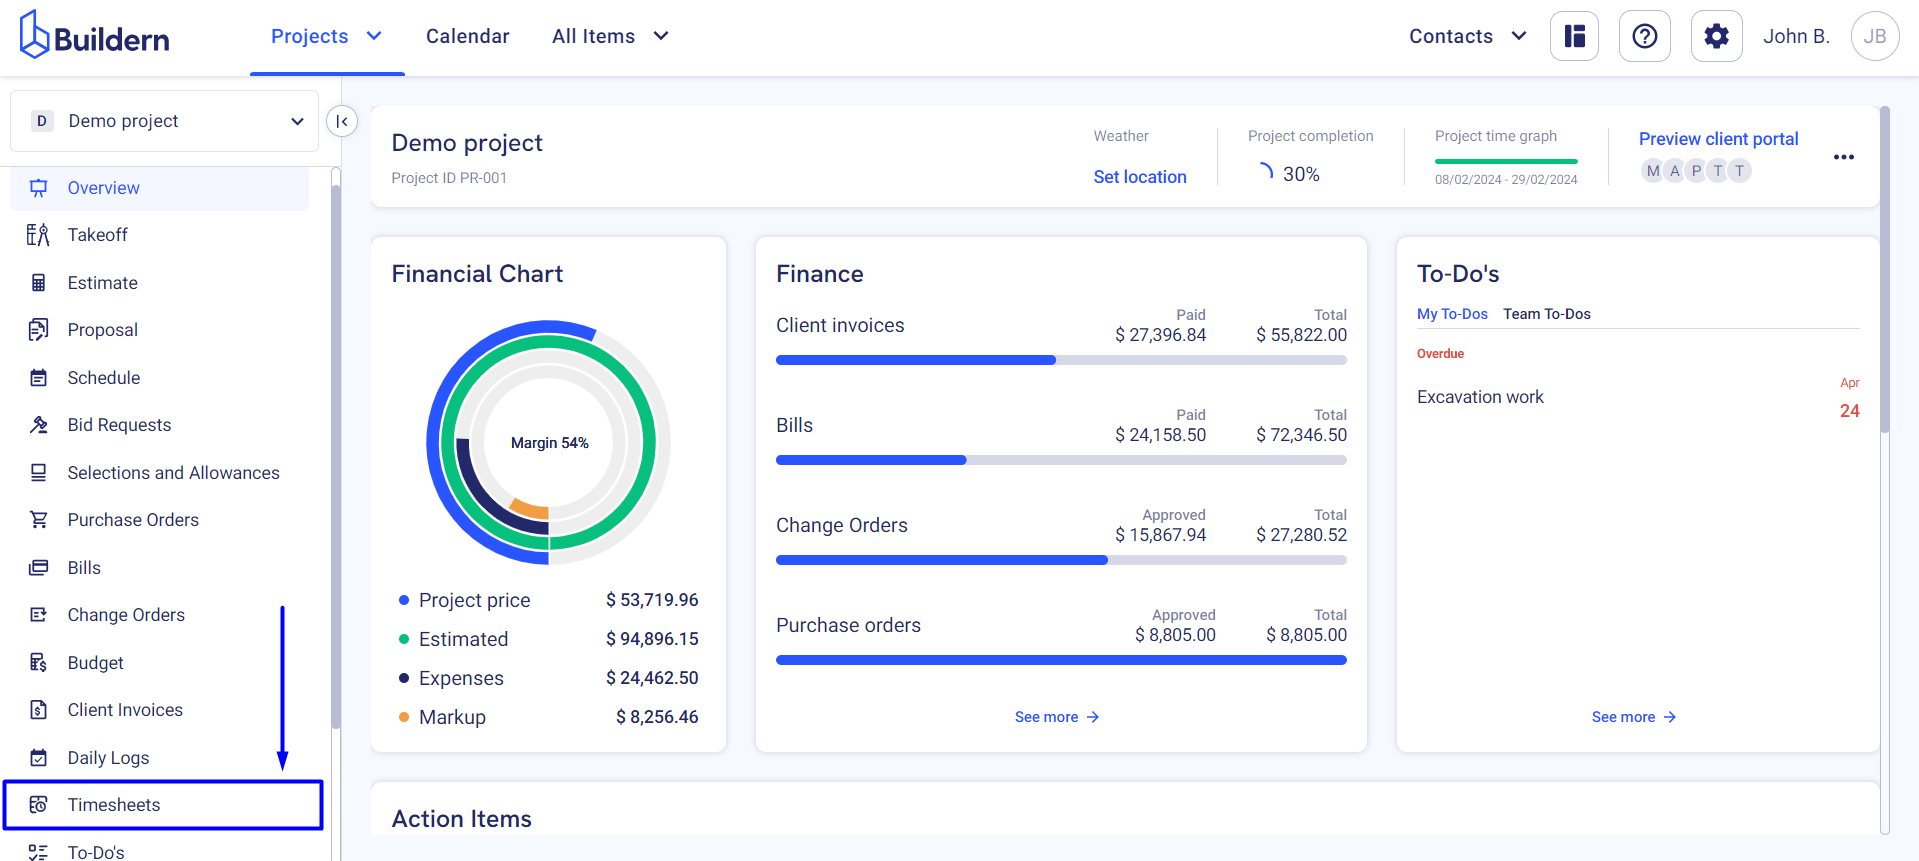
Here’s how to add timesheets manually via the web:
Step 1. Log in to your Buildern account and navigate to the Timesheets tab.
Step 2. Click on the + Add Time Clock button (at the top right corner if you already have timesheet records).
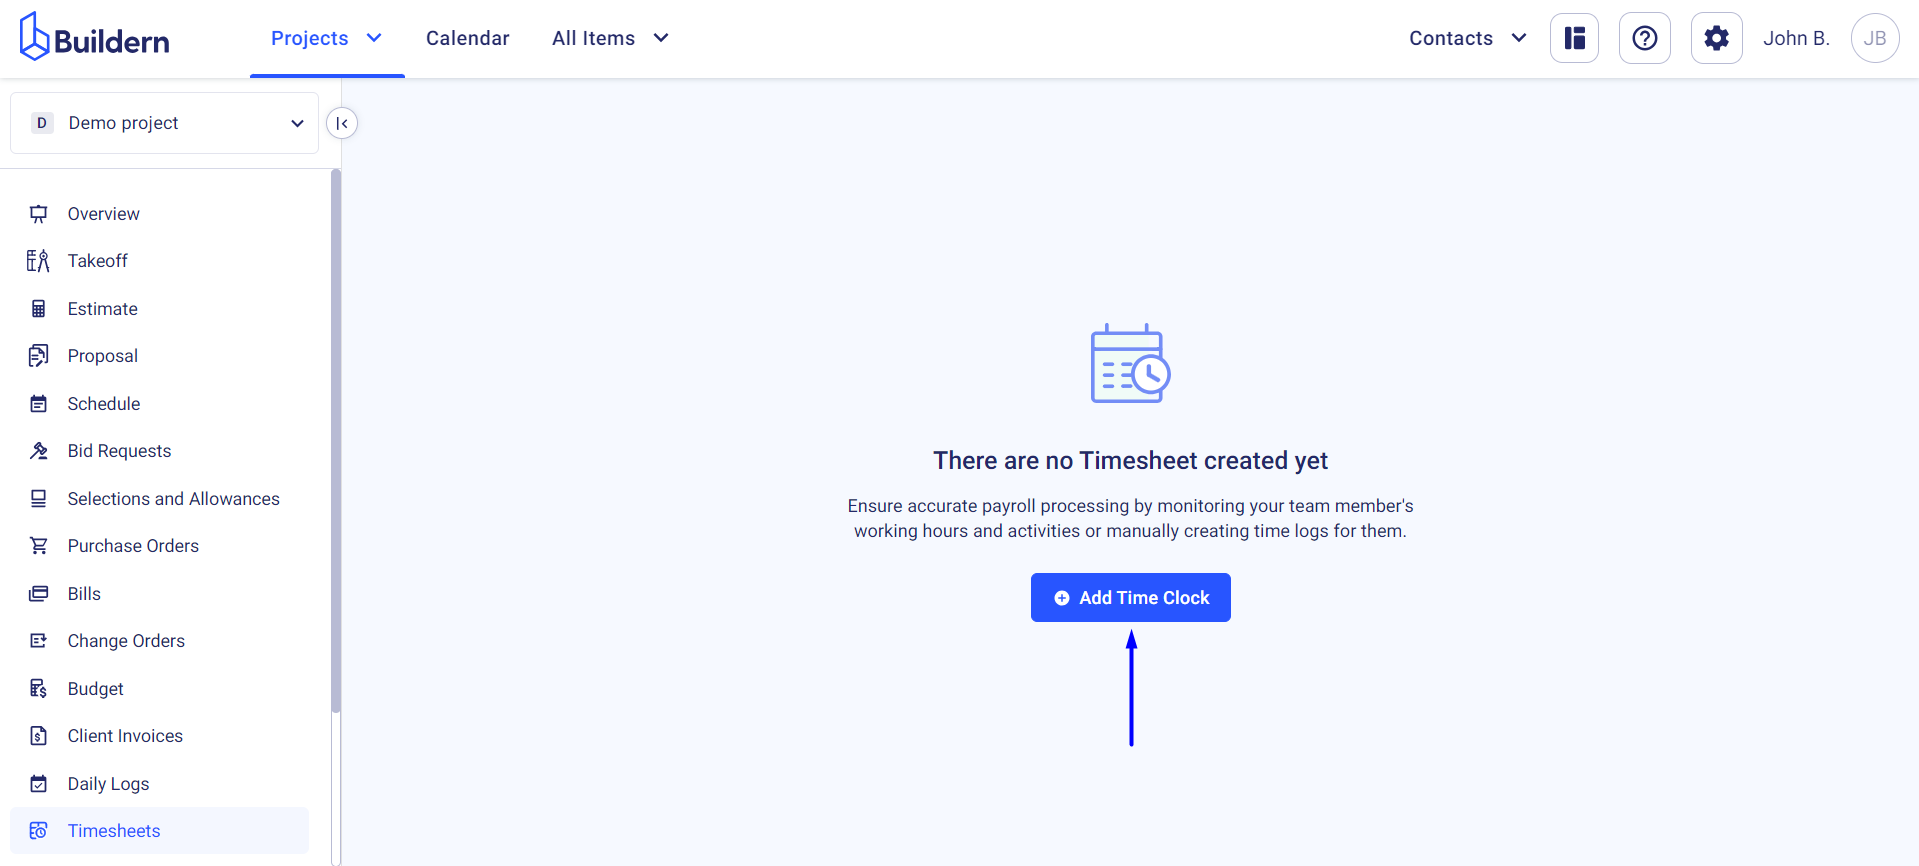
Step 3. Select the user and project for which you want to add a timesheet.
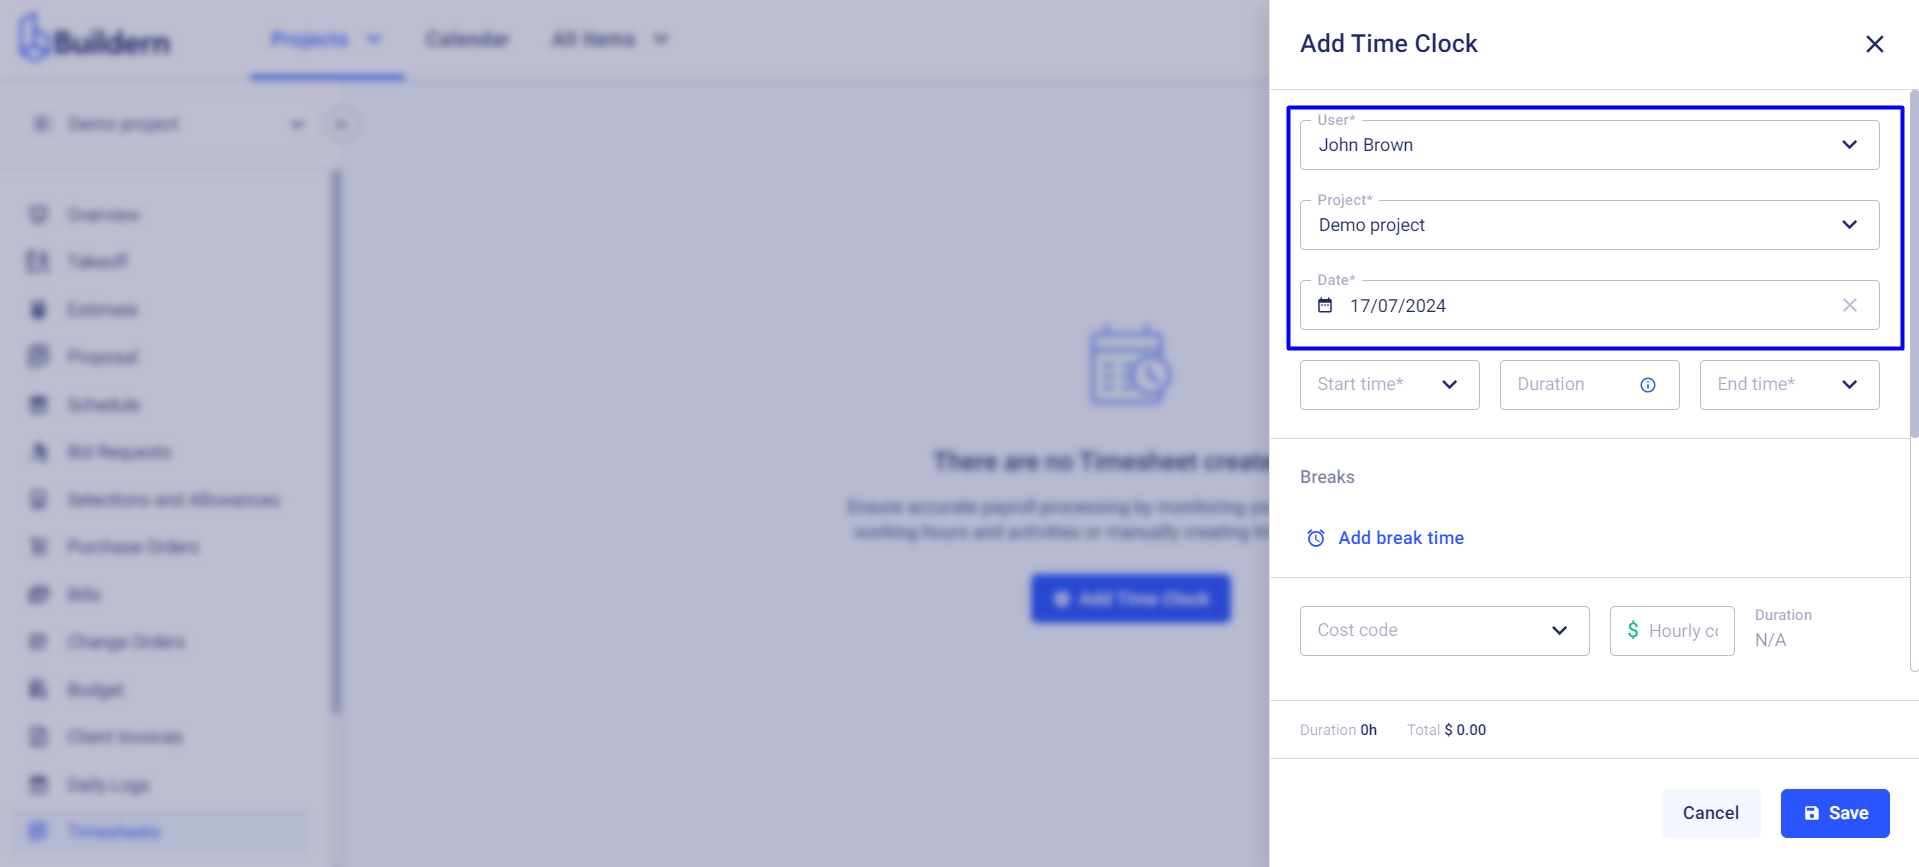
Step 4. Continue filling in the required information.
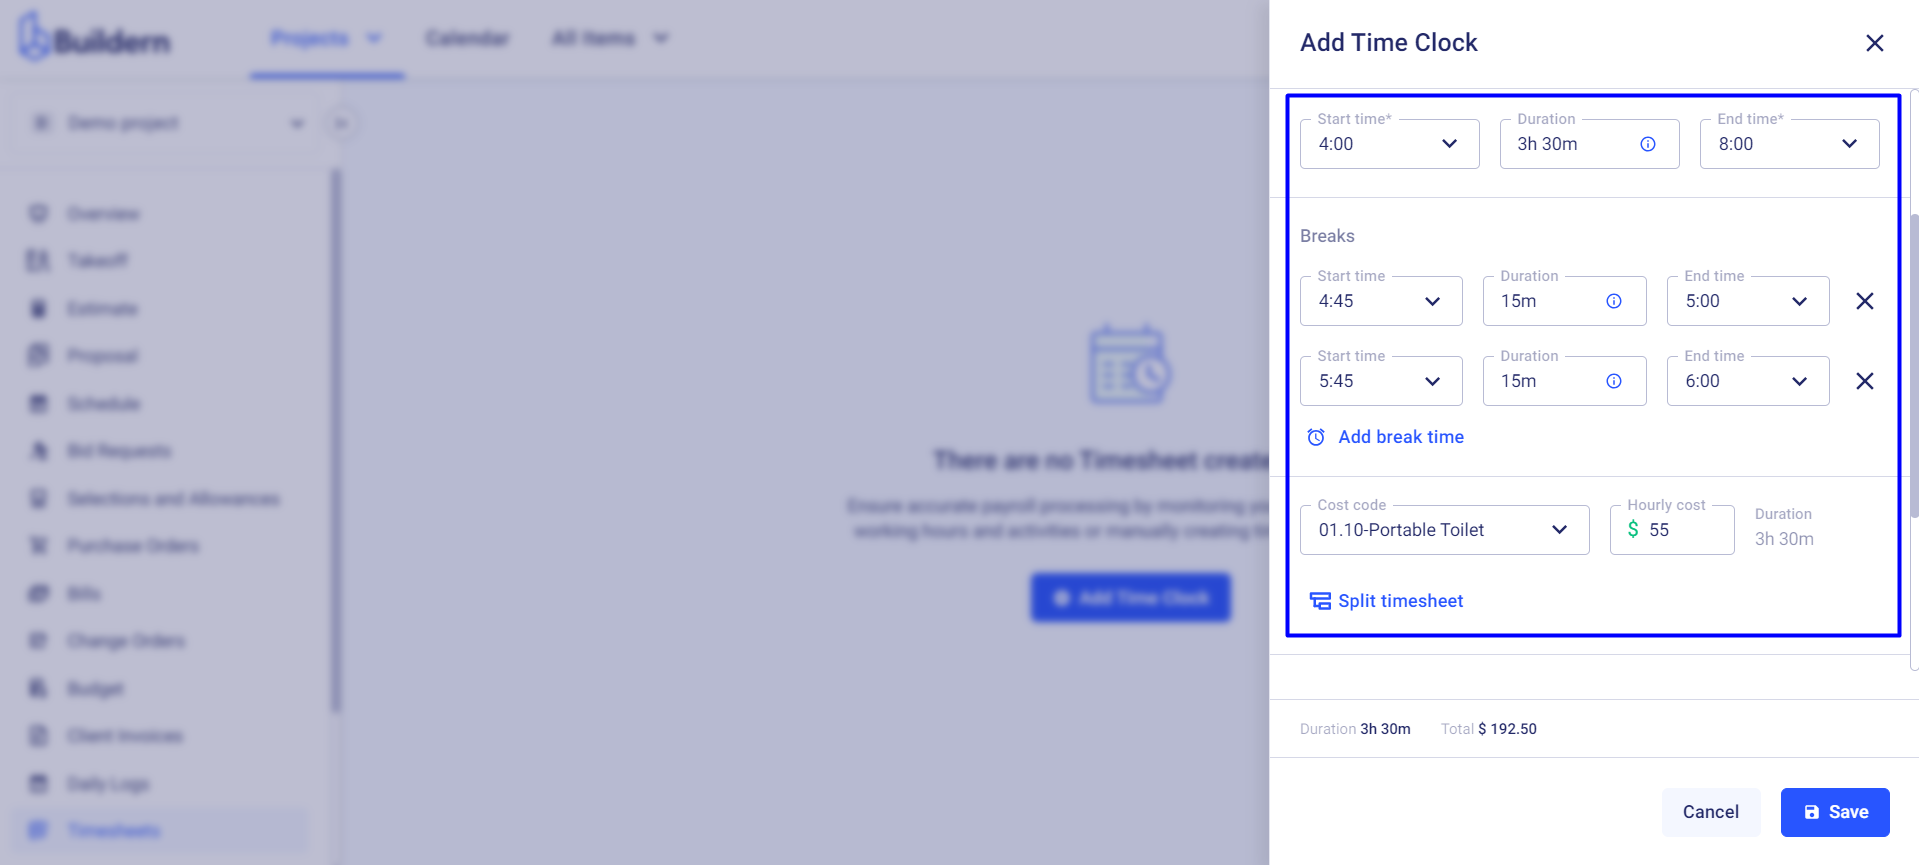
This may include:
-
Date
-
Hours worked
-
Breaks
-
Cost codes
-
Labels
-
Description
-
Attachments
Once all information is filled out, click the Save button to add the timesheet to the project.
Approving/Rejecting Timesheets
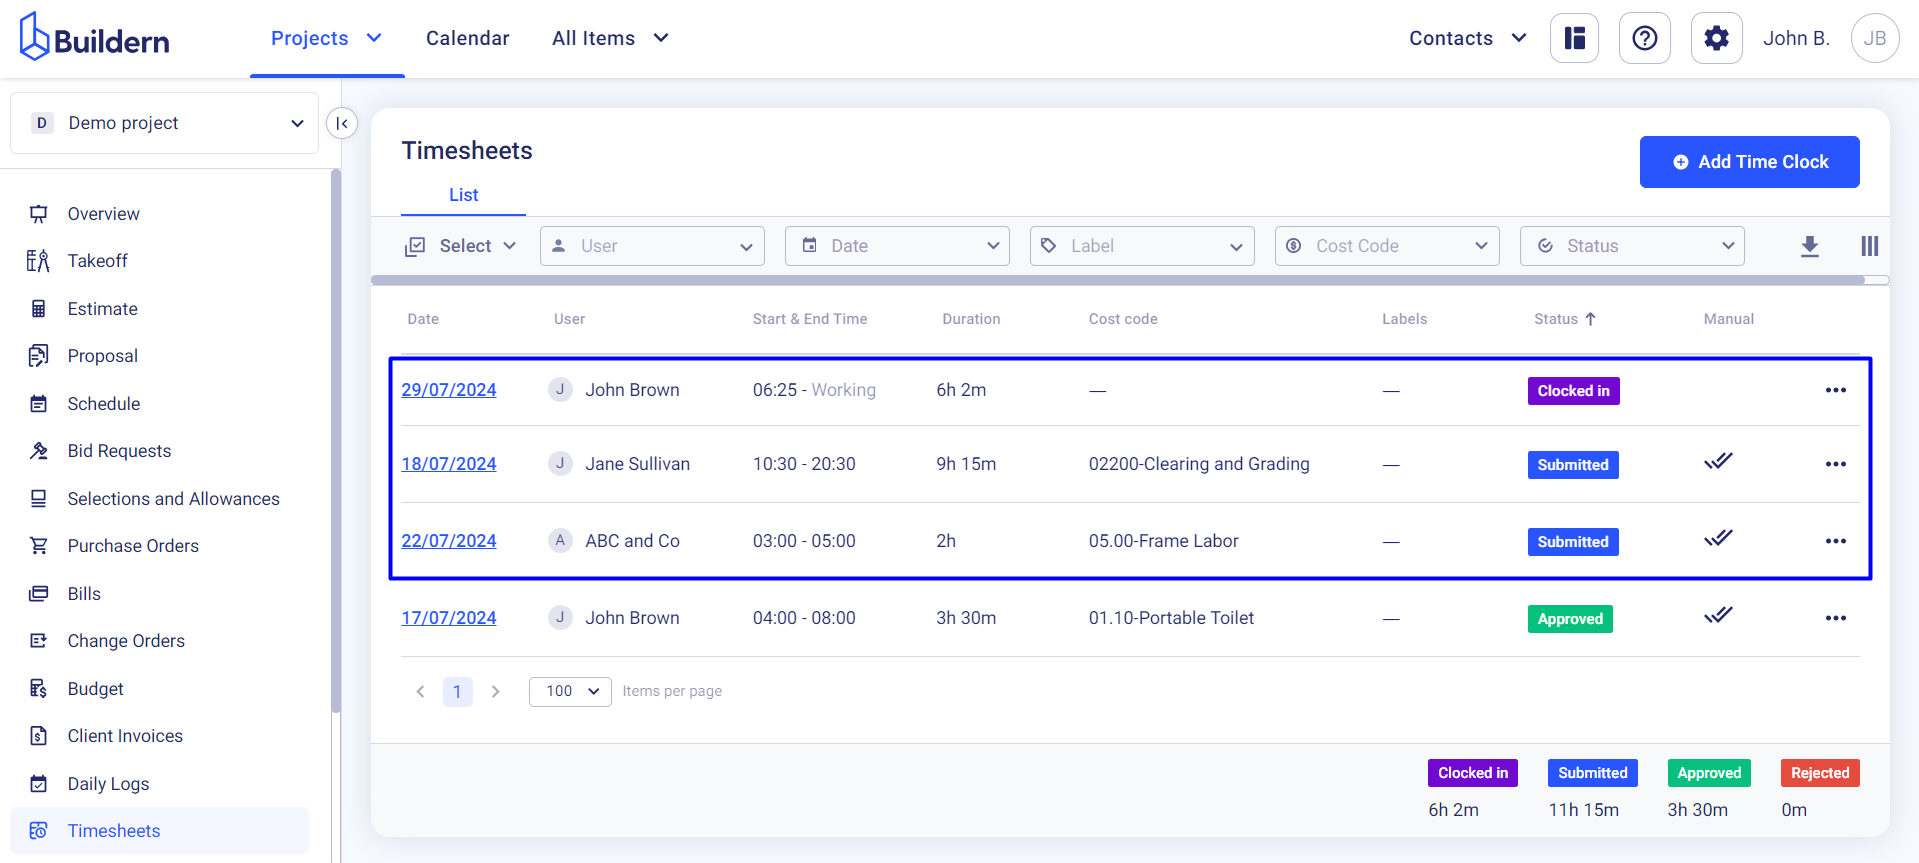
Once your timesheets are added (either by you or your team), they’ll need to be approved before they can be used for billing and invoicing.
Here’s how to do this:
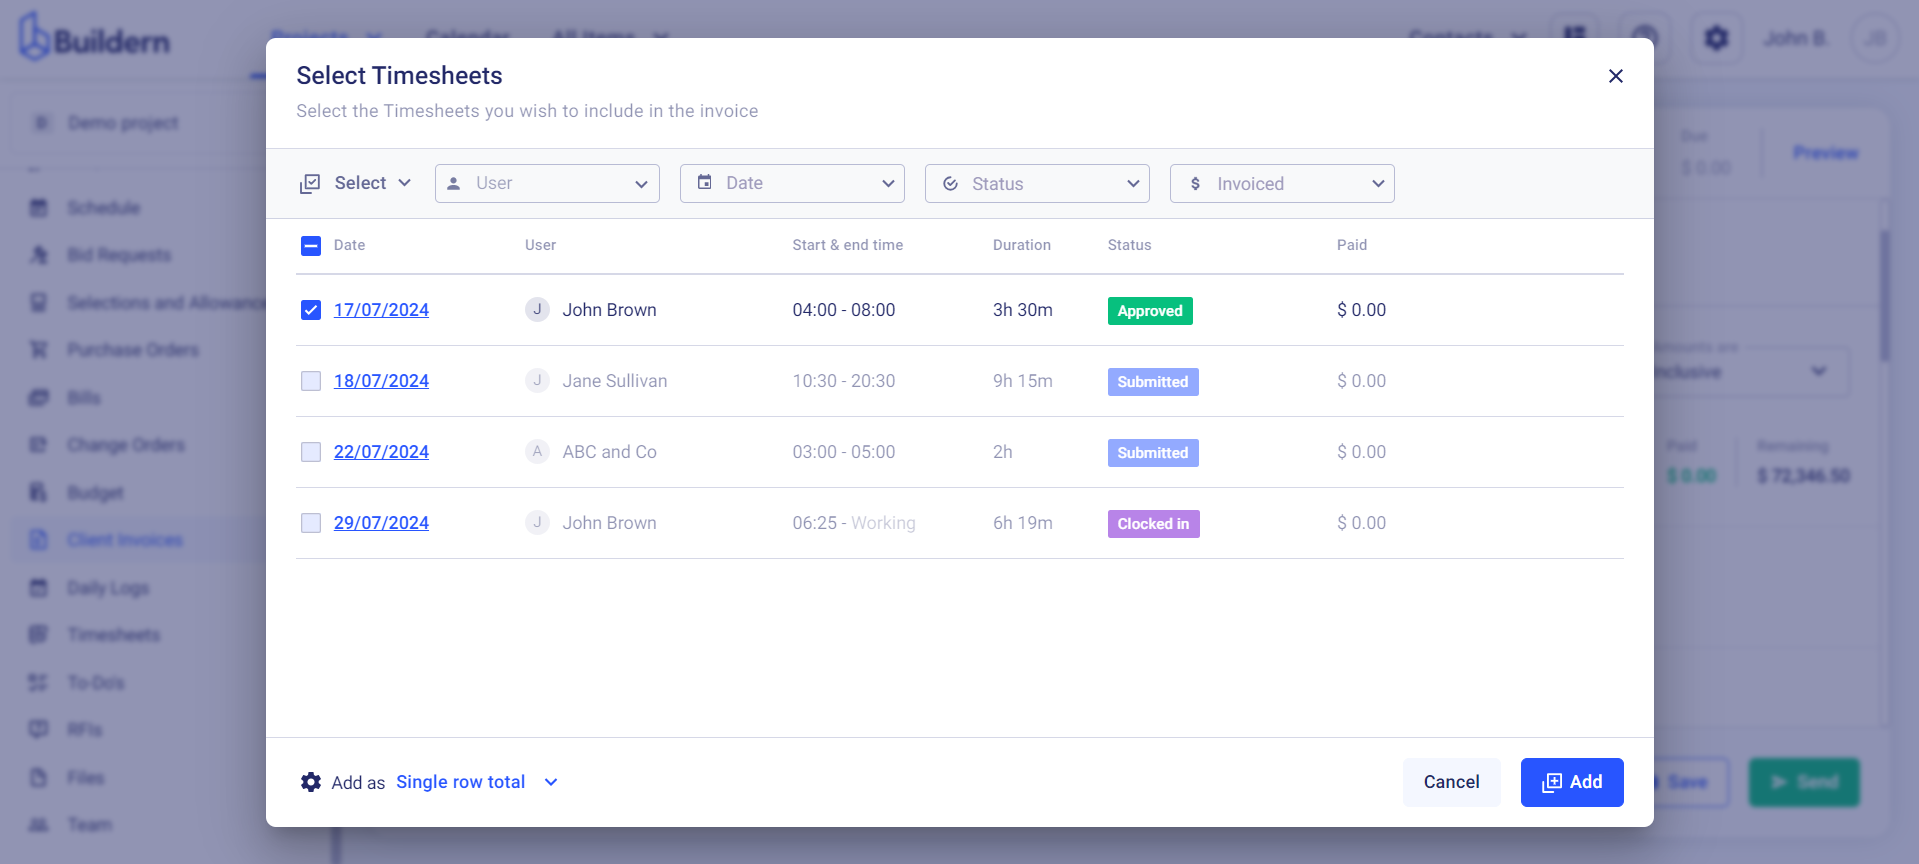
First of all, Buildern allows you to track timesheets according to their statuses. Whenever a new timesheet arrives it will have the "Submitted" or "Clocked in" statuses.
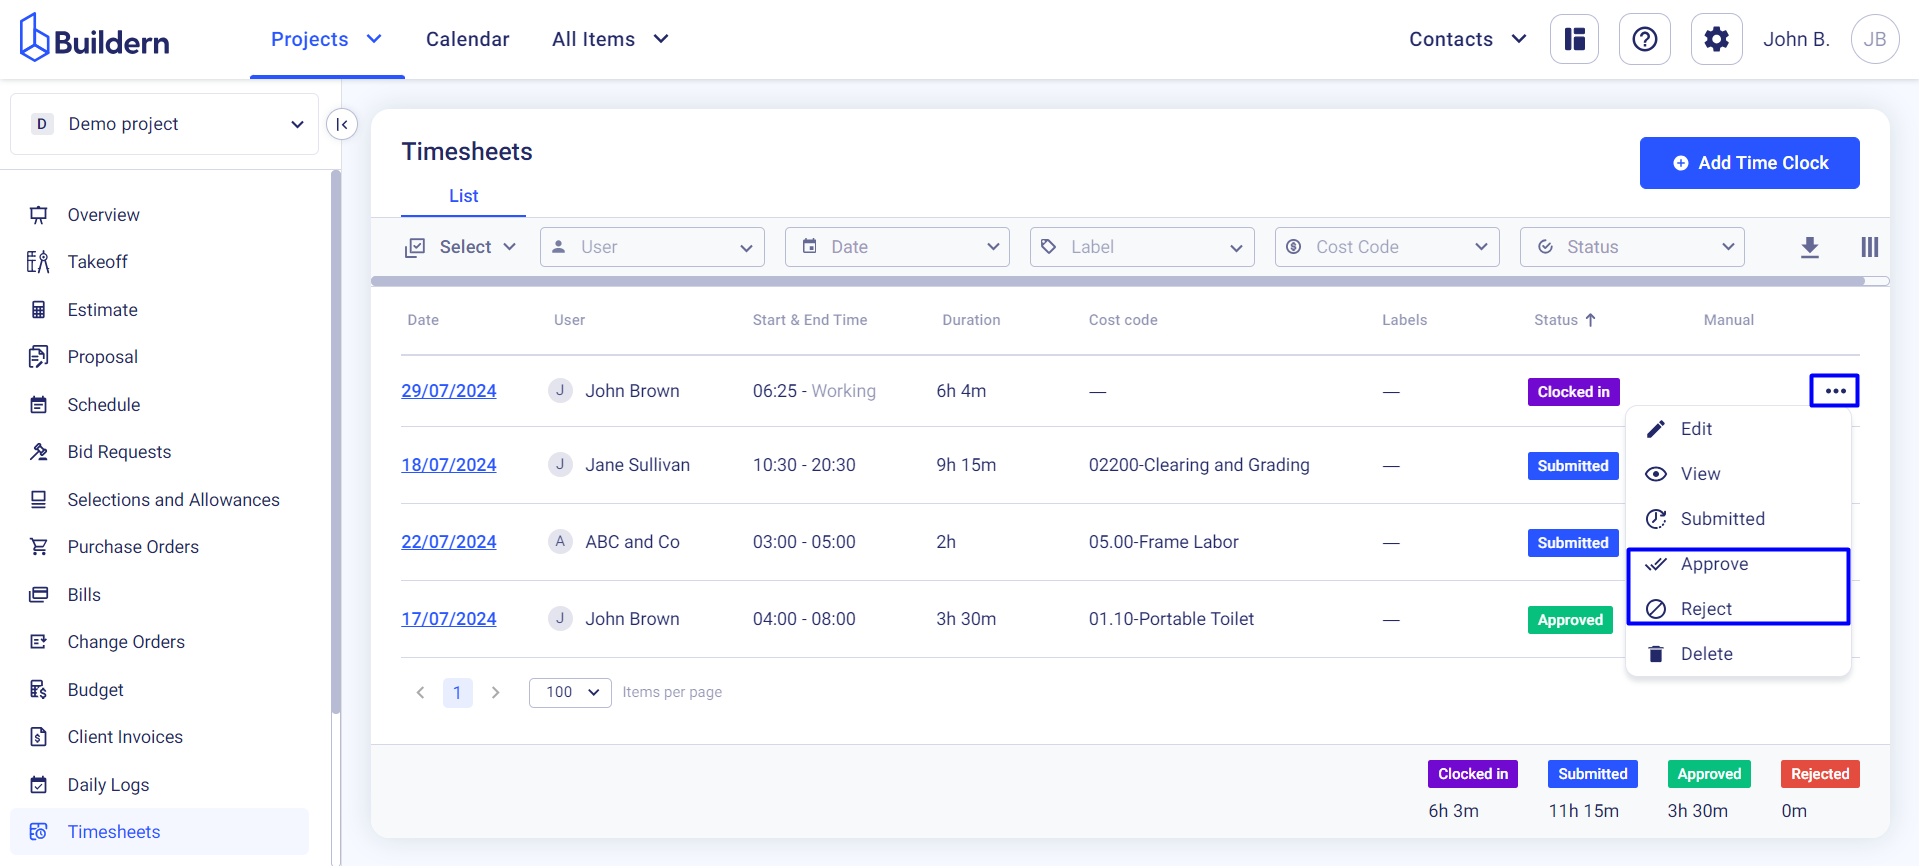
Click on the three little dots at the end of the timesheet line. You can either approve/reject the timesheet right away or view it to ensure the hours logged and any associated costs match your expectations.
Bulk Actions in Timesheets
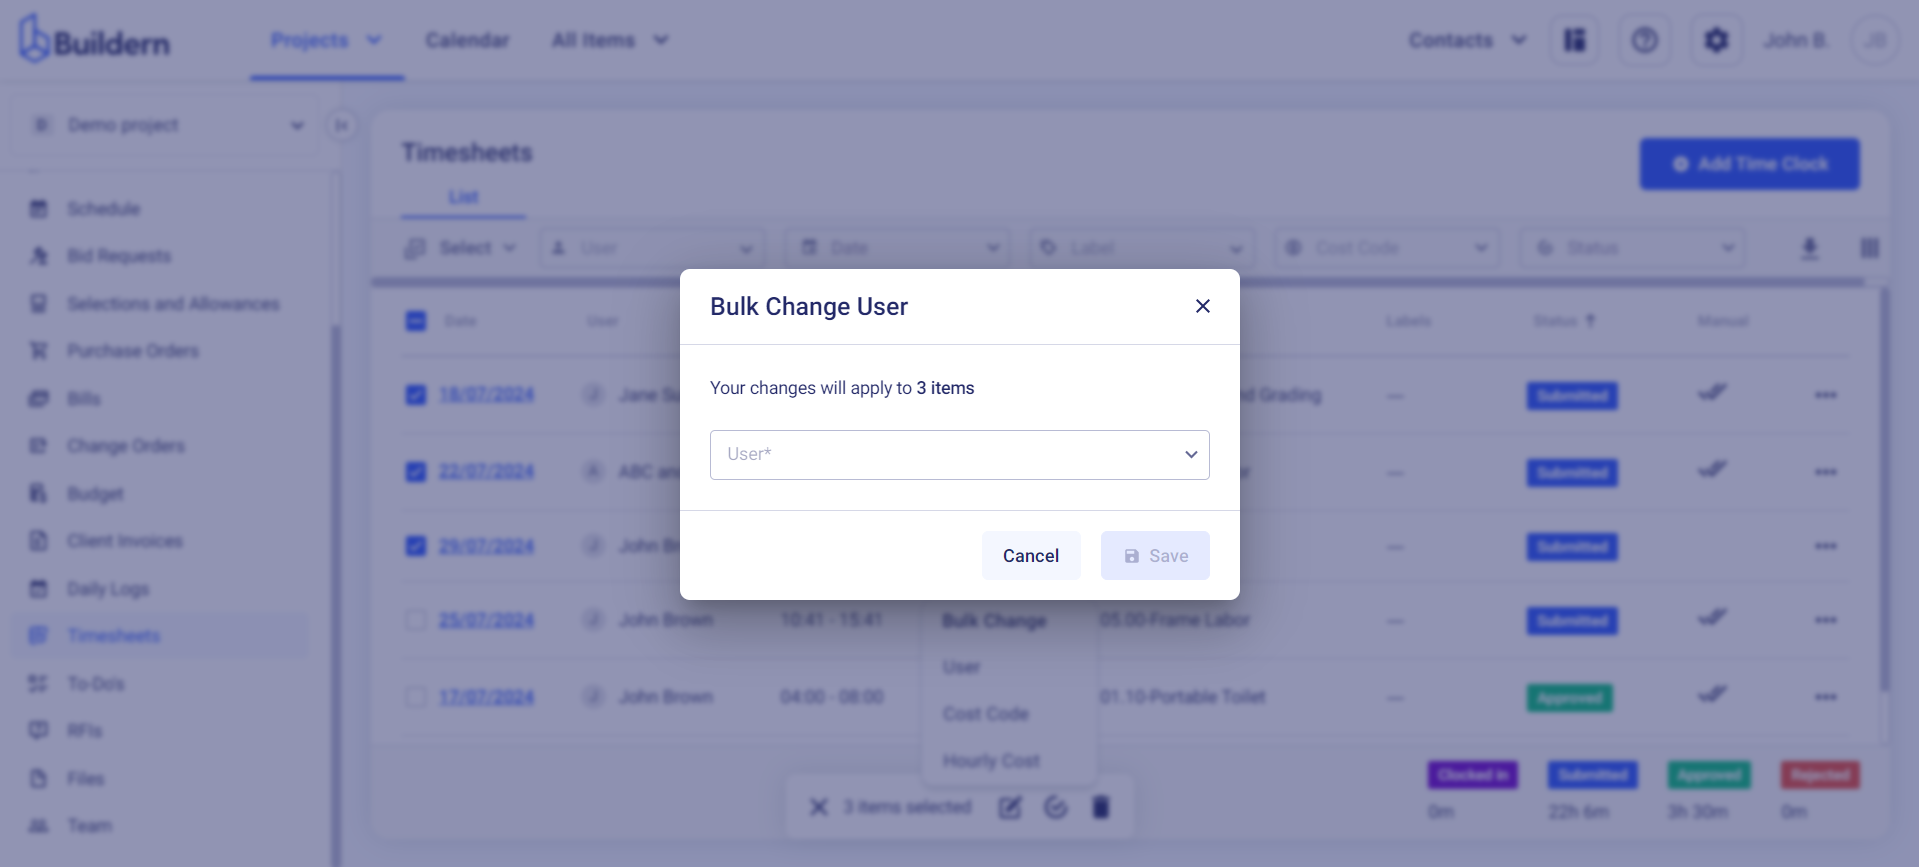
Buildern allows you to bulk change the timesheets. For instance, you can choose multiple timesheets and change their users, cost codes, or hourly costs.
Do this by clicking the Select option and choosing those you want to update.
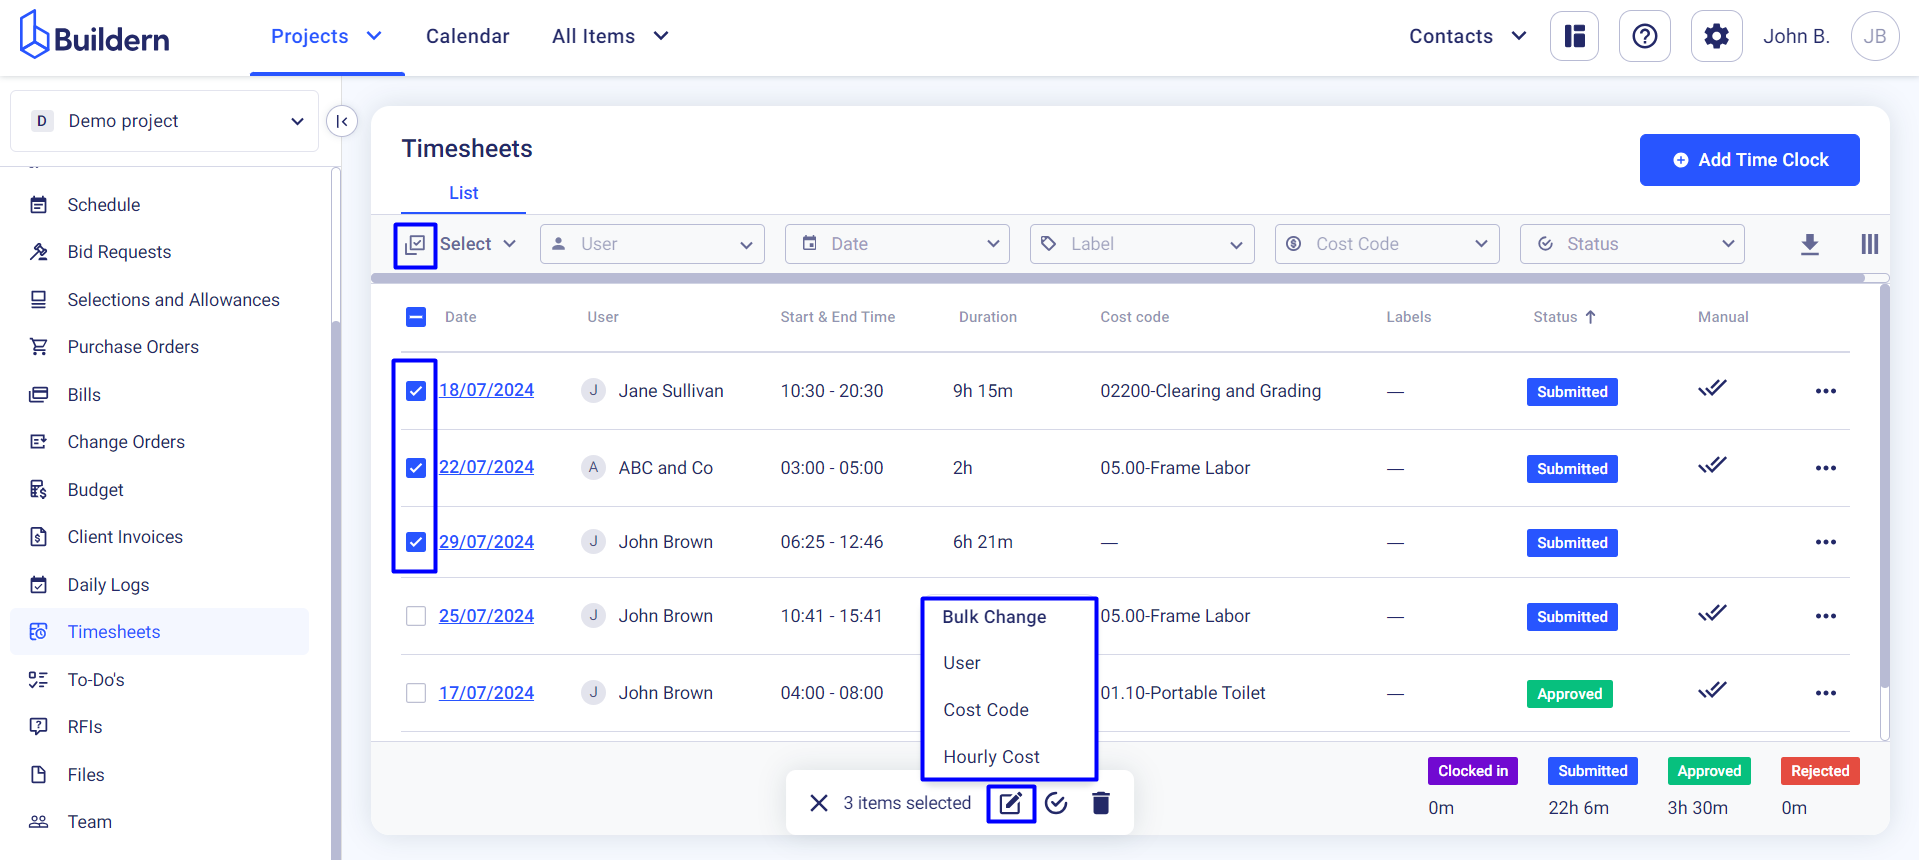
Make the corresponding changes from the drop-down menu and save.
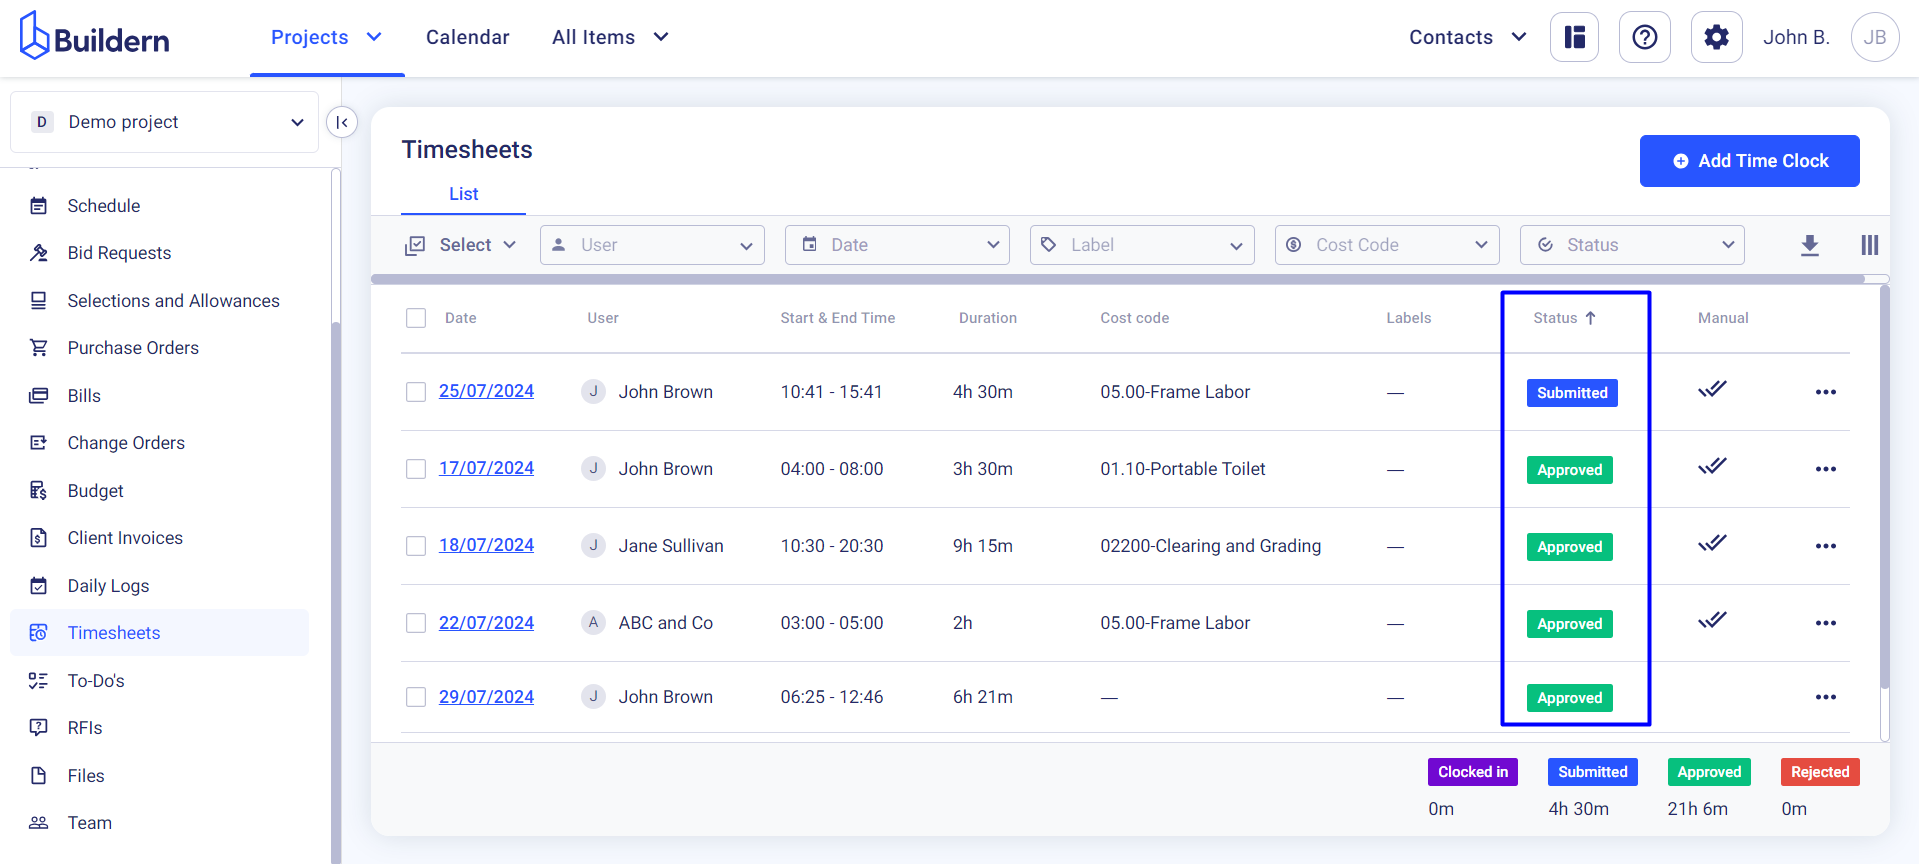
You can also approve/reject timesheets in bulk with just a few simple clicks.
The process is the same. Click the Select option and choose the timesheets you want to review.
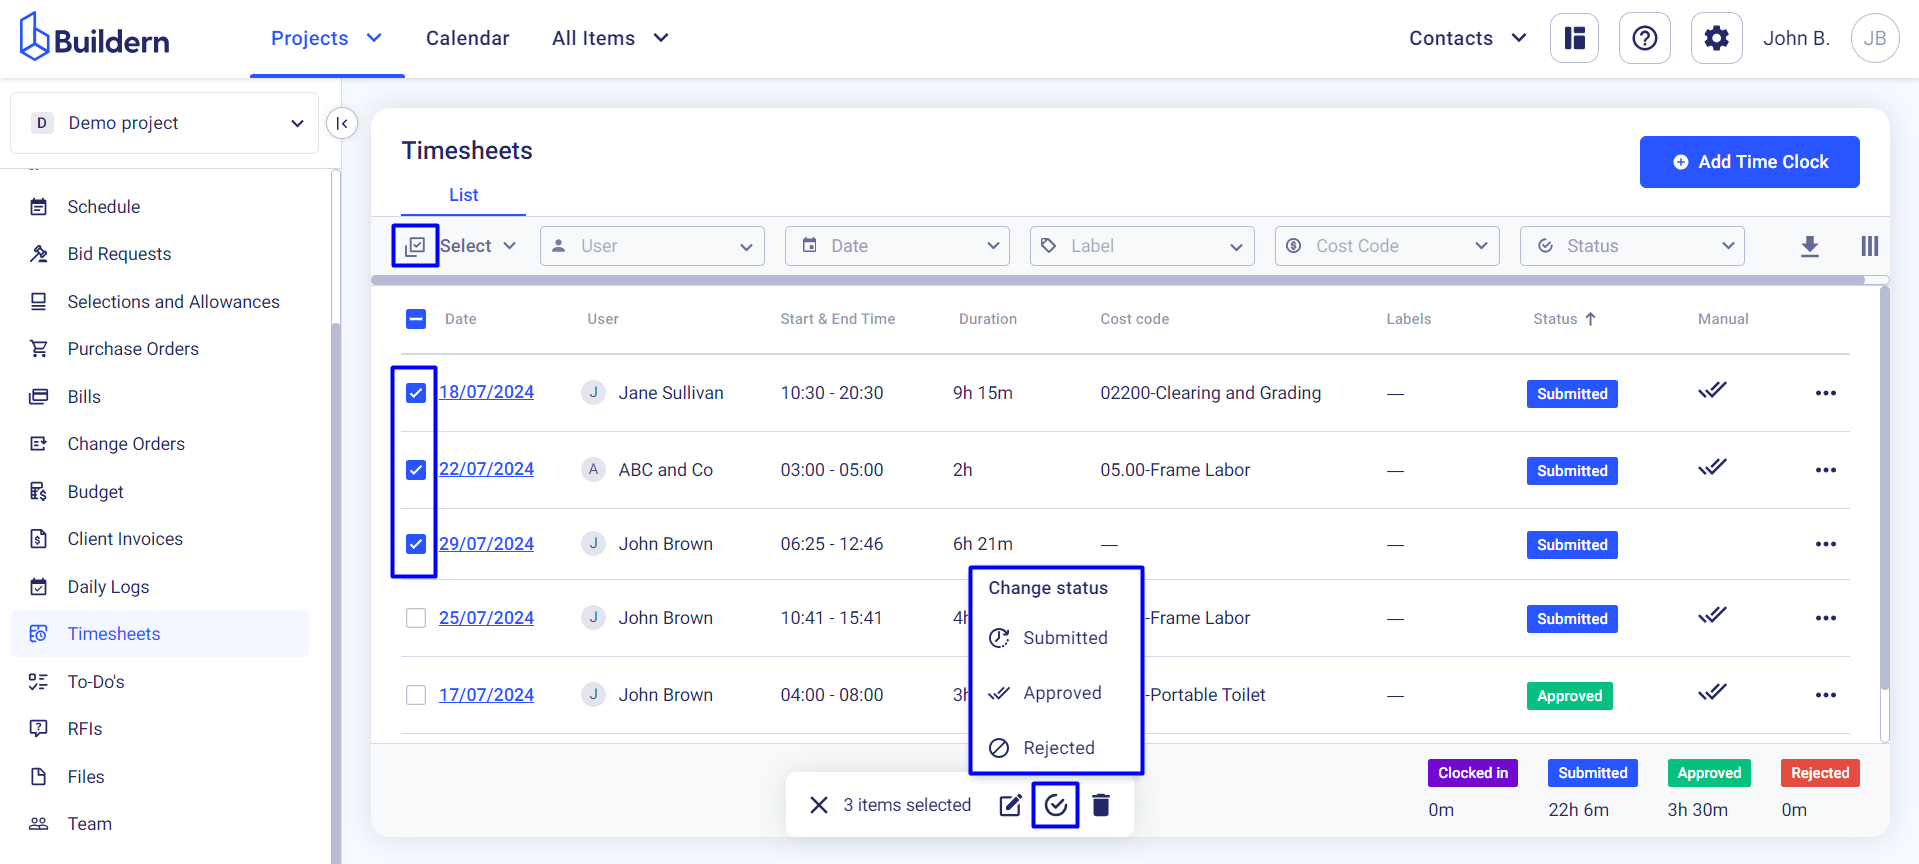
You’ll see the status updated immediately.
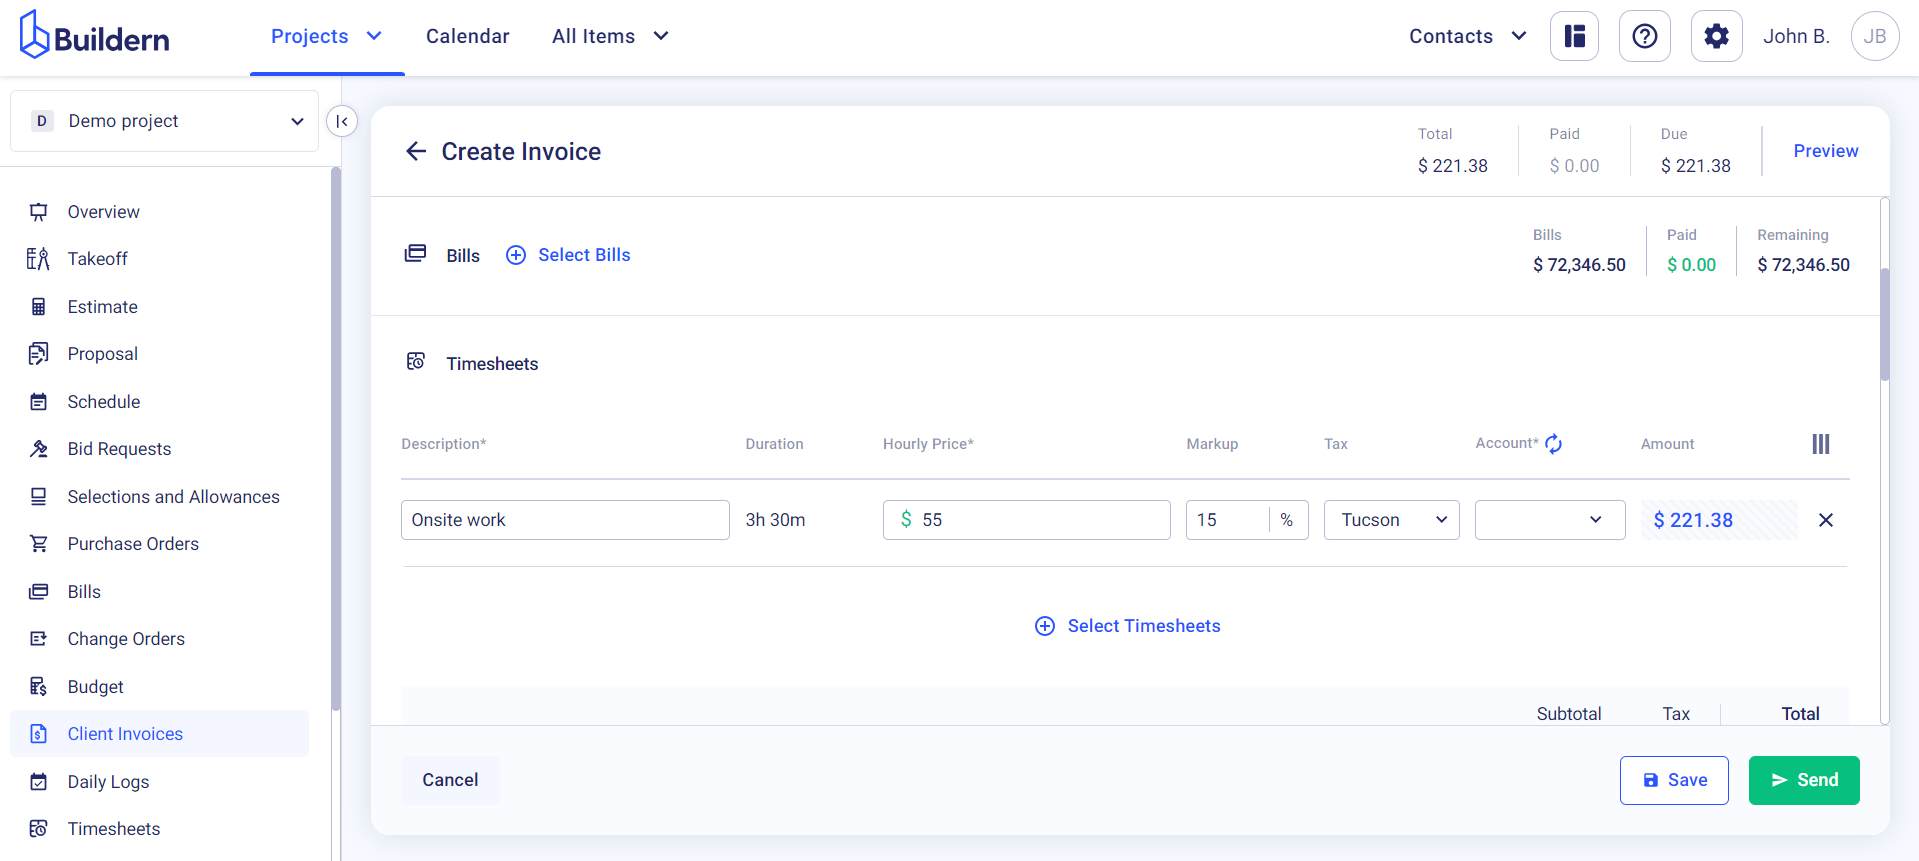
Create Invoices Based on Timesheets (Cost Plus Invoicing Only)
You can generate invoices based on timesheets, but this functionality is exclusively available if you are using the cost plus invoicing method.
💡Recommended Reading
How to Invoice Clients Based on Bills and Timesheets in Cost Plus Projects