First things first, log in to your Buildern account to get started.
Once in, follow the path All items > Bills to access your bills library.
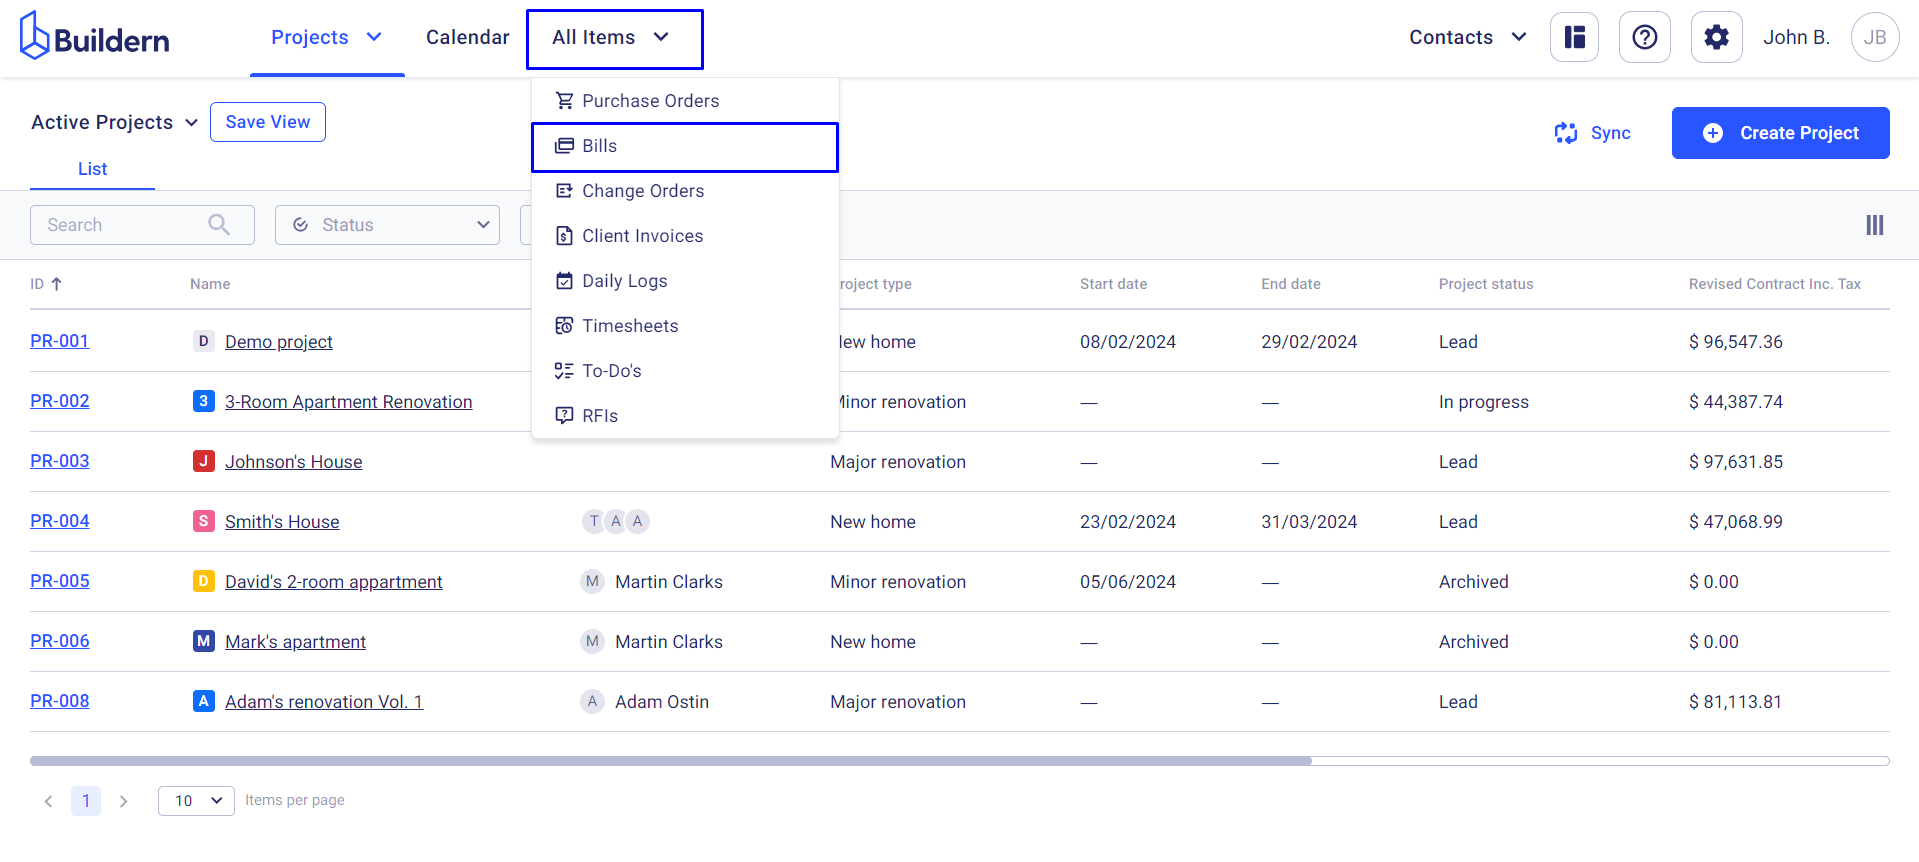
Here you will find all your construction bills regardless of the projects.
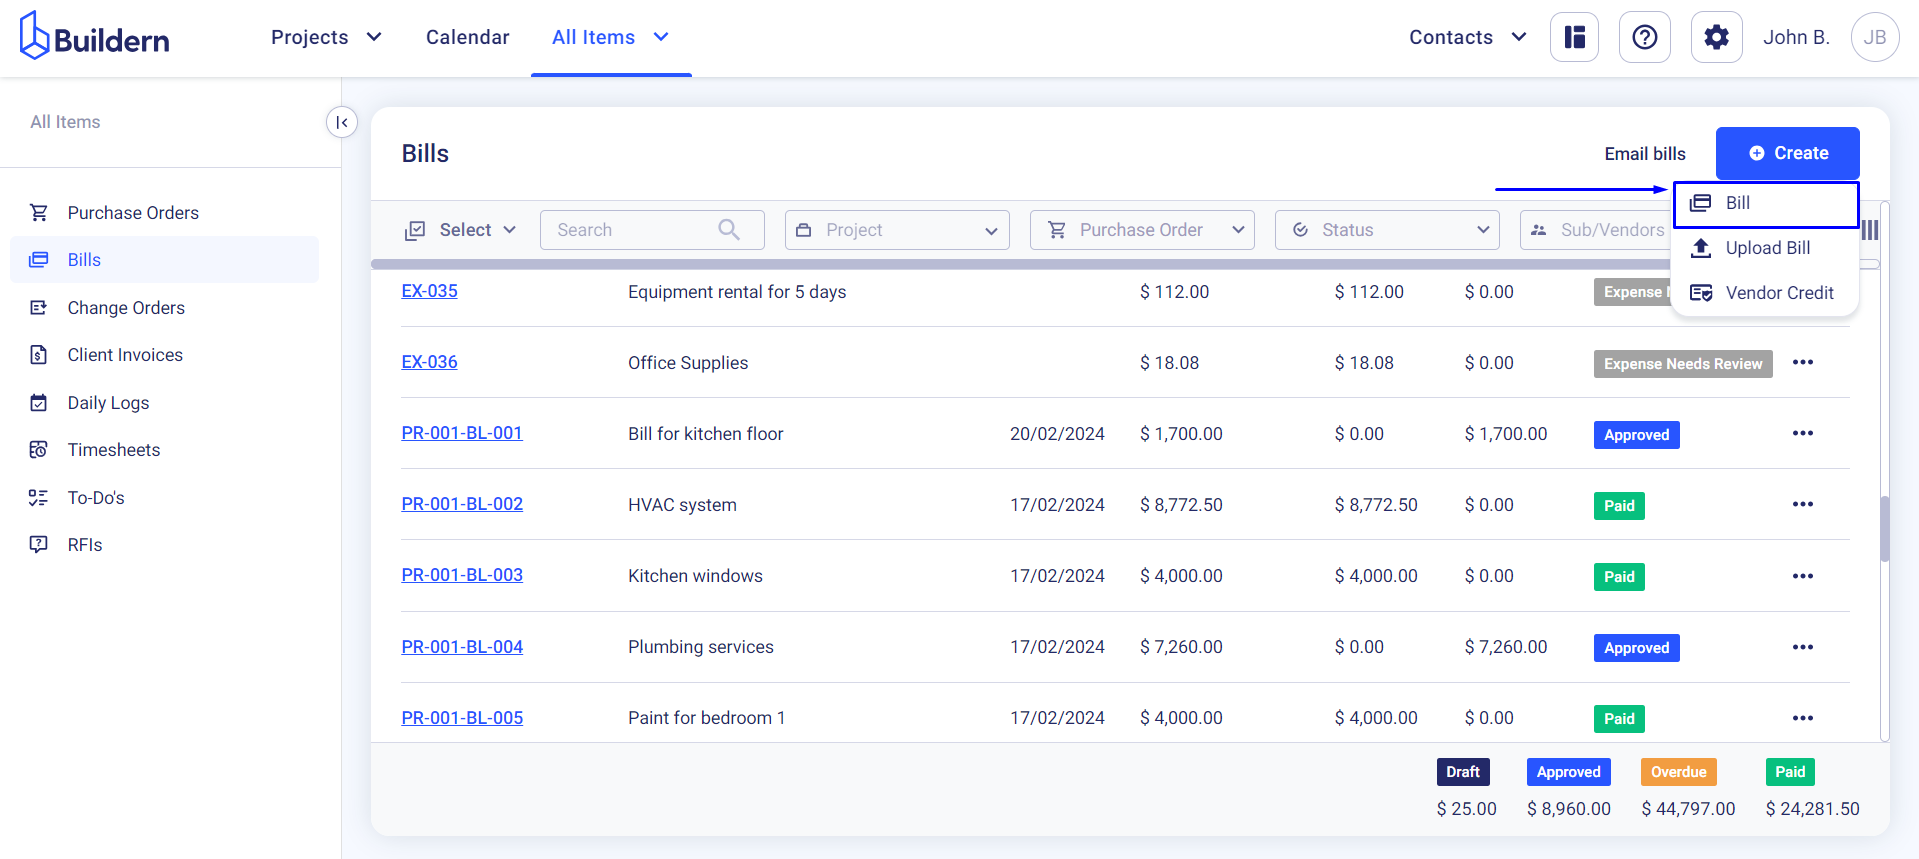
Click the Create > Bill buttons.
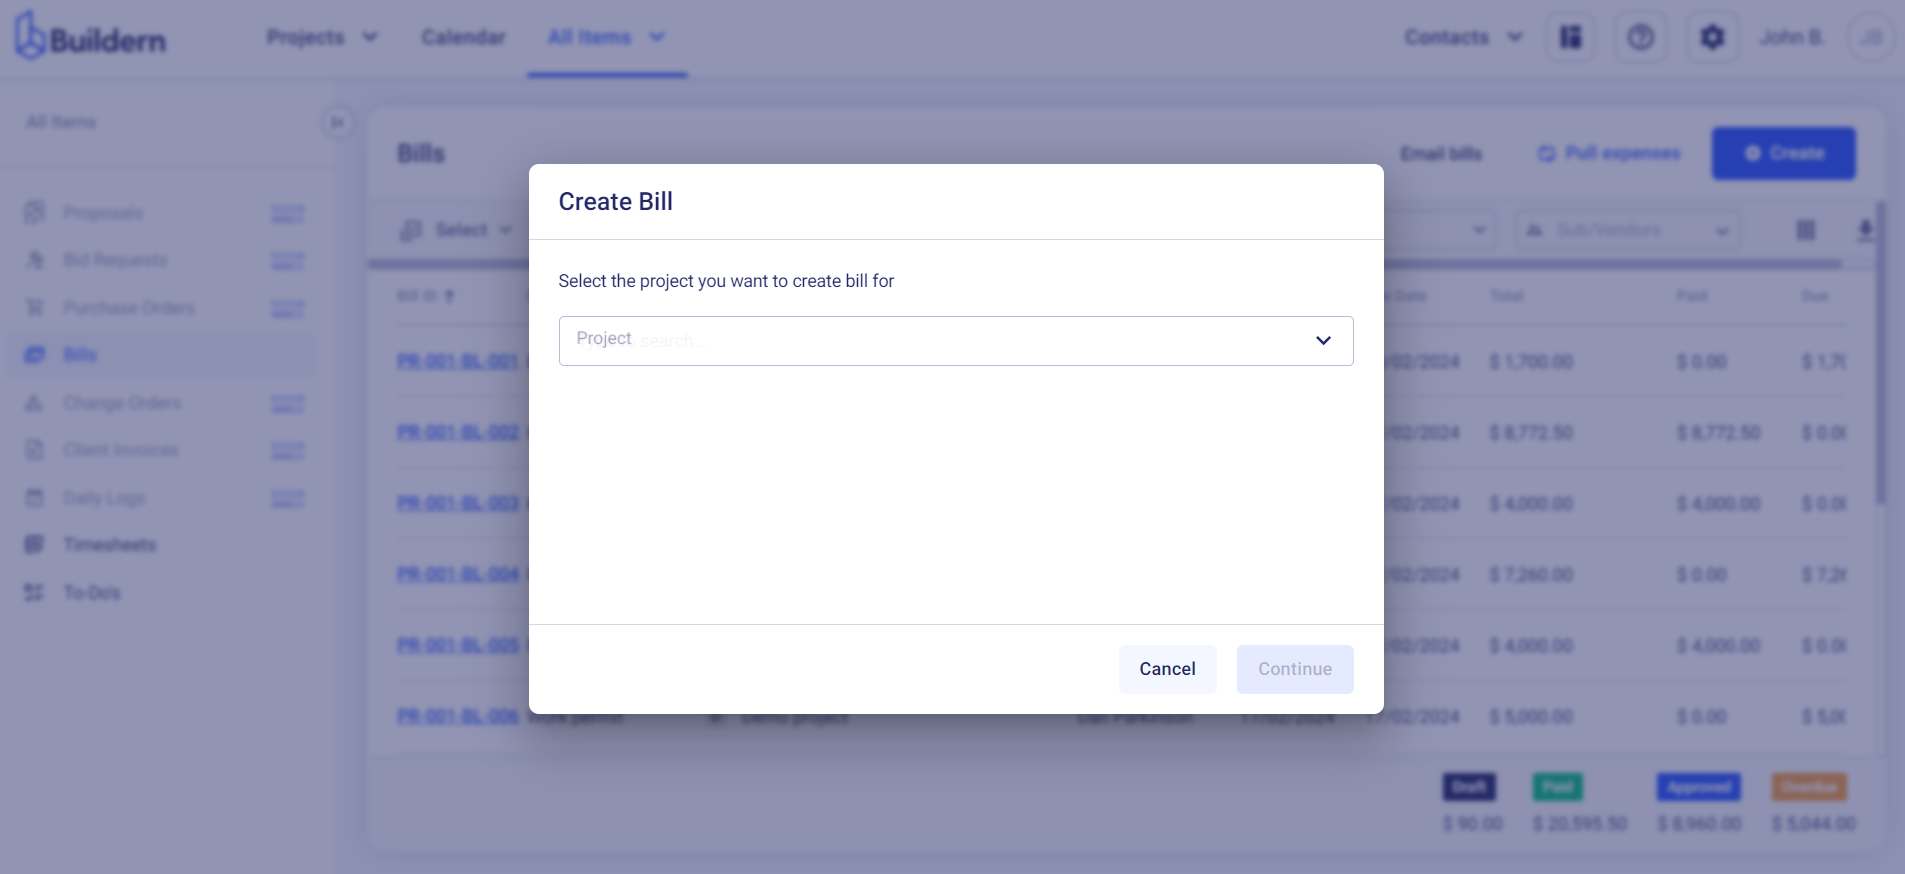
Buildern will ask you to choose the project for which you want to create a new bill.
A new window will open where you’ll need to fill in all the bill-related information.
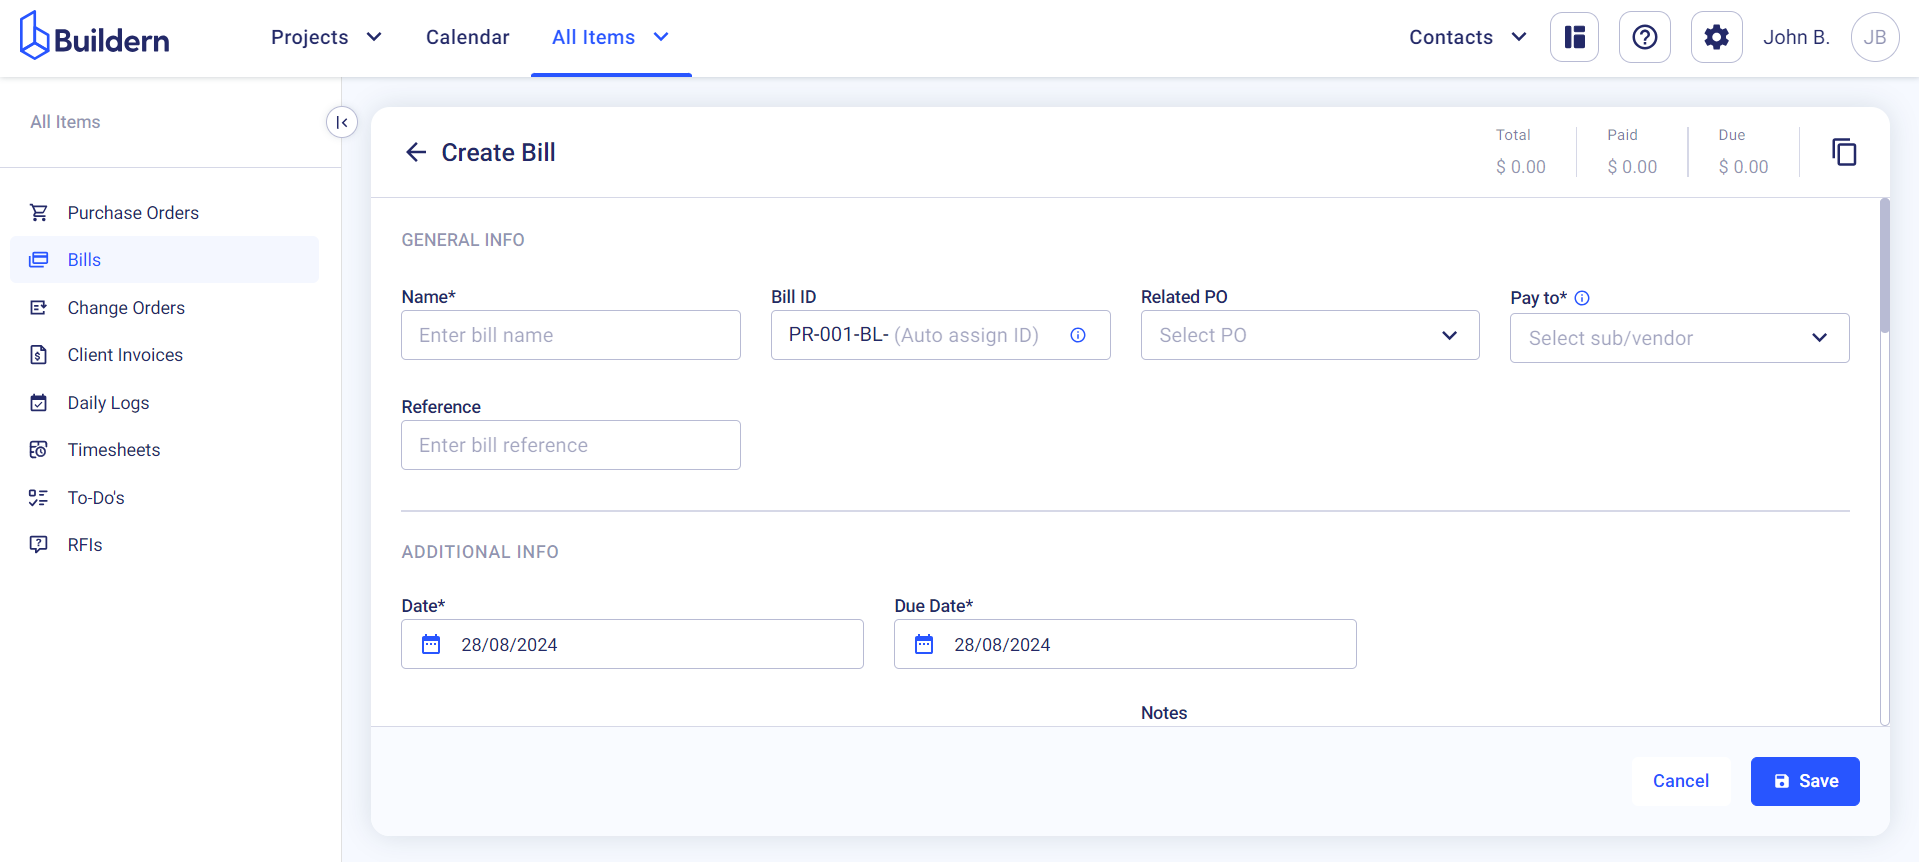
Note that certain lines are marked as required, so you cannot proceed further if you don’t cover them. This includes the following information:
-
Bill name
-
Bill ID (you can define it manually or let Buildern generate a unique number automatically)
-
Related purchase order (if you choose one, the bill cost lines will be automatically populated)
-
The sub/vendor whom you should pay
-
Reference (put any details you find relevant for the bill)
-
The bill date and the due date
-
Cost lines
Also, this is where you choose to sync (or not) the bill with your accounting software (Xero or QuickBooks).
💡Learn more about this in the articles below:
It is important to know that Buildern will show you error messages when configuring the sub/vendors or cost lines by adding any kind of information not yet synced with your accounting software.
Here are a few screenshots to illustrate these cases ⤵️
We have added a new subcontractor who is not matched with our QuickBooks account:
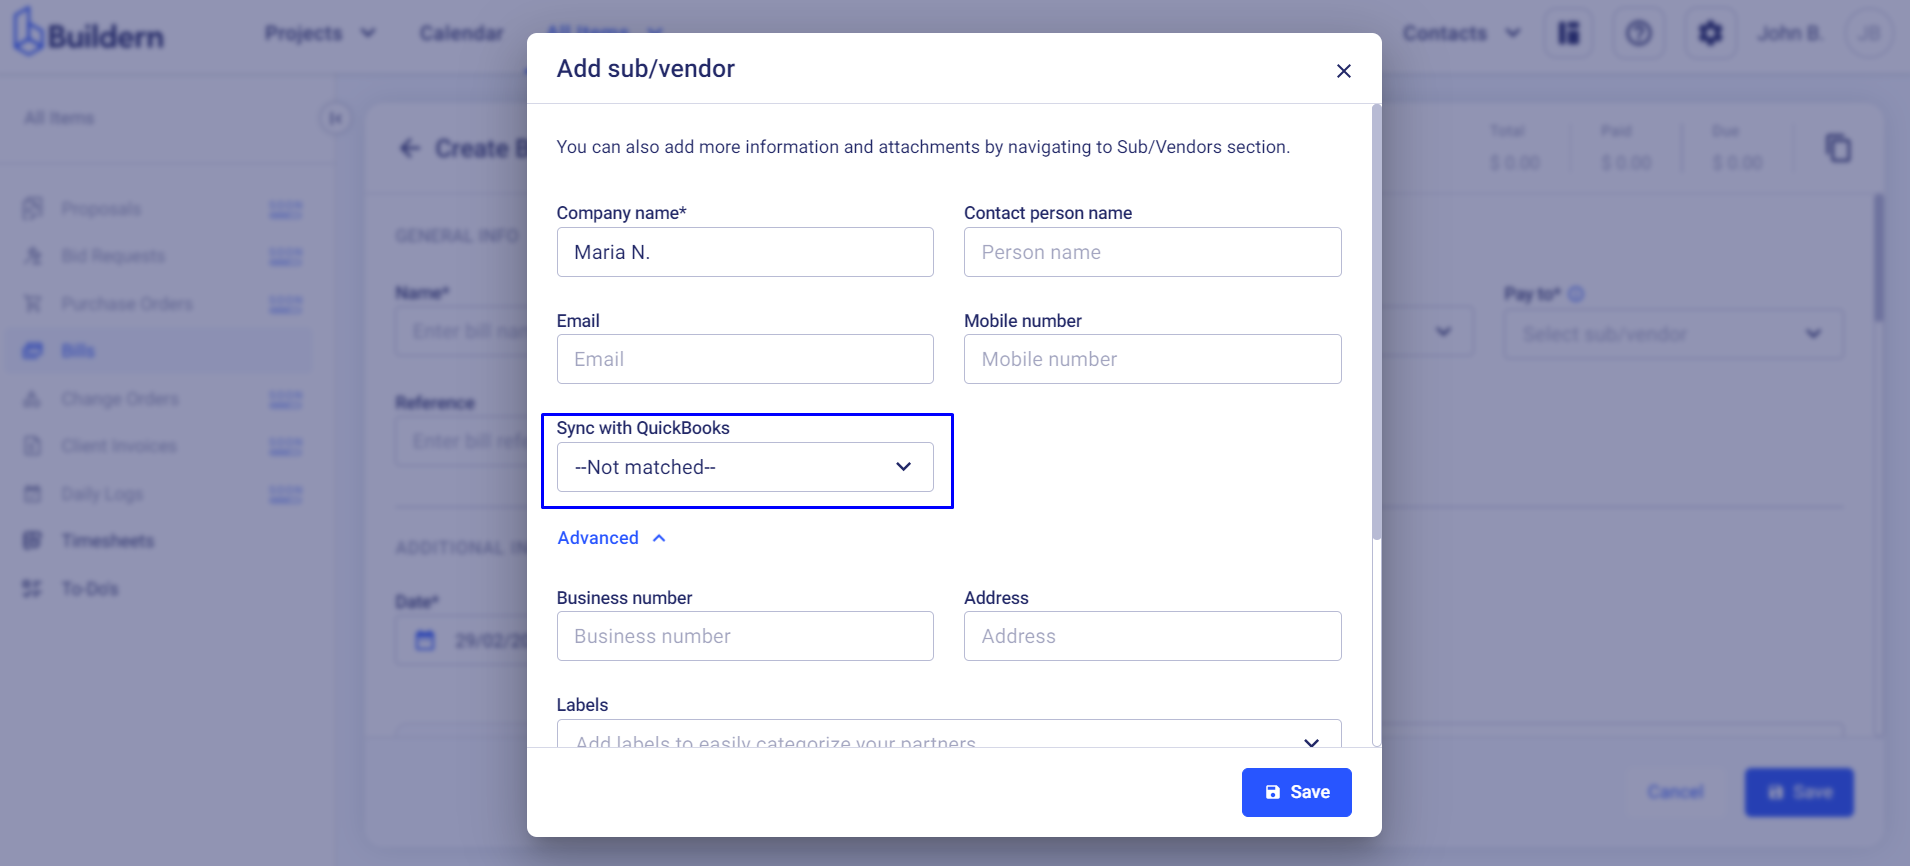
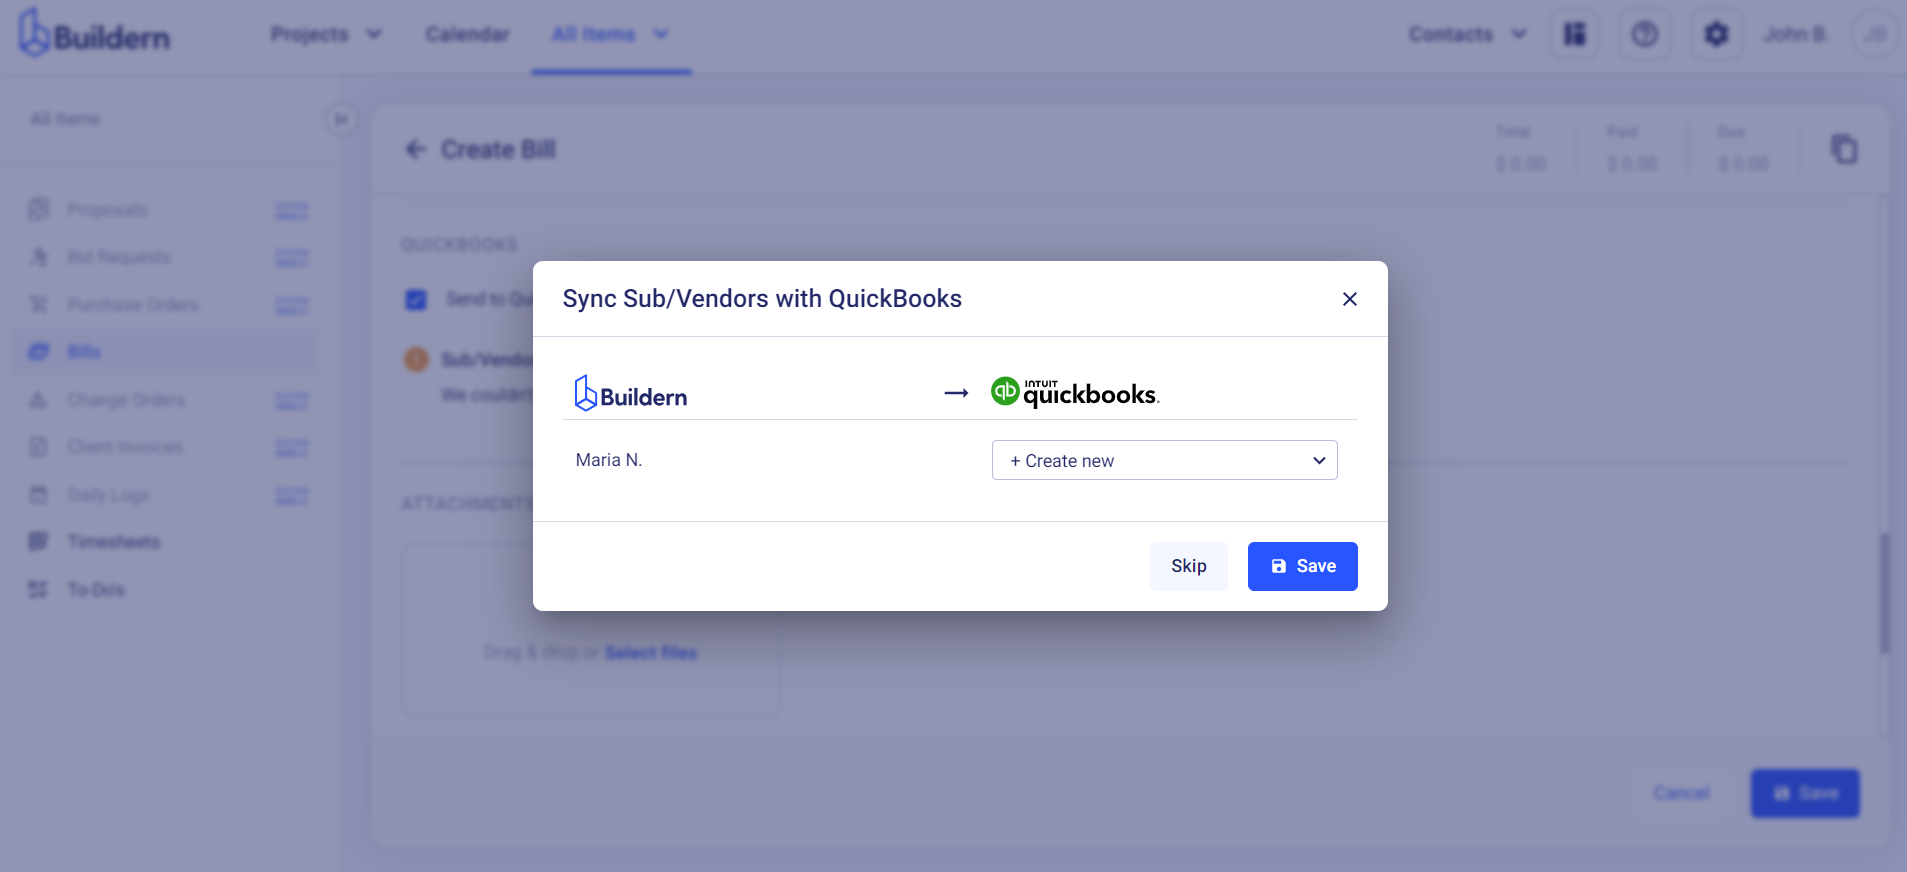
If we decide to sync the bill with QuickBooks, the system will automatically show the following message:

Click Fix Issue and follow the instructions to proceed further.
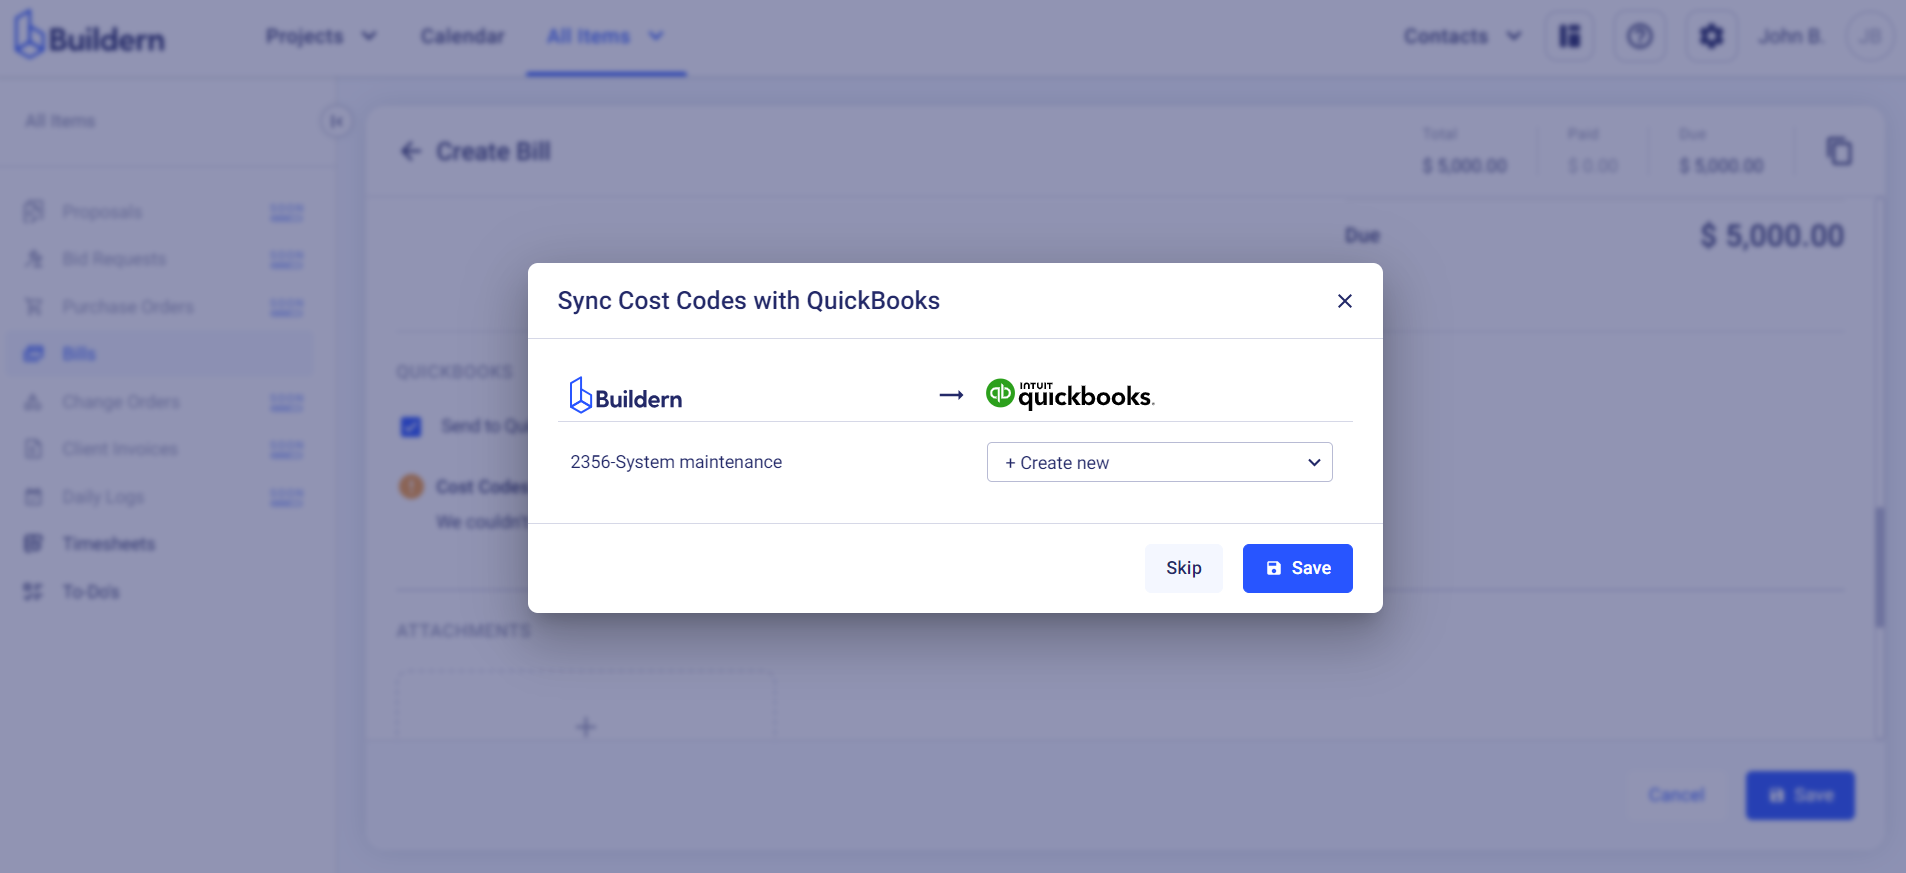
Same for the cost lines.
If you add a cost code that is previously not synced with your QuickBooks database, you will receive the following warning:

Again, click the Fix Issue button and follow the instructions:
You can either create a new cost code that will be automatically added to your QuickBooks account or you can match it with an existing one.
How to Configure Bill Cost Line Type?
Buildern allows its users to choose the bill line type from three different options:
-
Estimate bill
-
Allowance and selection
-
Change order
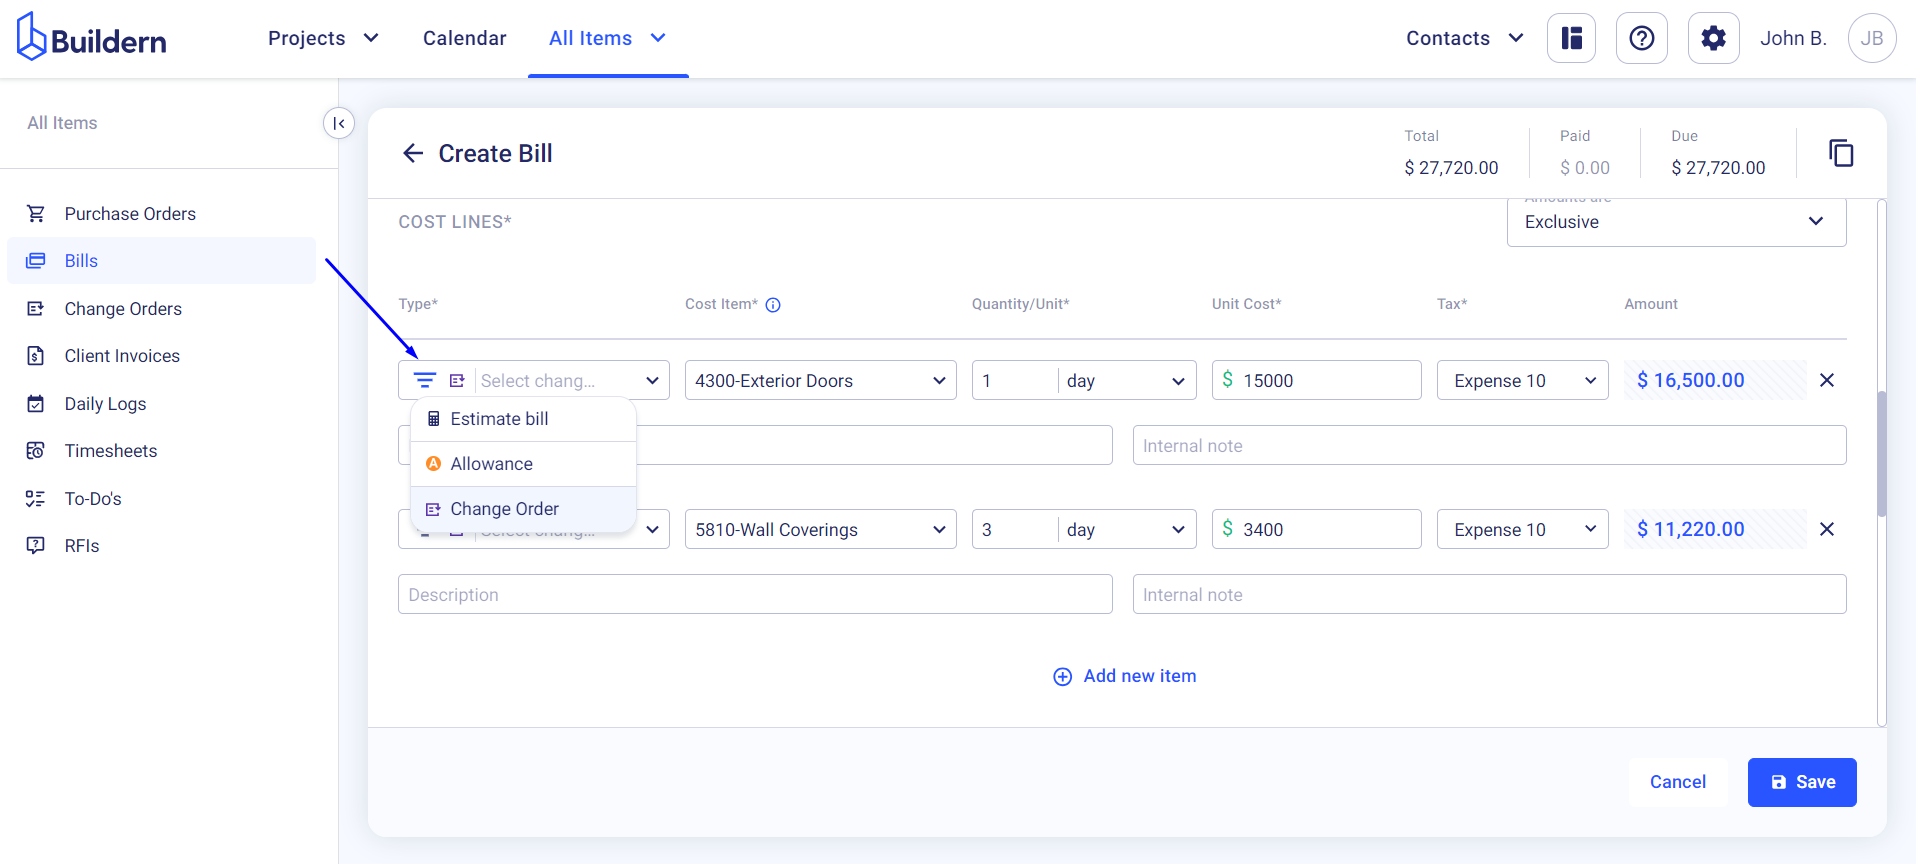
This means that whatever option you choose the bill will be linked and associated with that particular document.
Let’s see how each option works.
Choosing the Estimate Bill Type
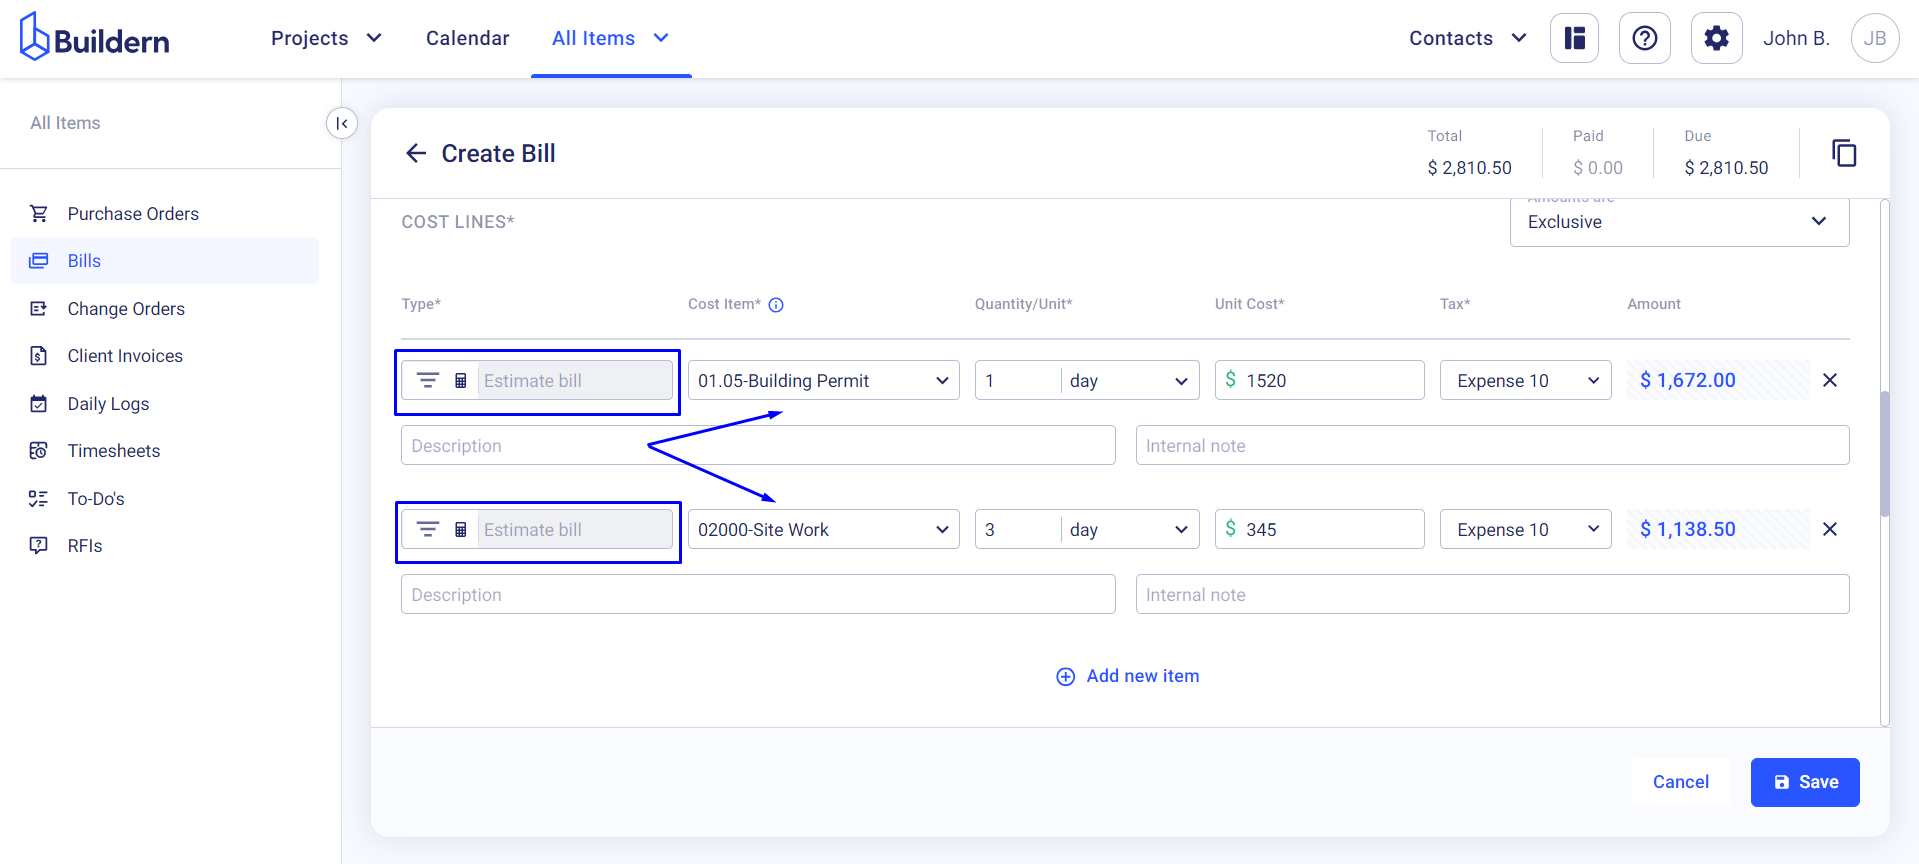
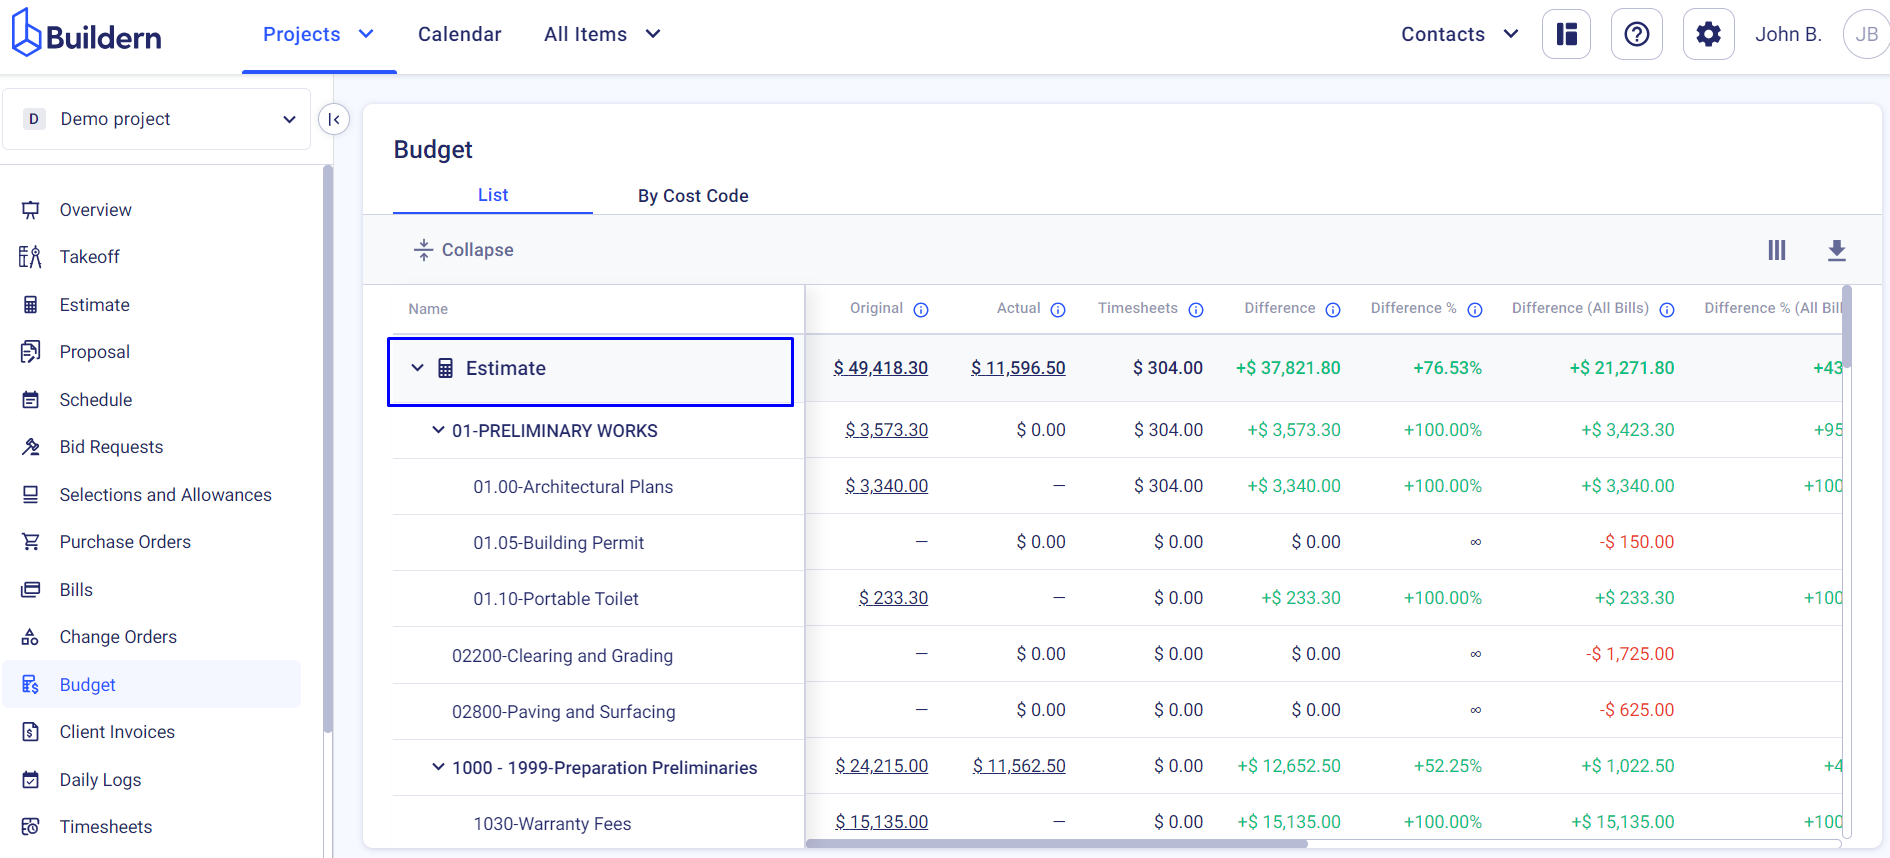
Now, regardless of cost lines added to the bill, if you configure the “Estimate bill” line type, this will mean that your bill is associated with a particular cost code from the current project’s estimate.
This will be shown in your budget’s estimate section.
Choosing the Allowance and Selection Type
Let’s set your bill line type to allowance and selection.
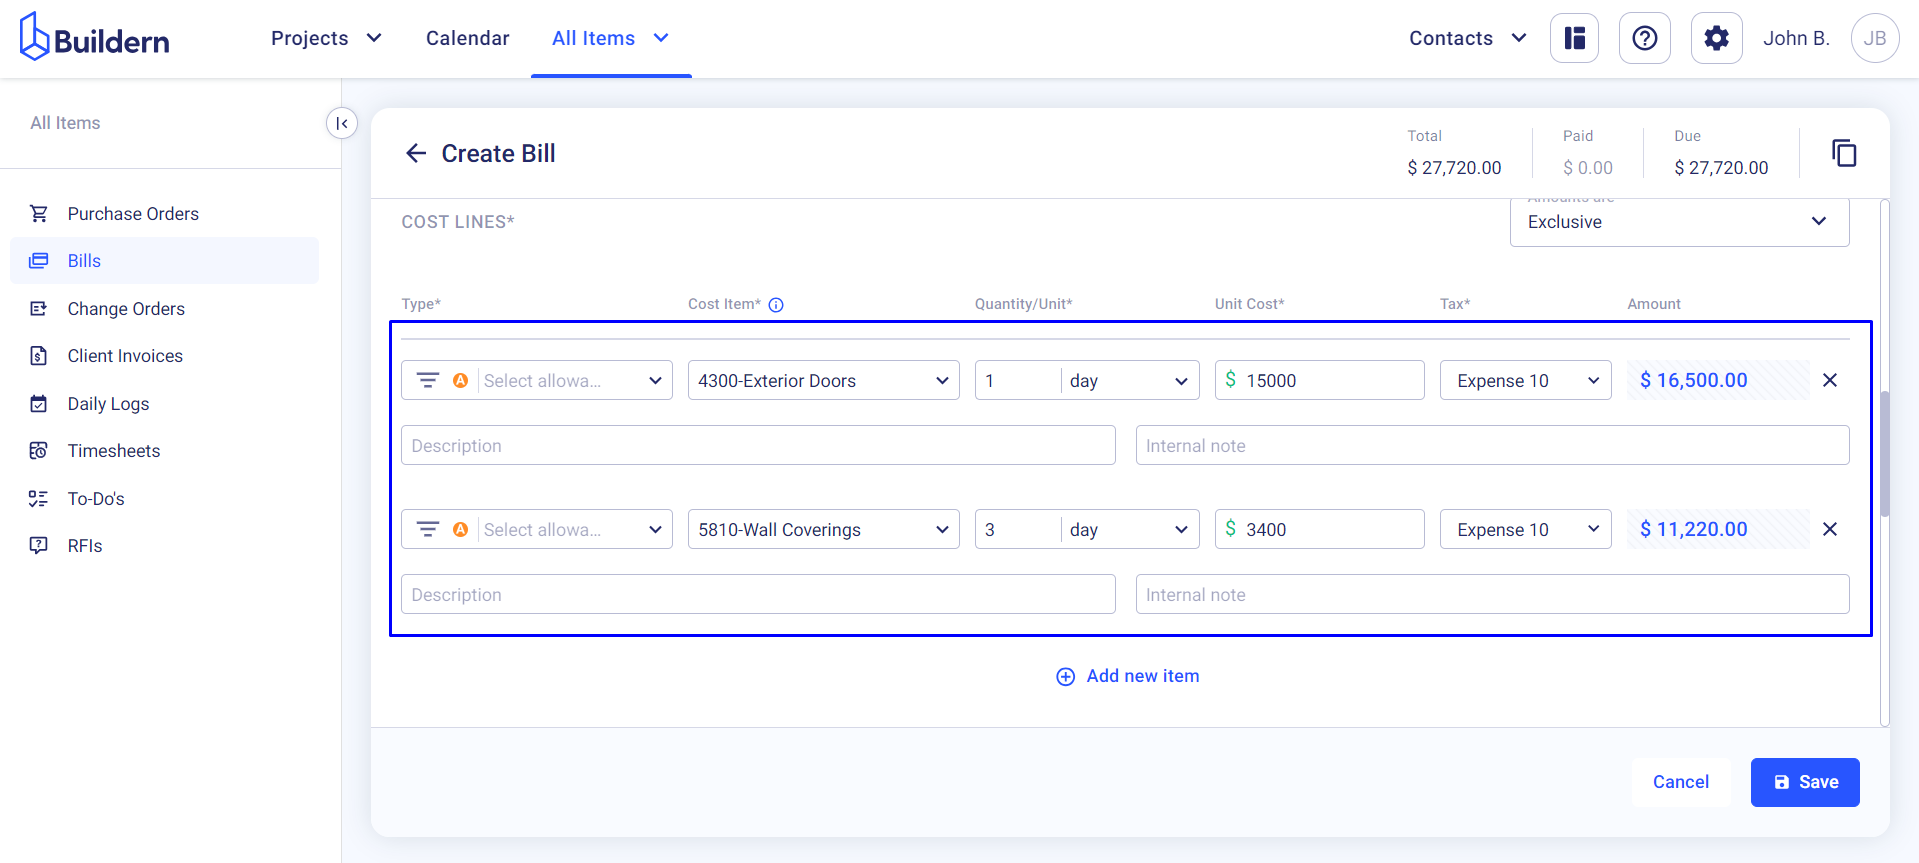
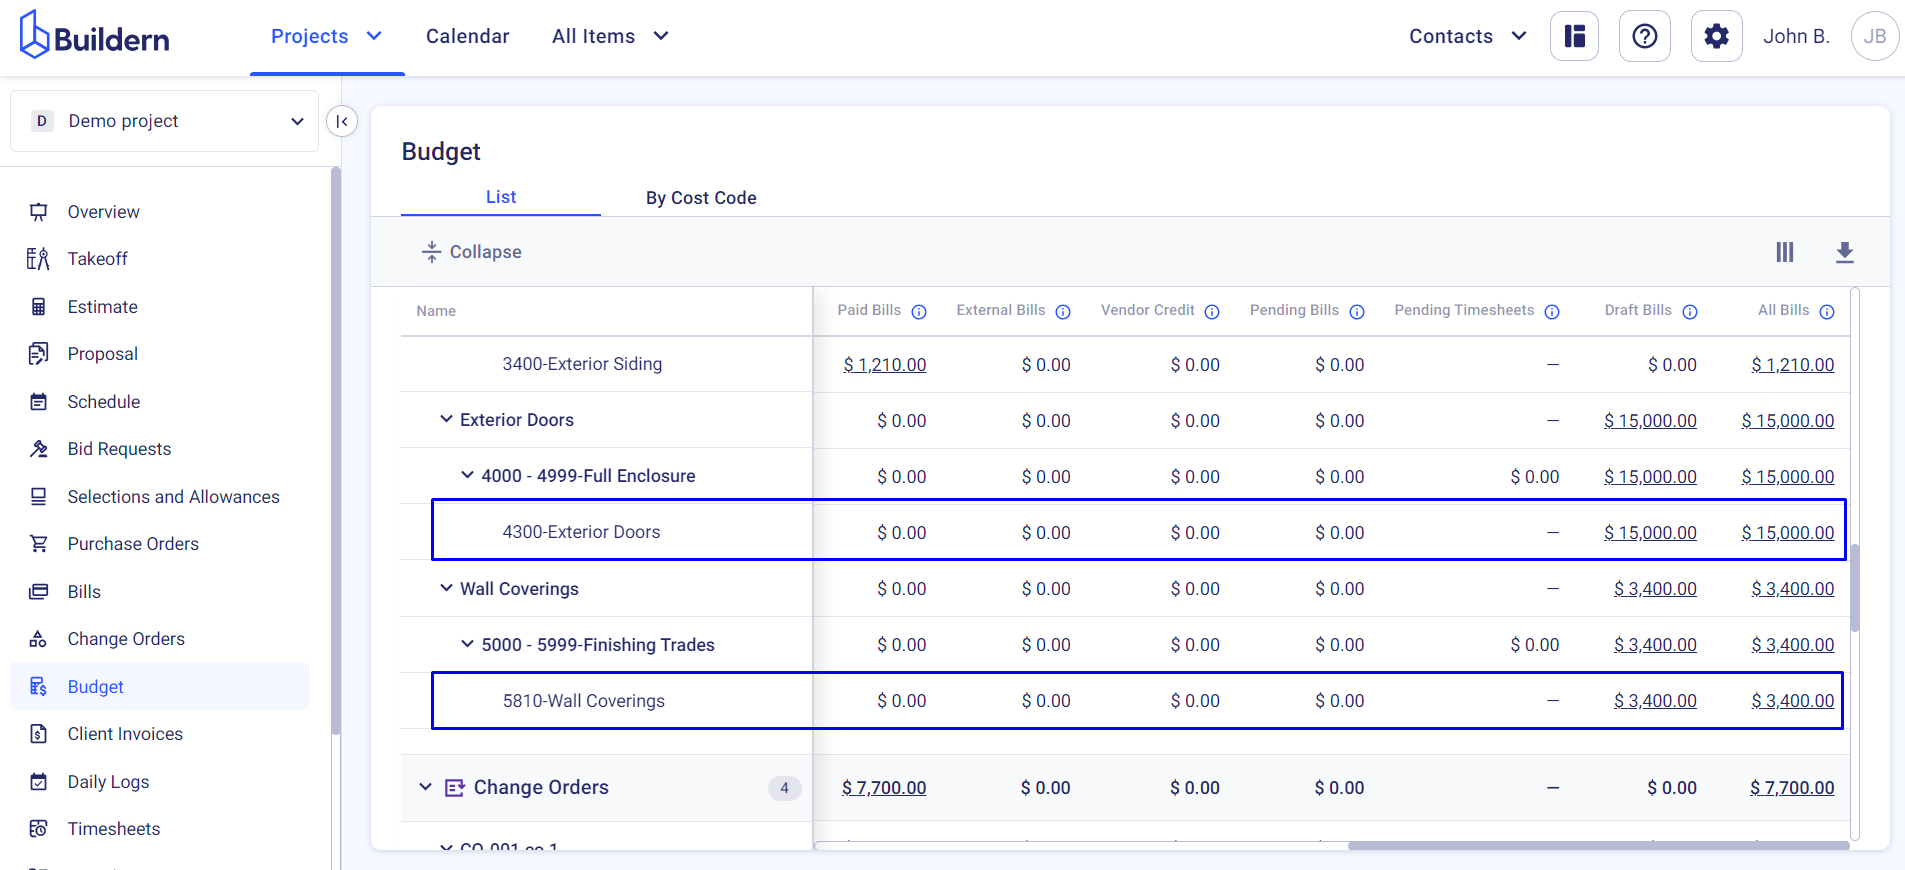
This will mean that the following cost lines refer to your subsequent allowances:

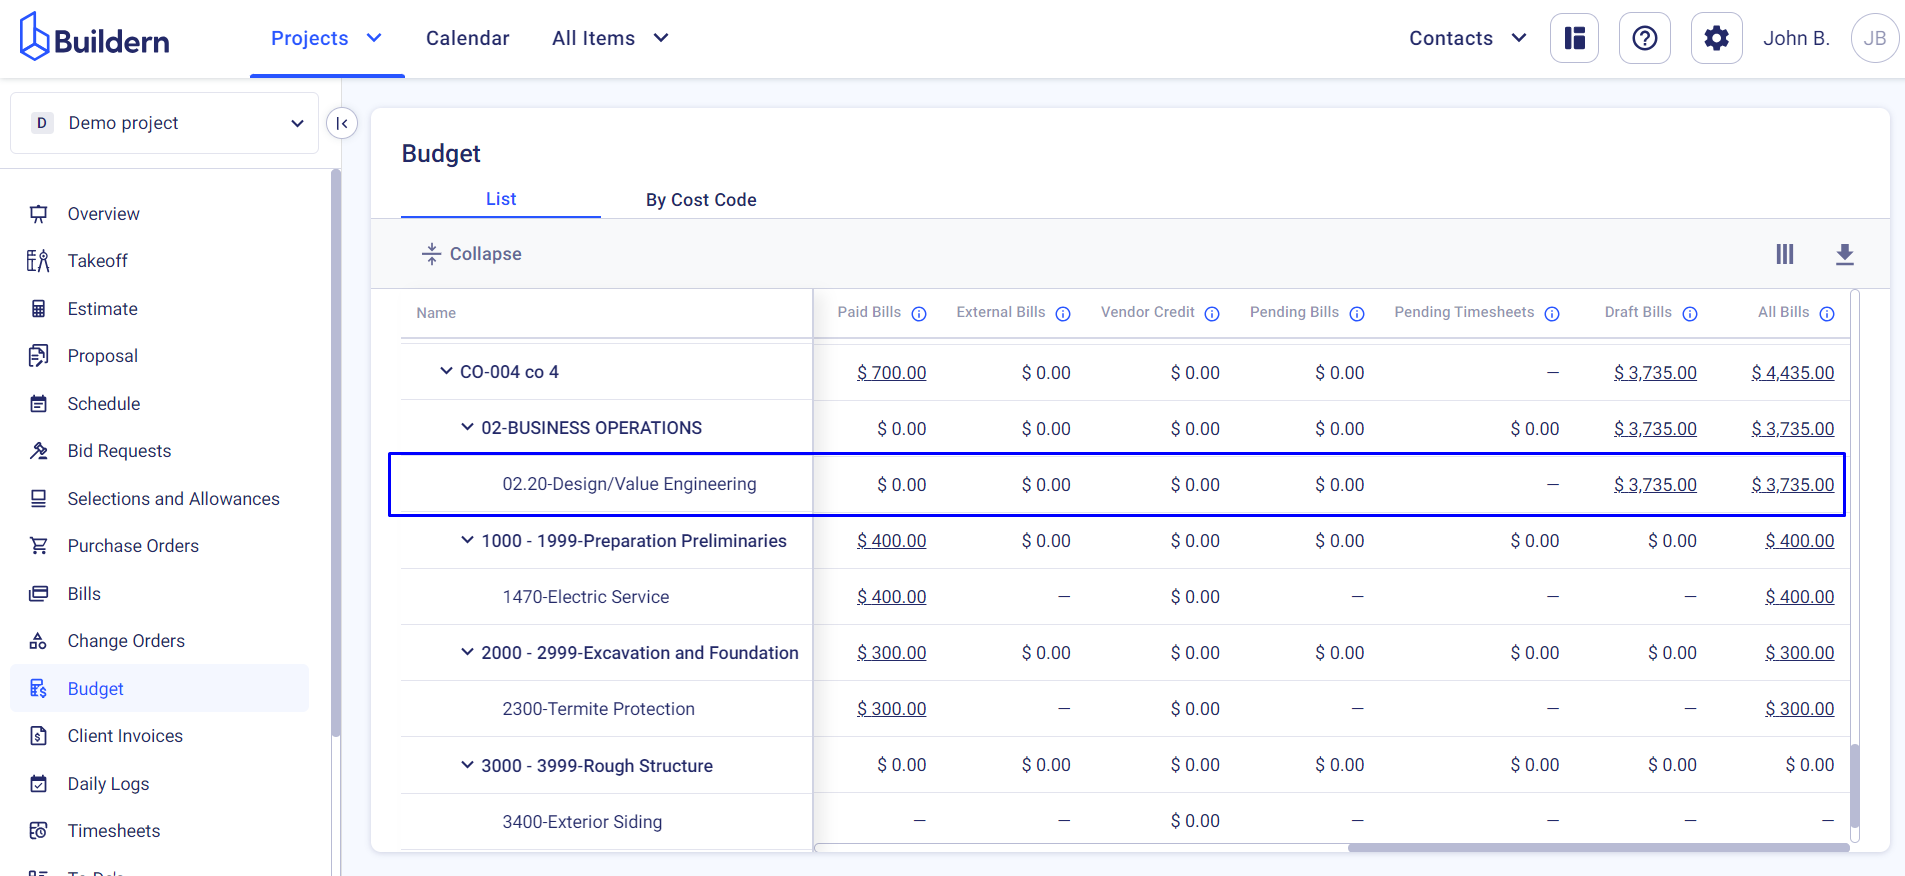
If you decide to view the payment history and changes, you can go to your project budget and see the corresponding data.
Choosing the Change Order Type
Last but not least, if you set the bill line type to change order, this will mean that the bill refers to a specific change order.
Simple, isn’t it?
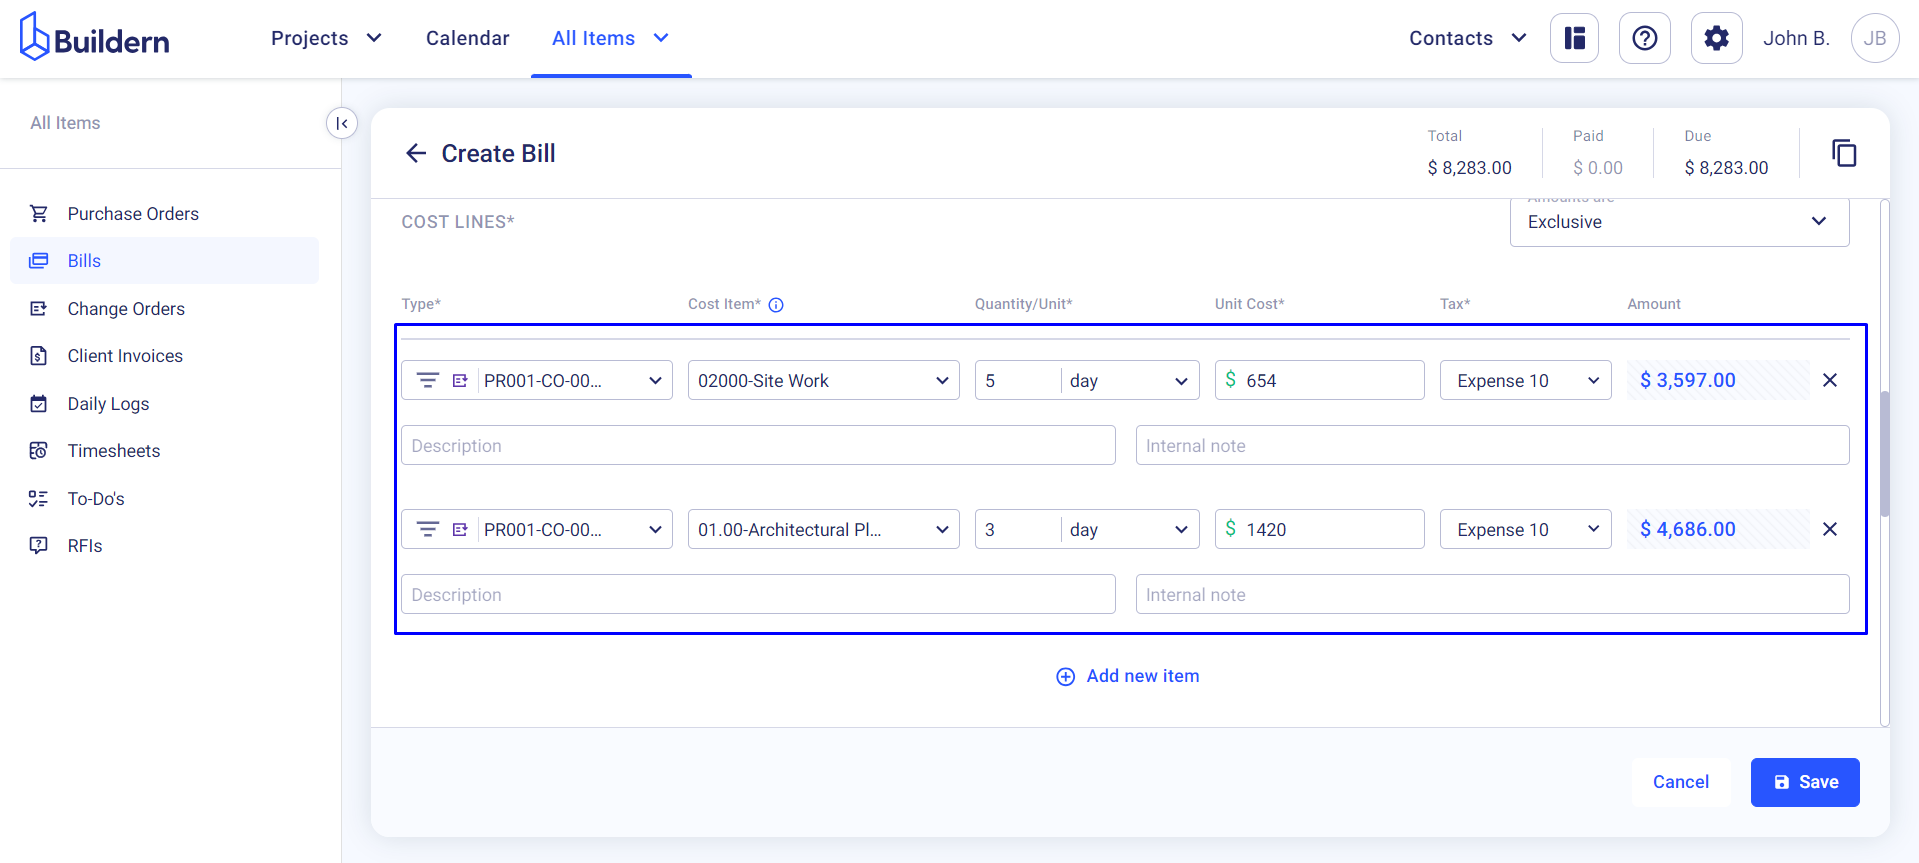
View the results and any changes to the saved bill in the project budget:
Click Save once everything is final.
💡Recommended Reading