Thanks to our two-way integration, the process won’t take long. Moreover, you’ll see instant changes in both accounts.
Continue reading or check or comprehensive video guide.⬇️
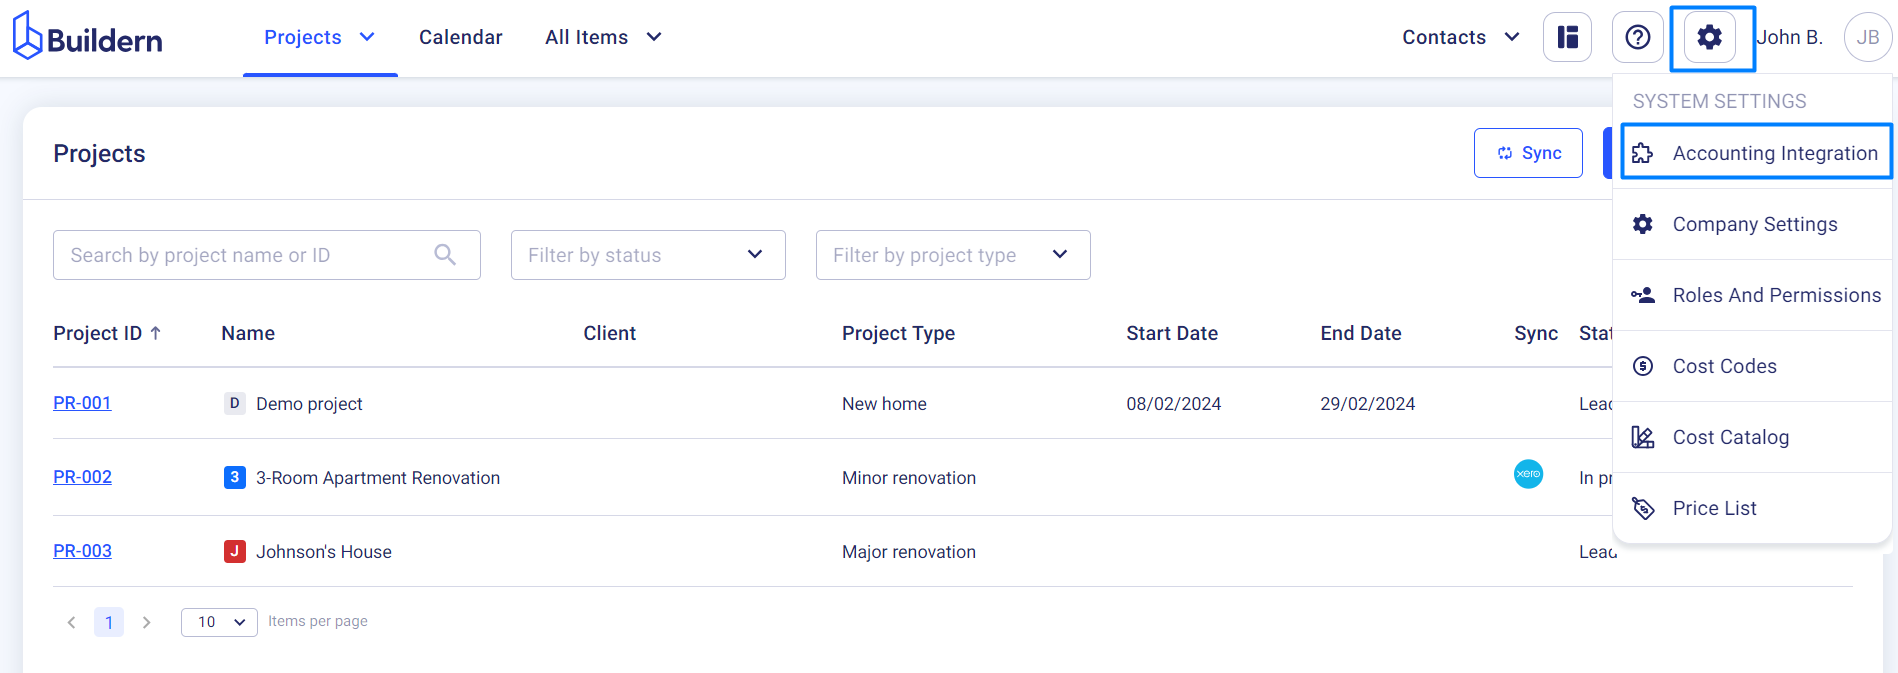
First of all, go to your “Accounting integration” settings in Buildern.
Find the “Project Defaults” section.
This is where you will need to define whether the bills and invoices are going to be synchronized with Xero or not.
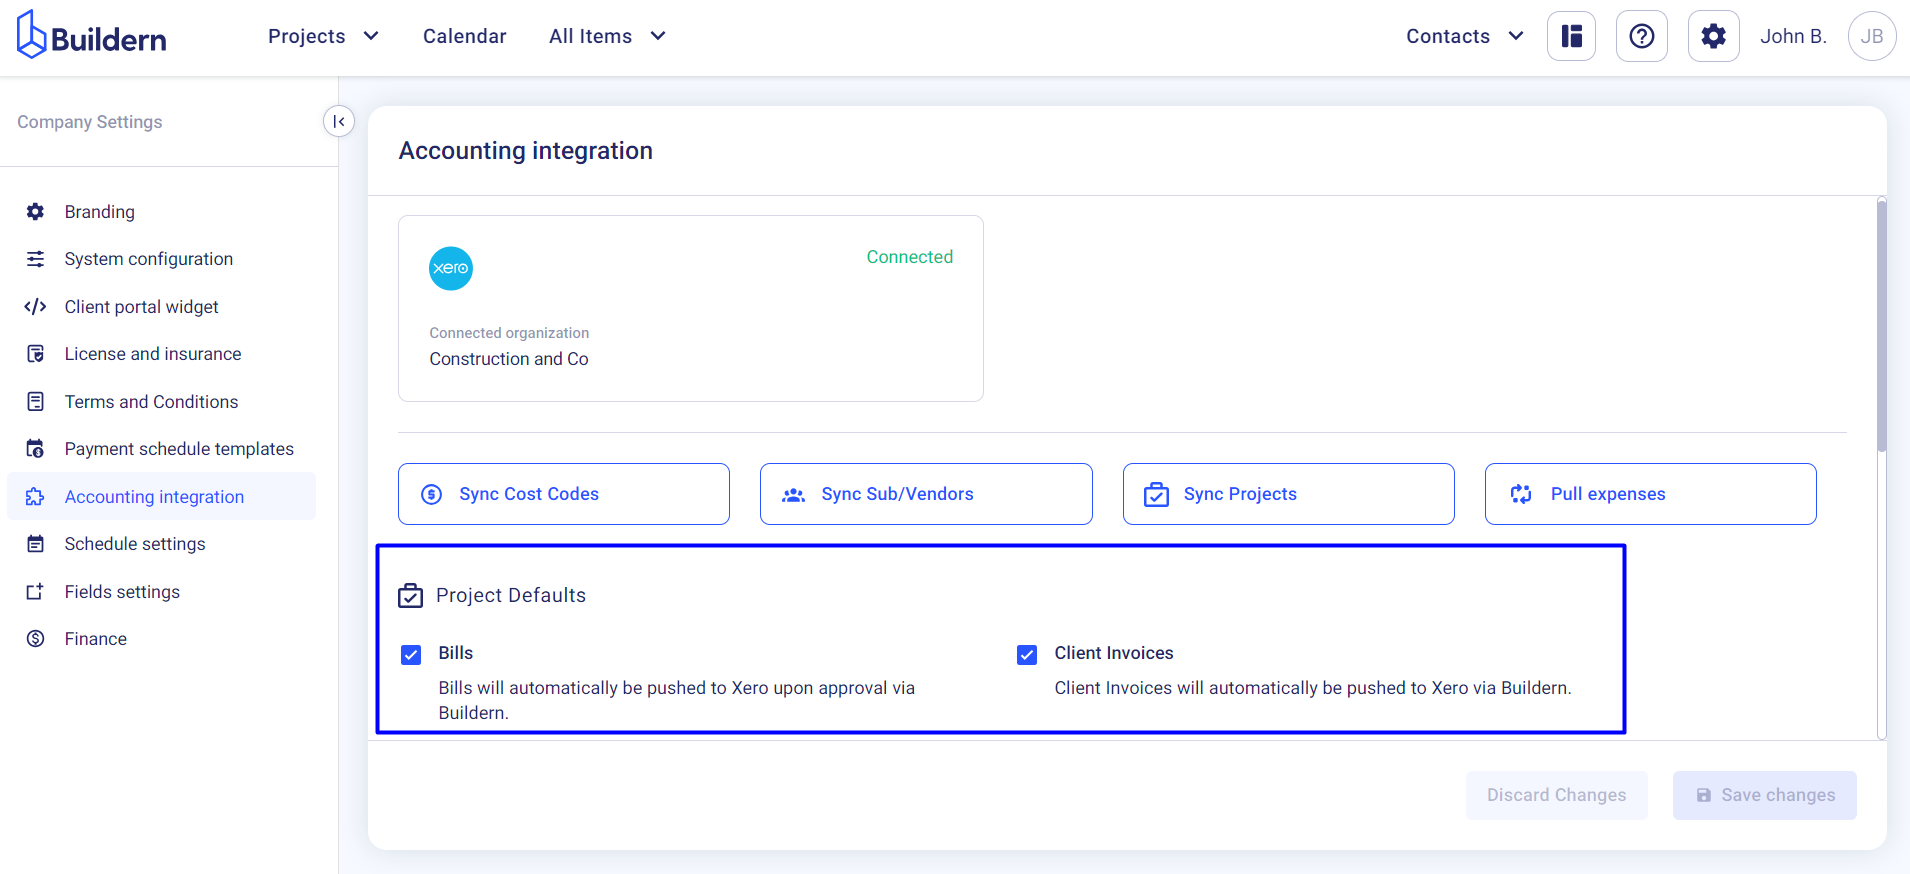
This will be a default action for all your future project bills. For the older bills, you will need to review and update syncing settings manually.
You can also sync data with Xero while adding new bills or editing old ones.
Let’s see how.
Create a New Bill in Buildern
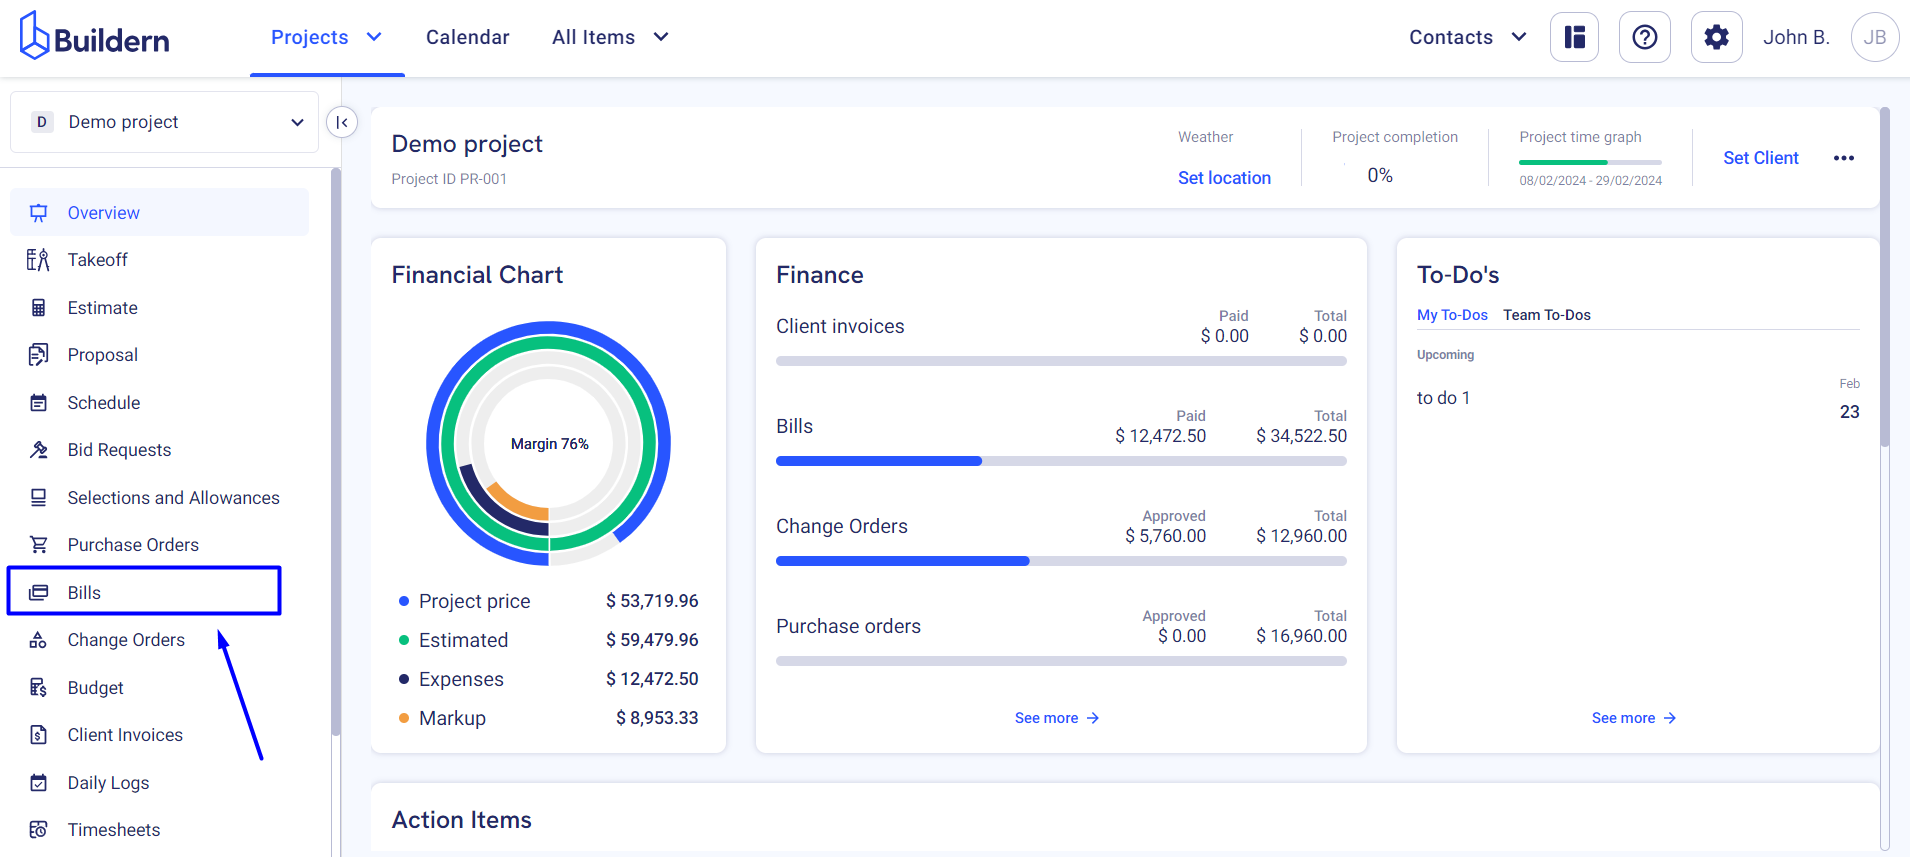
Go to your Bills dashboard.
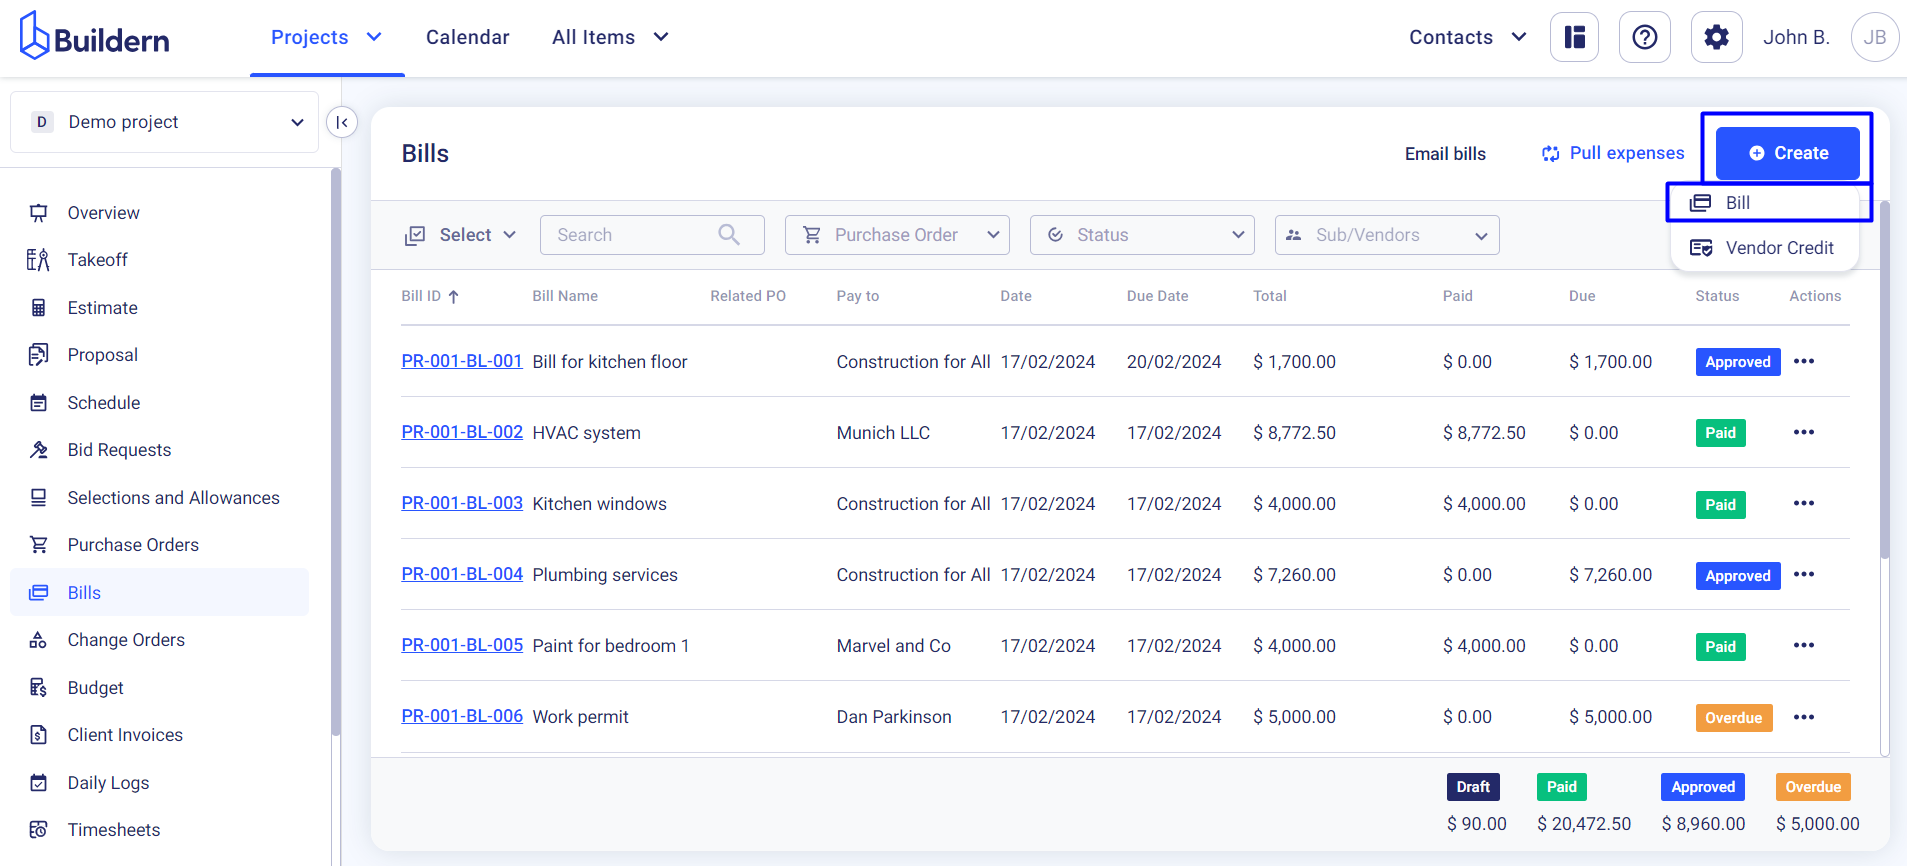
Click the “Create” > “Bill” buttons to get started.
Start filling all the relevant fields:
-
Name
-
The related purchase order
-
Sub/Vendor whom you will pay
-
Start and due dates
-
Cost lines
-
Attachments
And anything you will need for this bill.
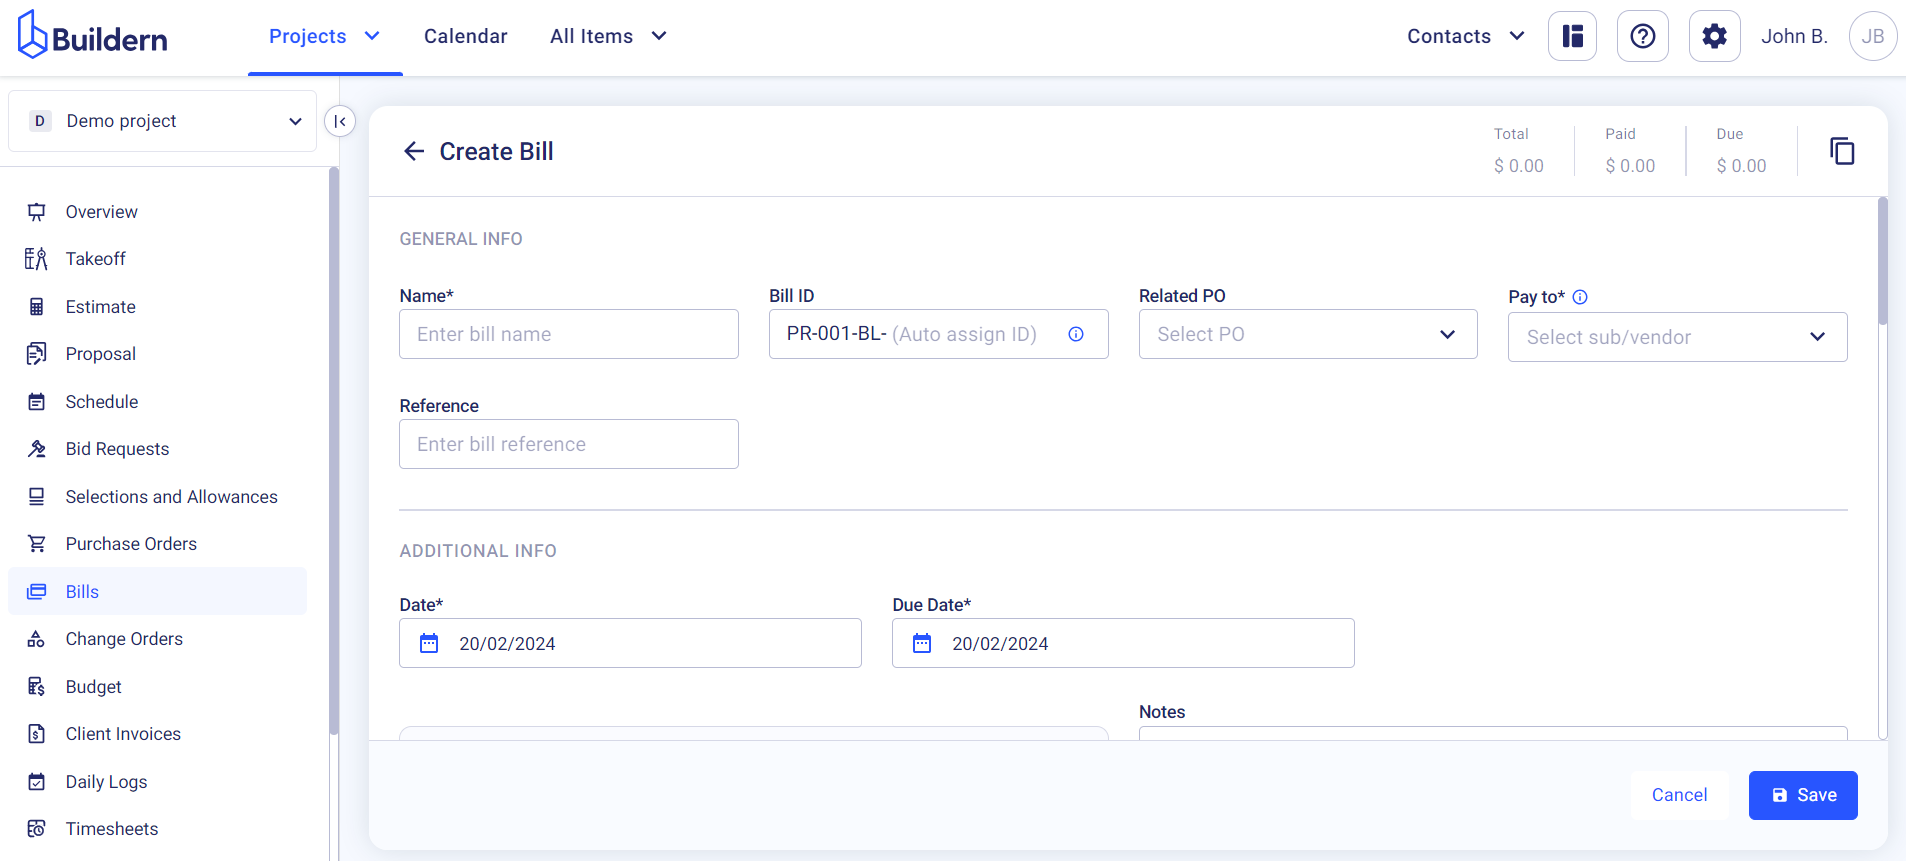
Now, let’s see how the information syncs with Xero when you add cost lines to your bill.
💡Learn about cost codes in our blog.
This is the most crucial part of your bill, as the cost lines are the items you issue bills for.
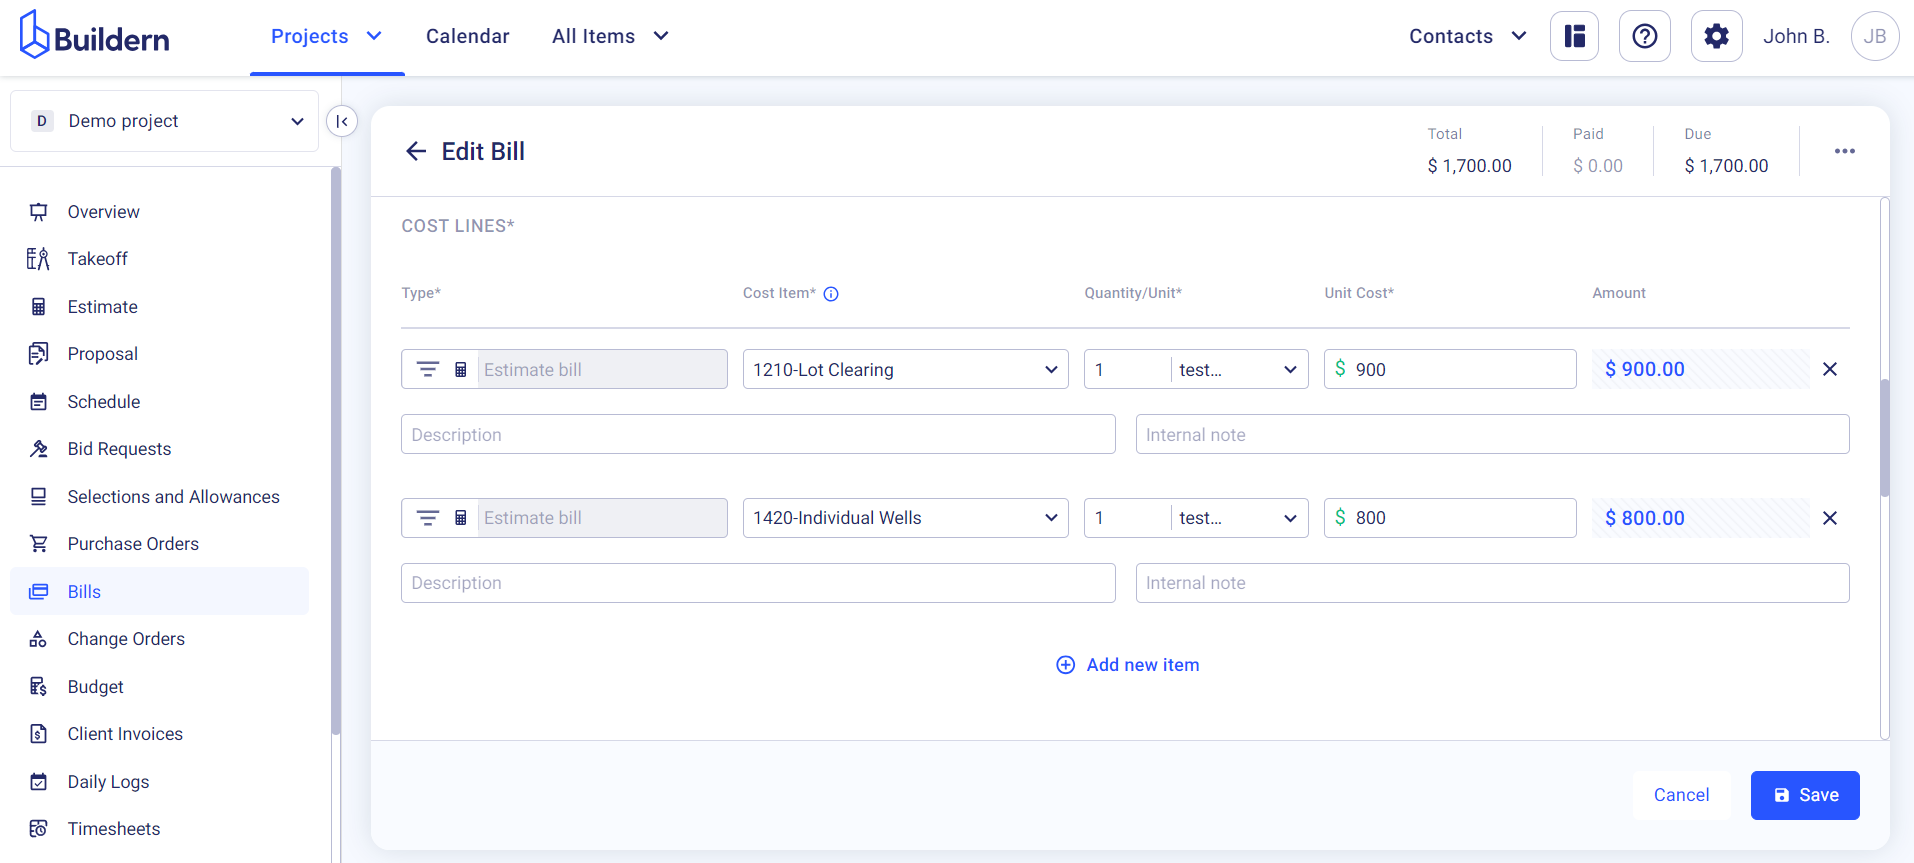
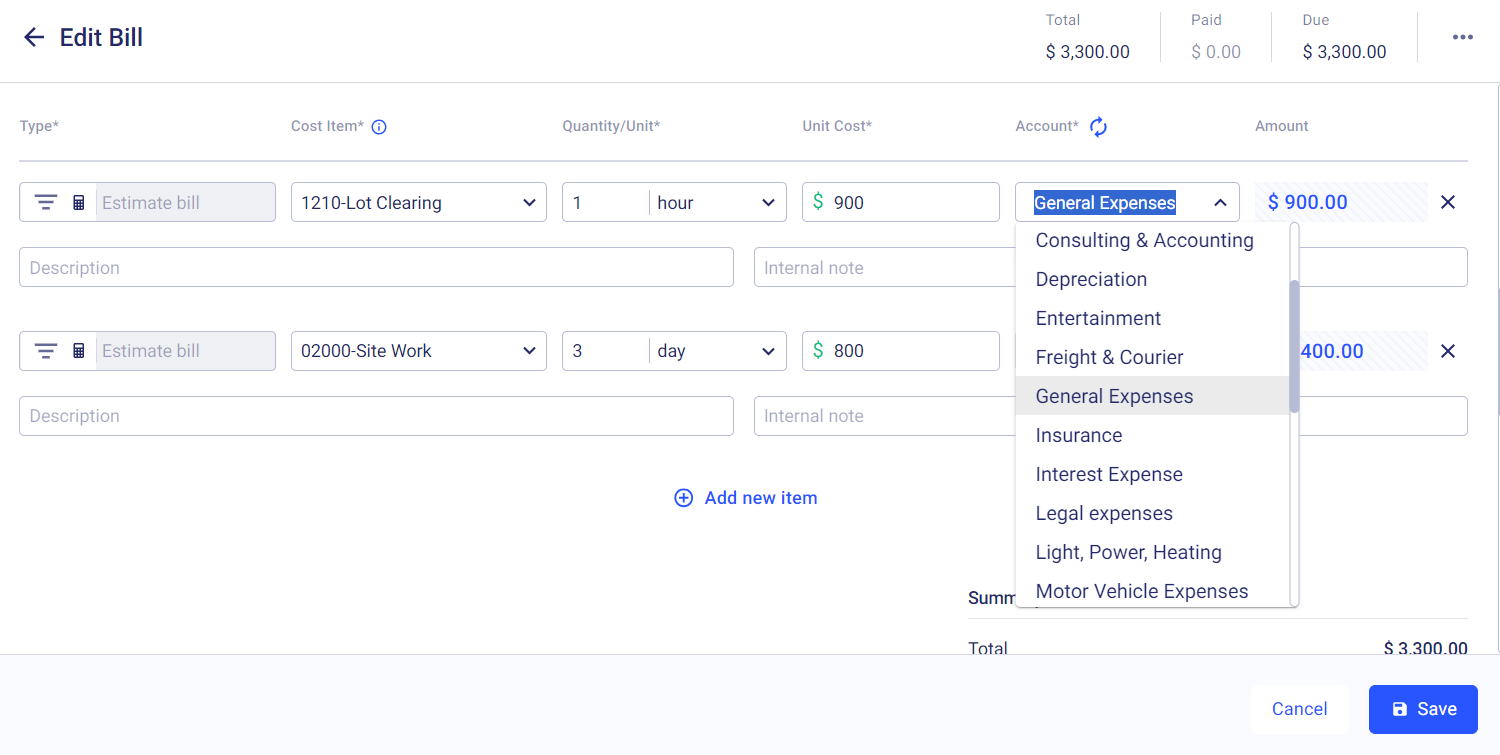
Choose the cost items, the quantity, the cost per unit, and most importantly the account from where the payments will be made.
You will find all your Expense Accounts from Xero synced here:
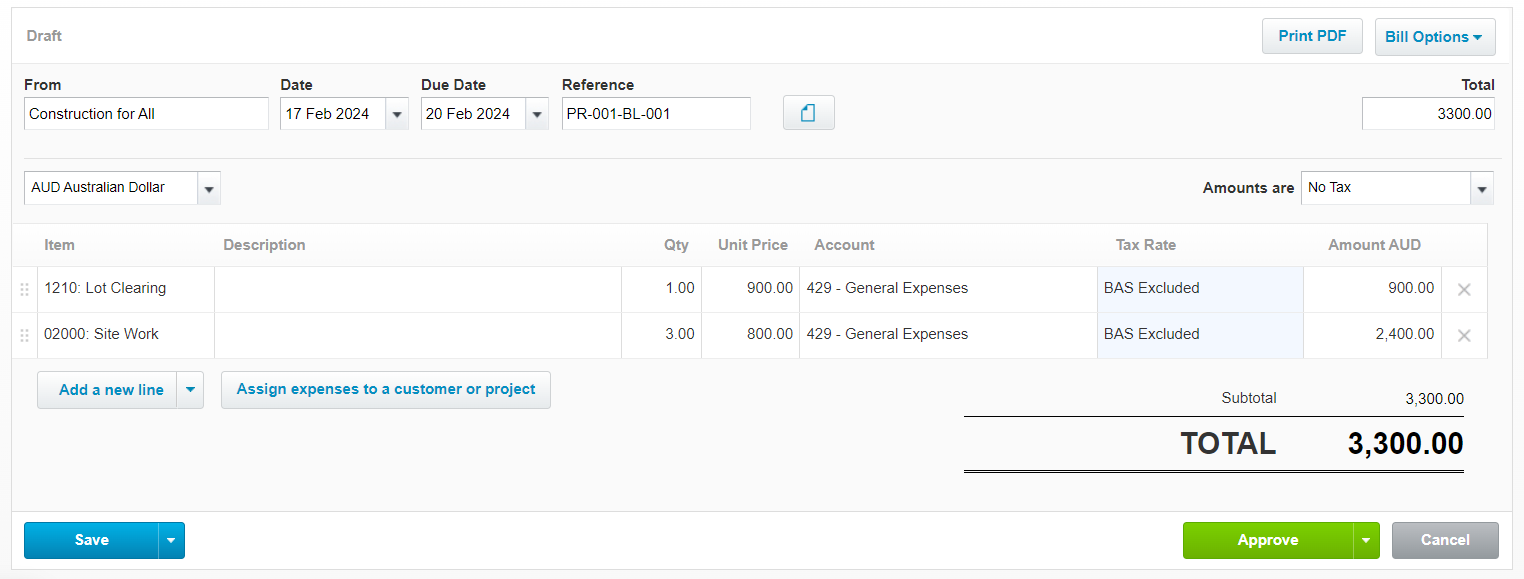
Now once you save the details, this bill will be synced with your Xero account as in the image below:
Once you add all the relevant data to Buildern, mark the option “Send to Xero” and save the changes.
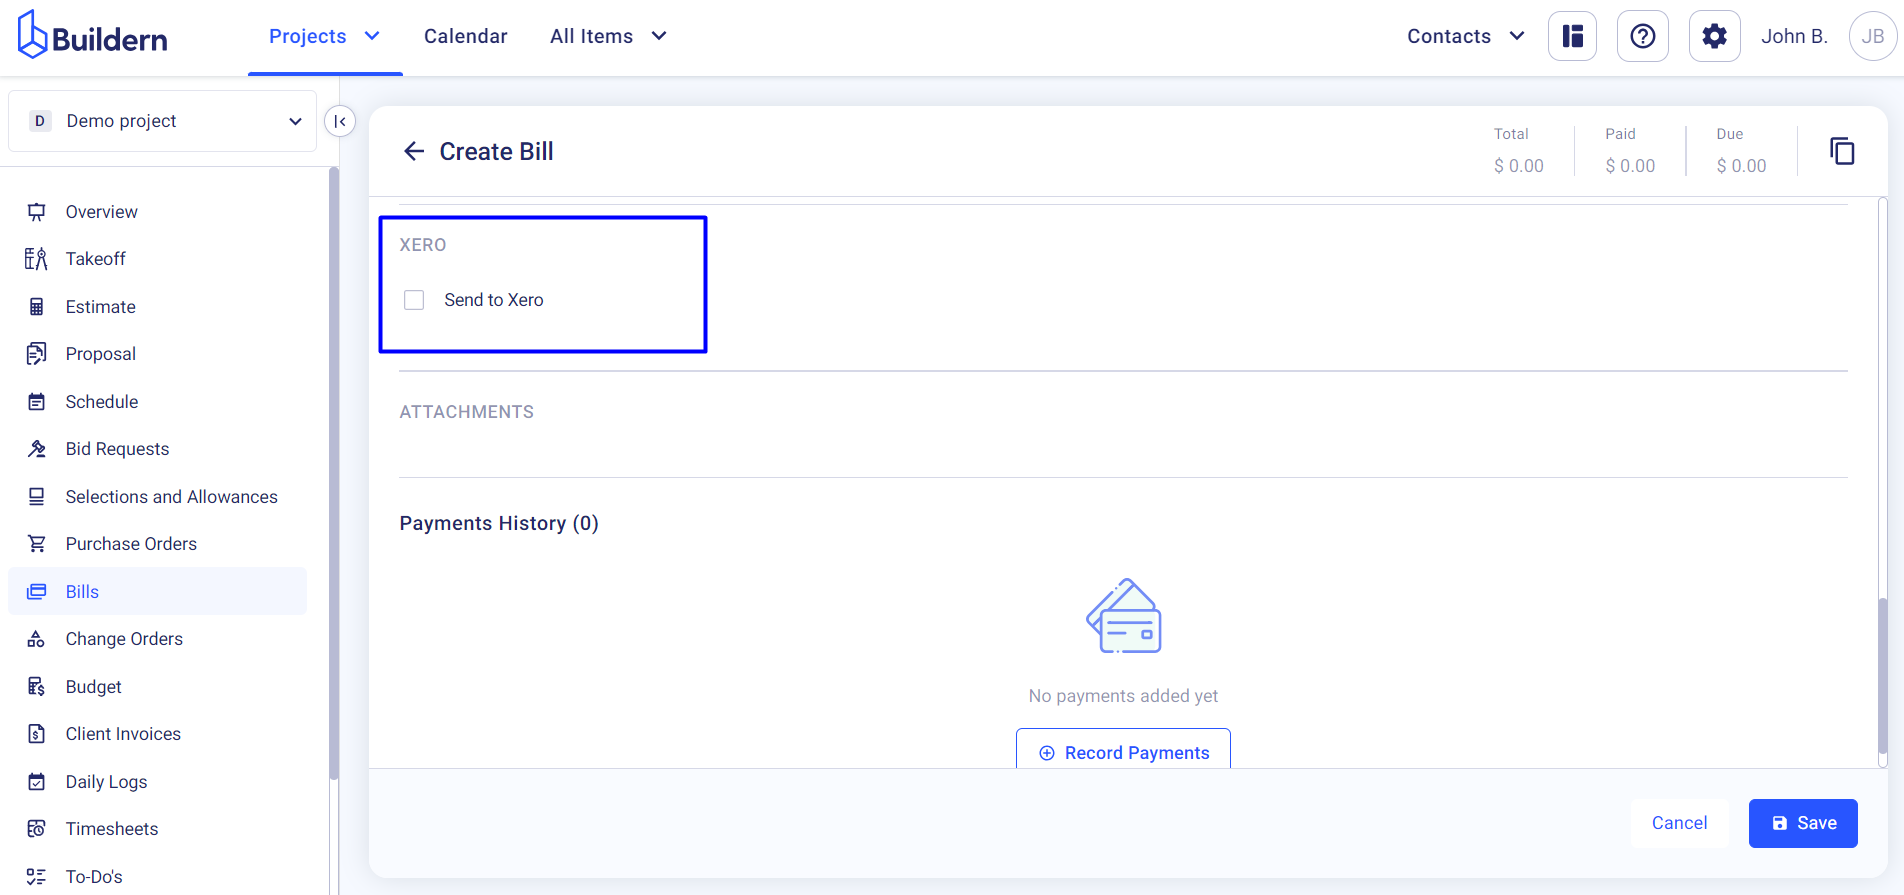
Error State in Buildern
In some cases, you may receive an error alert from Buildern. This may happen when information (like a cost code, new sub/vendor data, tax, etc.) included in the bill is not synced with Xero yet.
Let’s see how to fix such an issue.
We have added a new cost code to our bill in the image below.
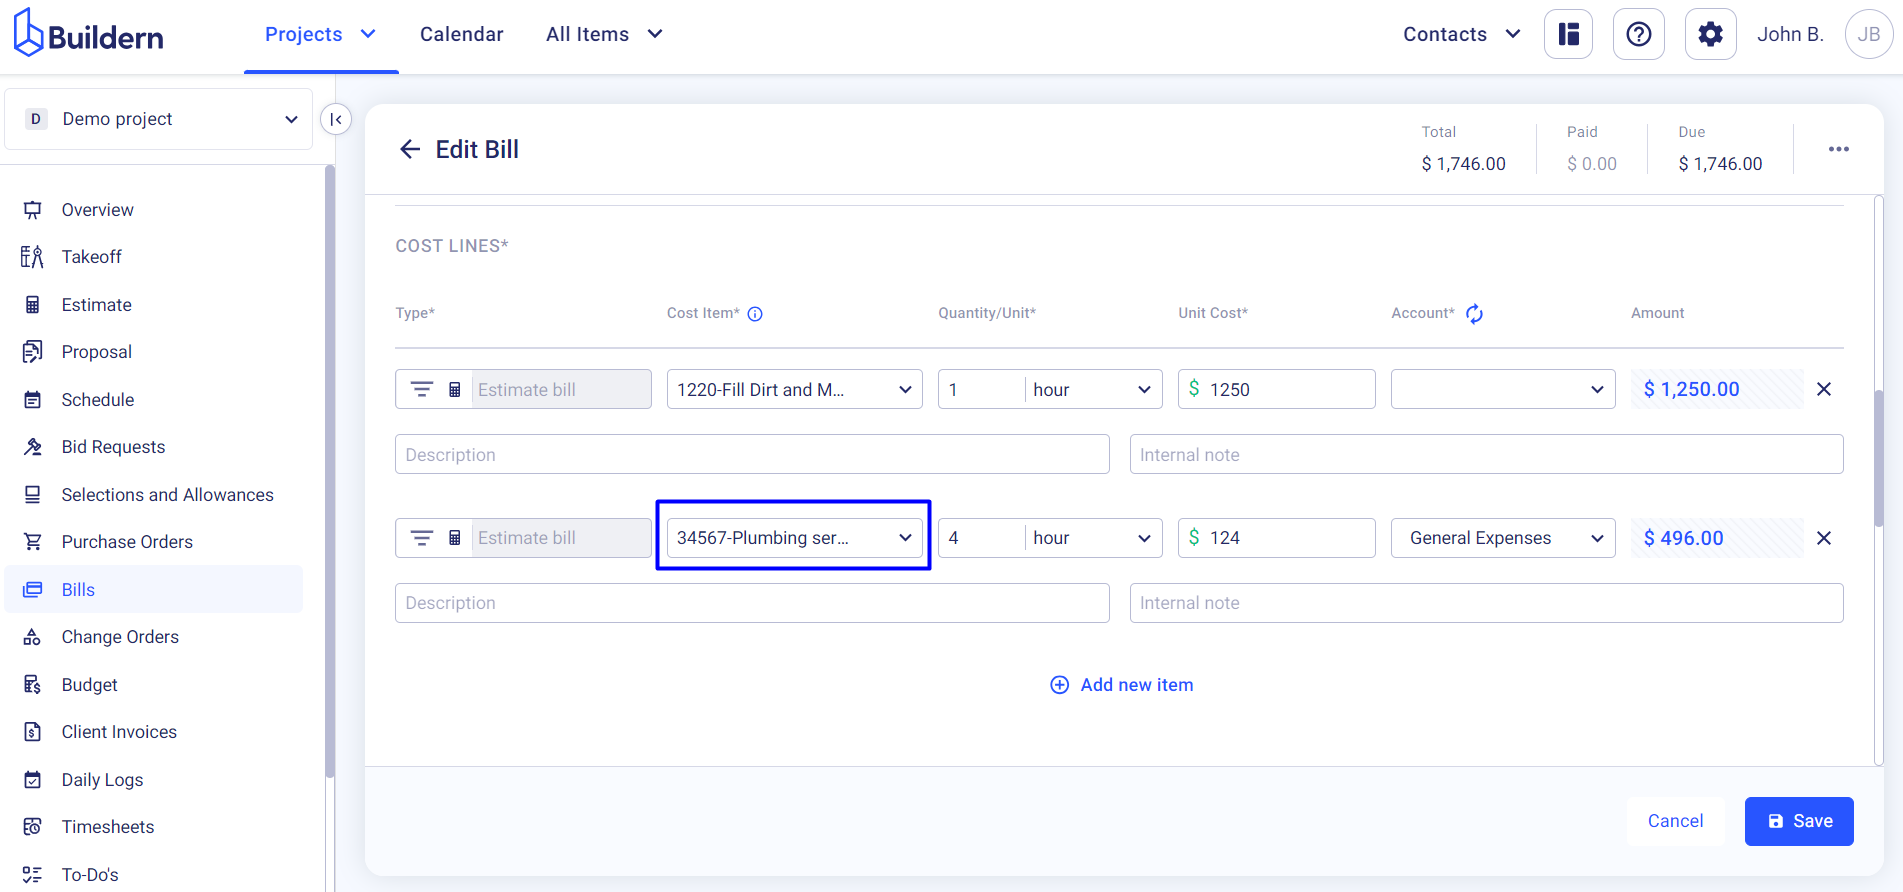
Now if we decide to send this bill to Xero, Buildern will show the following message:

We will also offer you to fix the issue.
Add the new cost code to your “Products and Services” in Xero and save the changes.
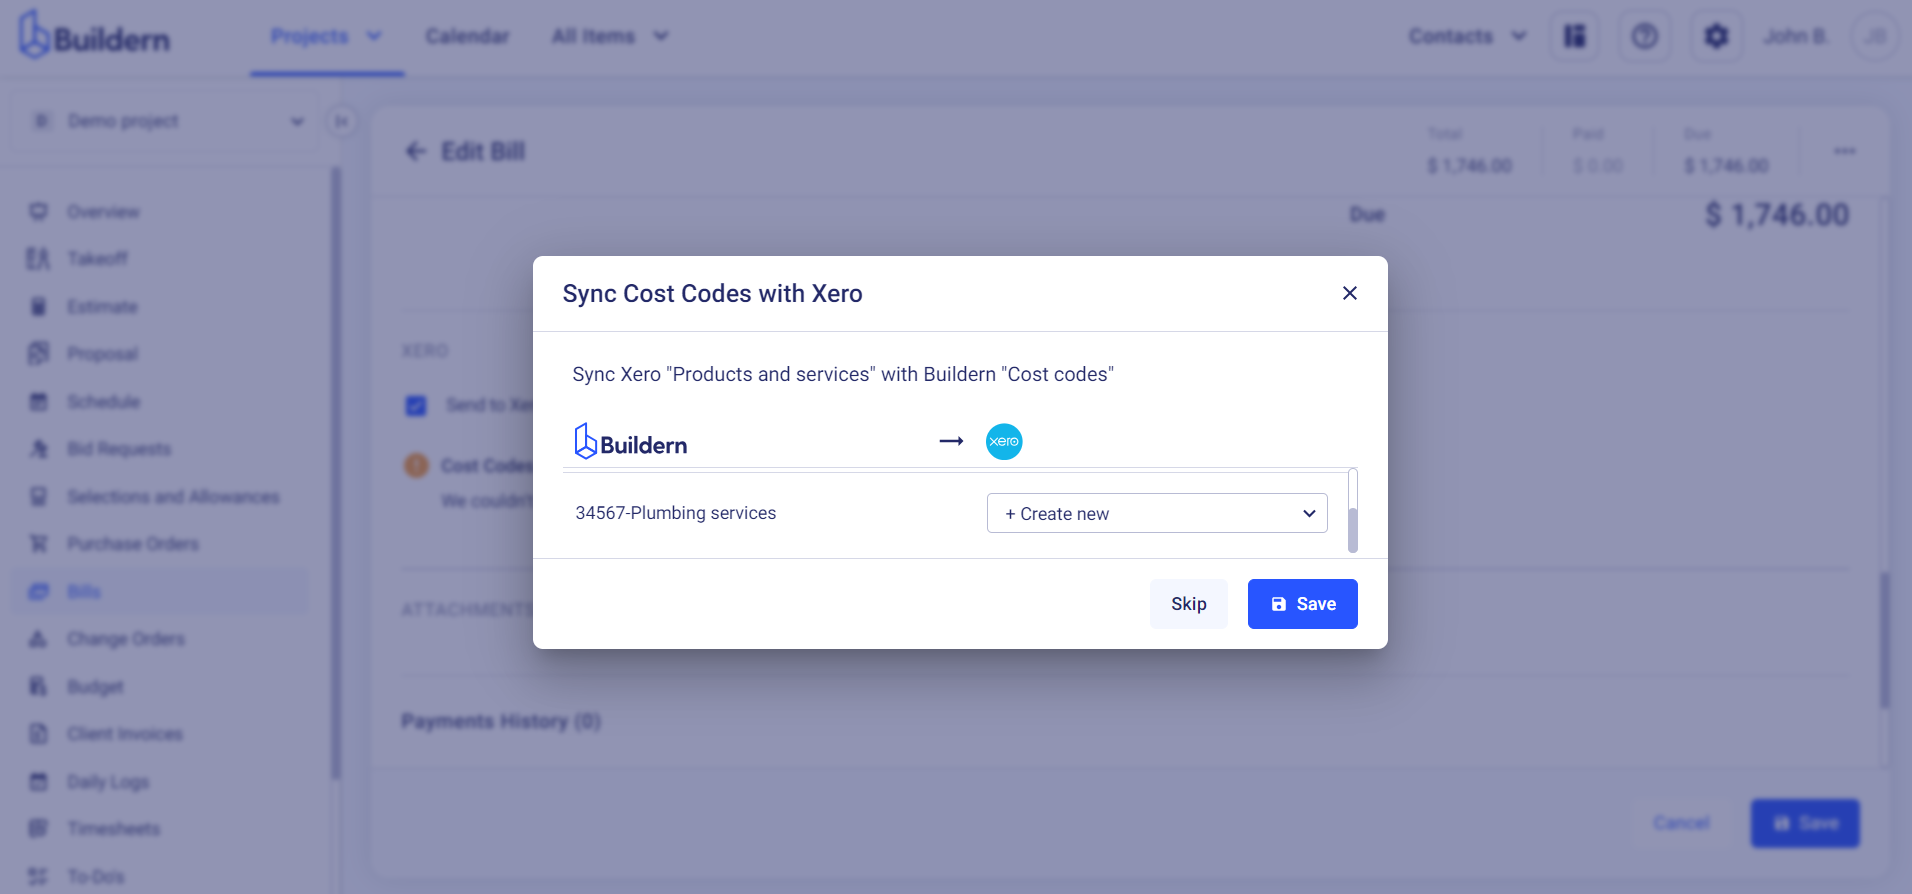
Now the bill is ready to be synced with Xero.
Edit Bill in Buildern
Now, suppose you need to update one of your previous bills and send it to your Xero account.
Find the bill you want to synchronize, and click the three dots at the end of the line.
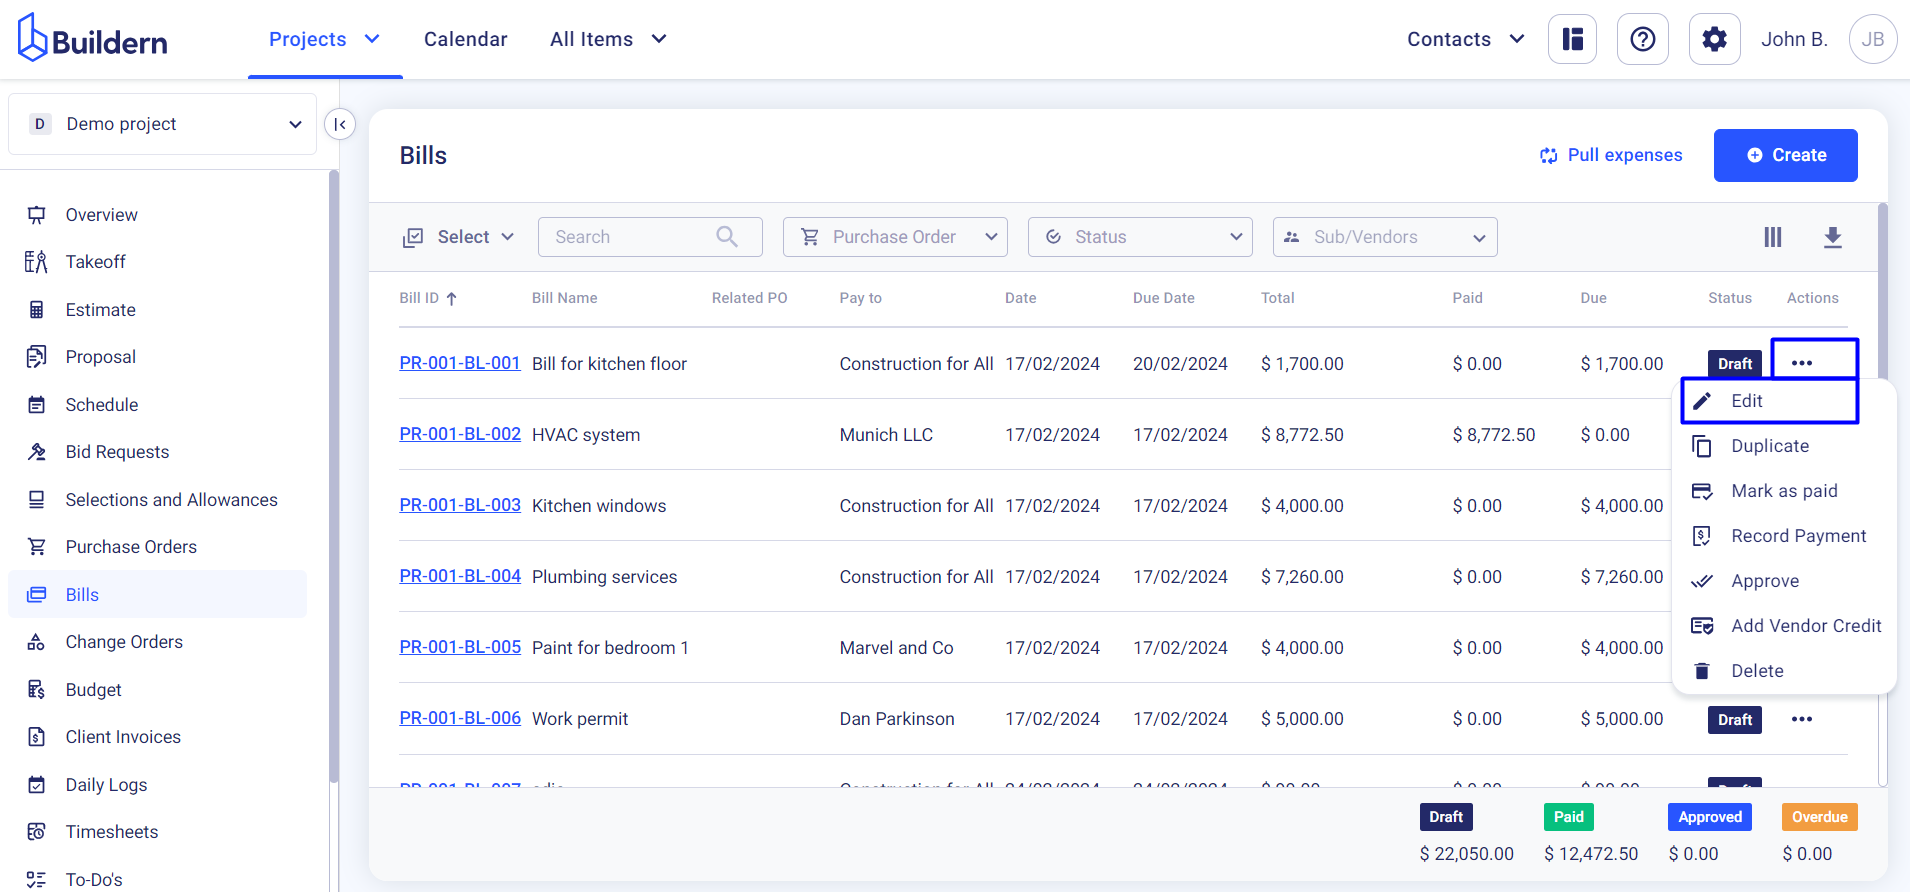
Make the necessary changes, then scroll down a bit to find the Xero integration section.
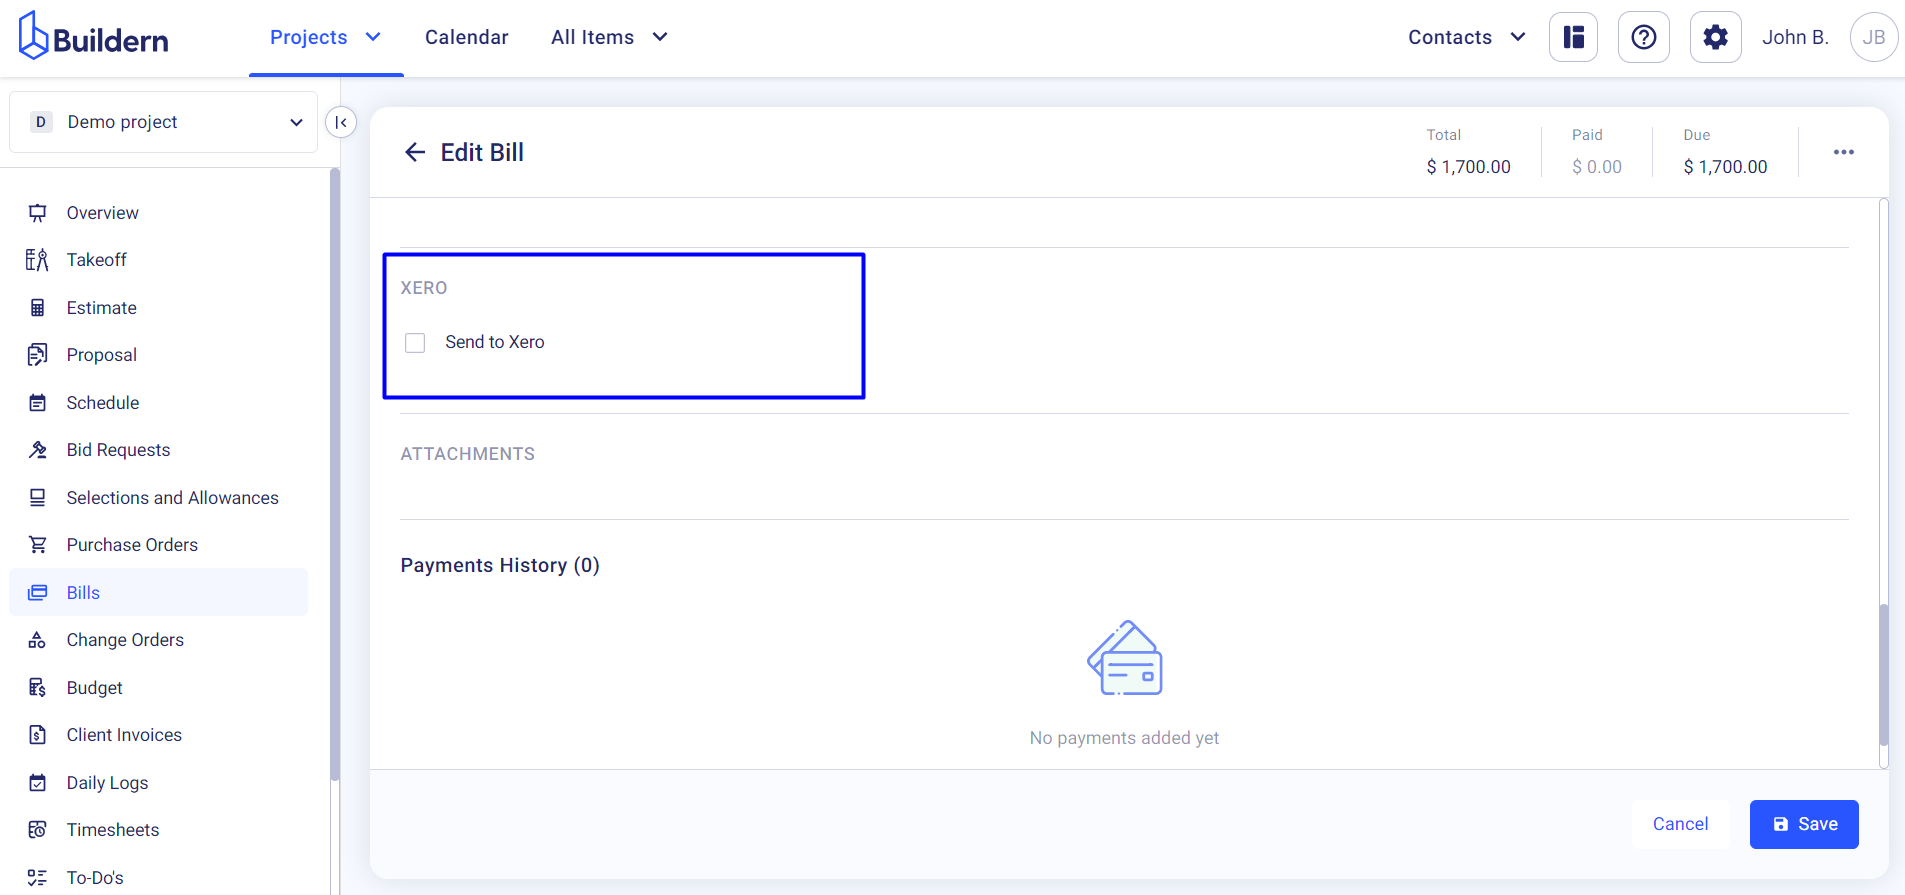
Mark the checkbox and save the changes.
You will see the Xero icon at the end of each line, showing that bills have been successfully synced with your Xero account.
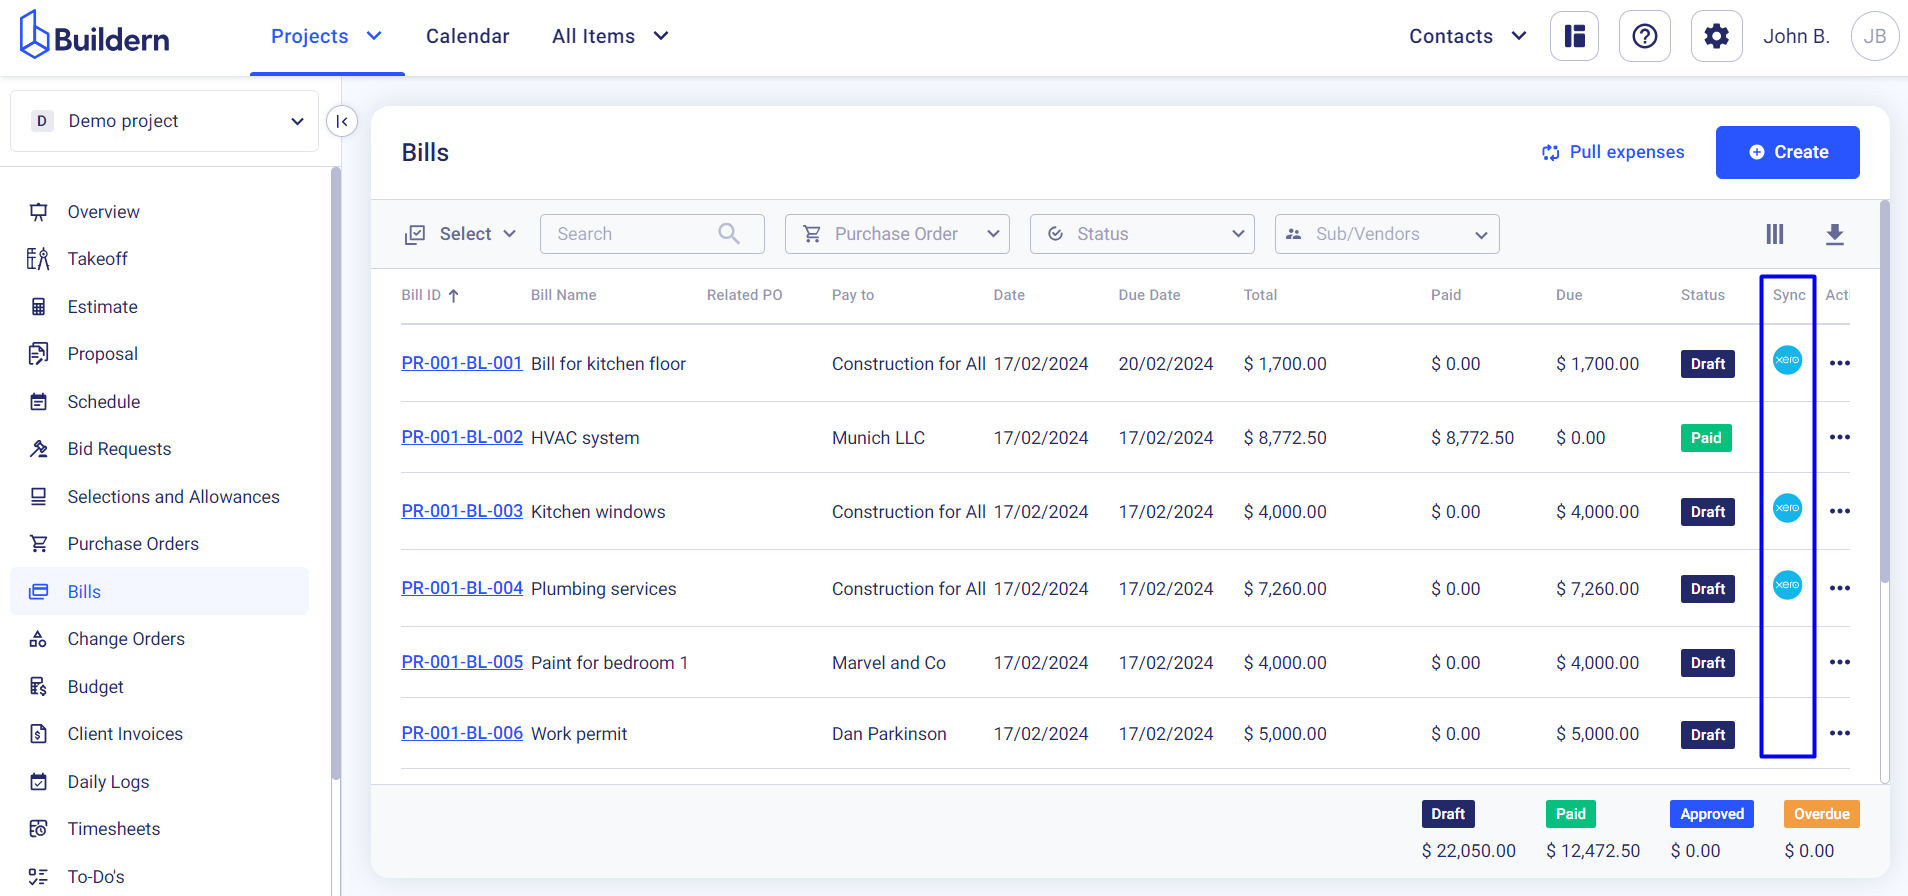
This means that from now on everything changed in Buildern will be synced with Xero and vice versa. If you decide to change data, or status, add a payment record, or adjust anything else, both accounts will be updated instantly.
Find Your Synced Bills in Xero
Now, to see if the integration went well, go to the “Business” > “Bills to Pay” section in Xero.
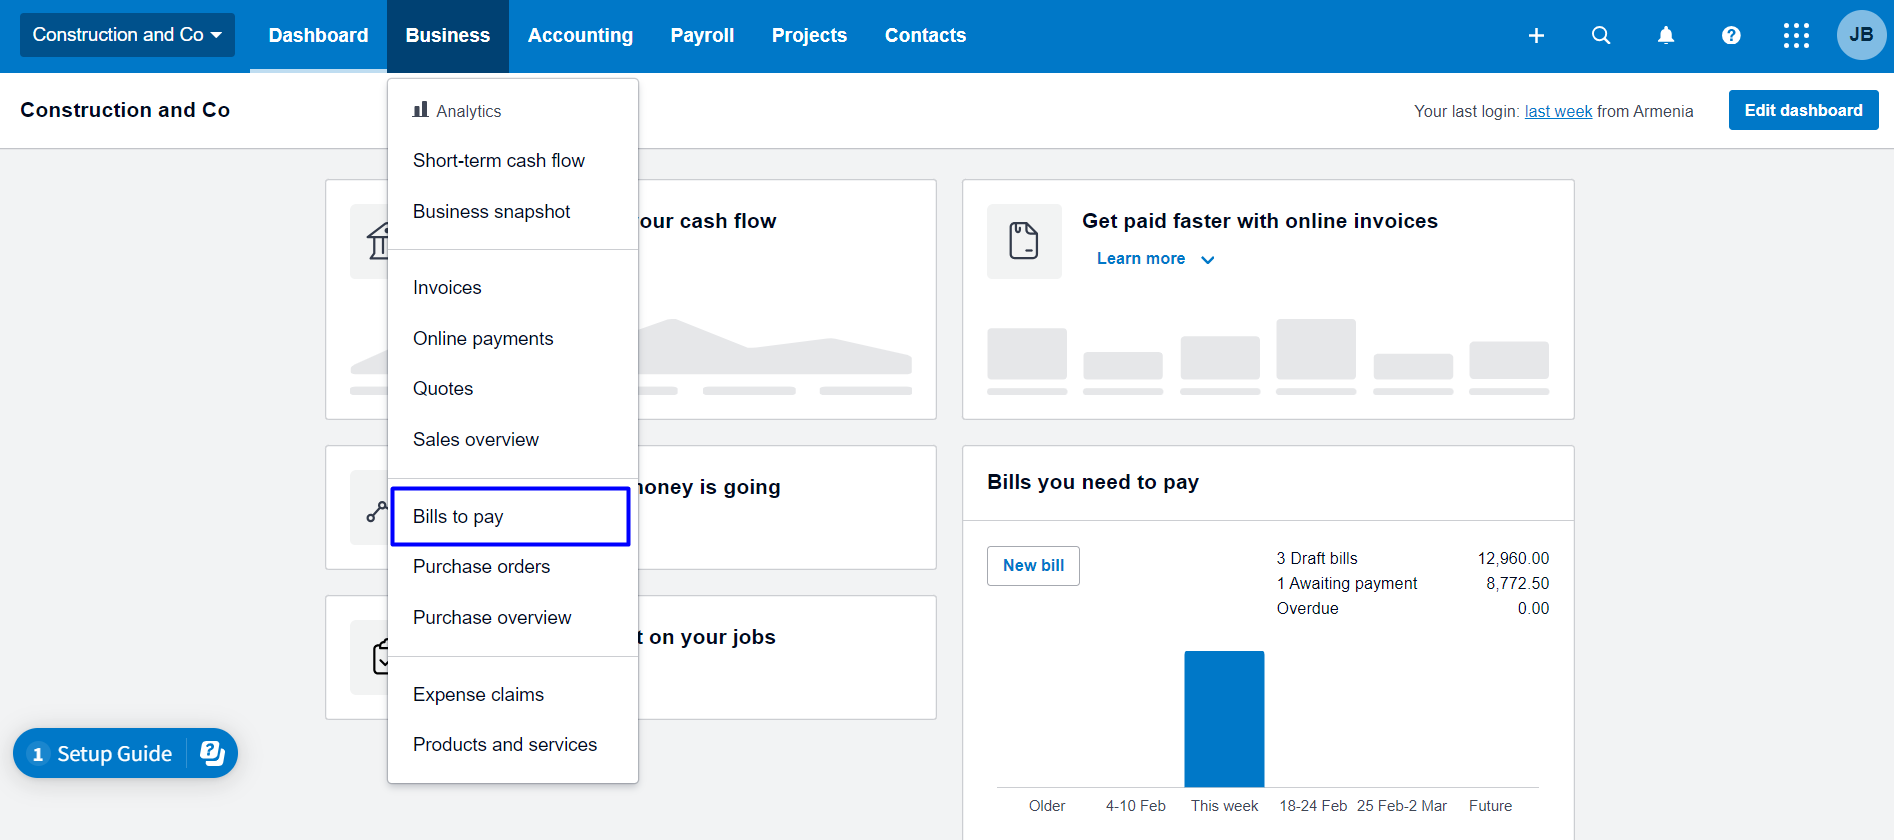
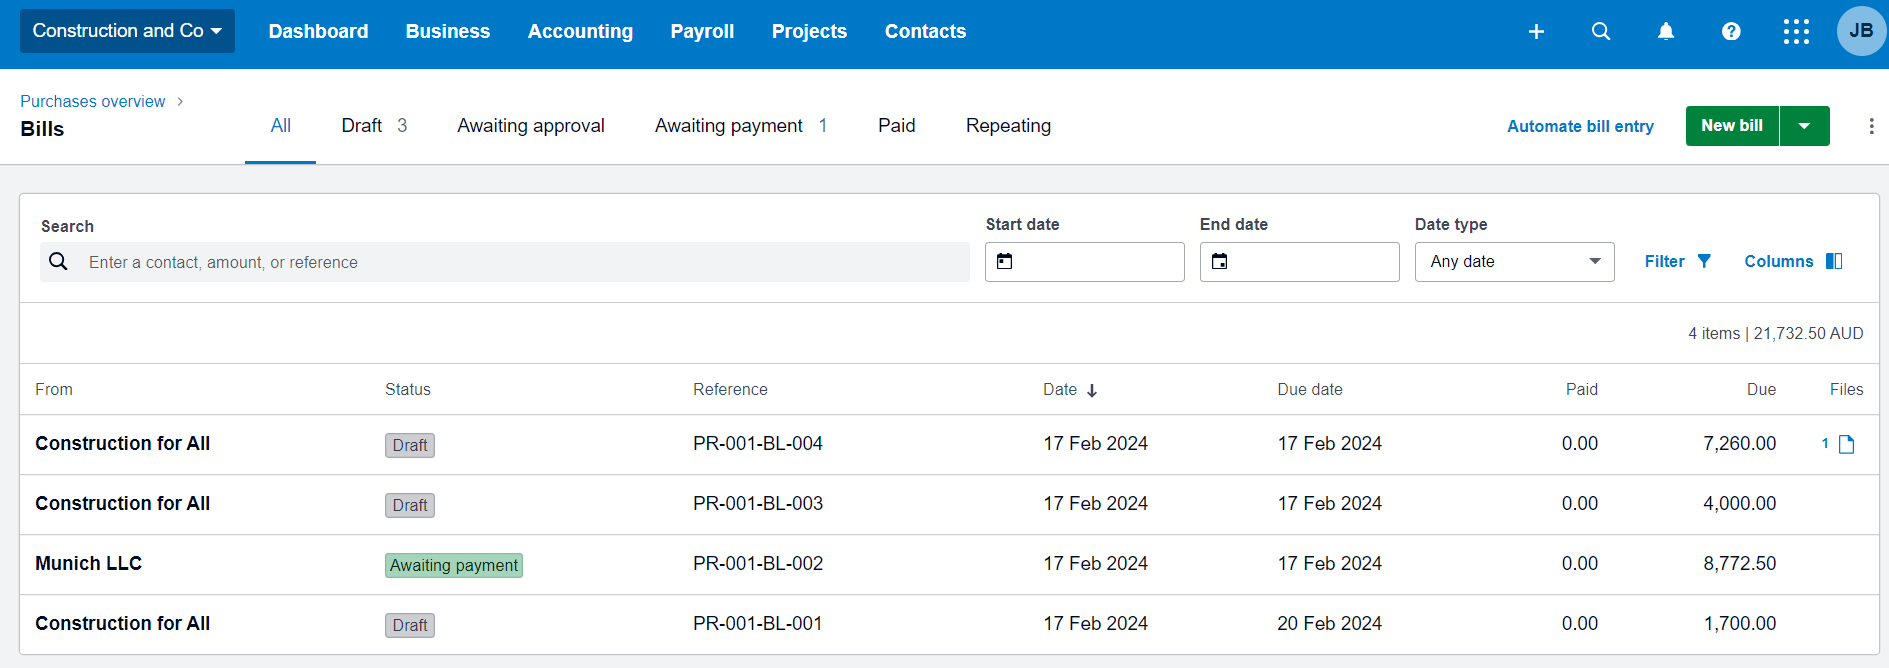
You will find all bills with relevant statuses neatly organized here.
💡Recommended Reading
How to Sync Cost Codes with Xero?