Buildern offers its users a powerful set of tools that can be used to manage your construction project efficiently. One of these tools is the measurement feature, which allows you to add specific measurements to your estimate and use them throughout the project.
Buildern’s dynamic system ensures that any changes made to measurements will automatically adjust the estimate, providing real-time updates to your project's financials. Additionally, the measurement feature is particularly useful when creating estimate templates that can be reused for similar projects, saving time and ensuring consistency across your builds.
Here’s how to add a new measurement in Buildern.
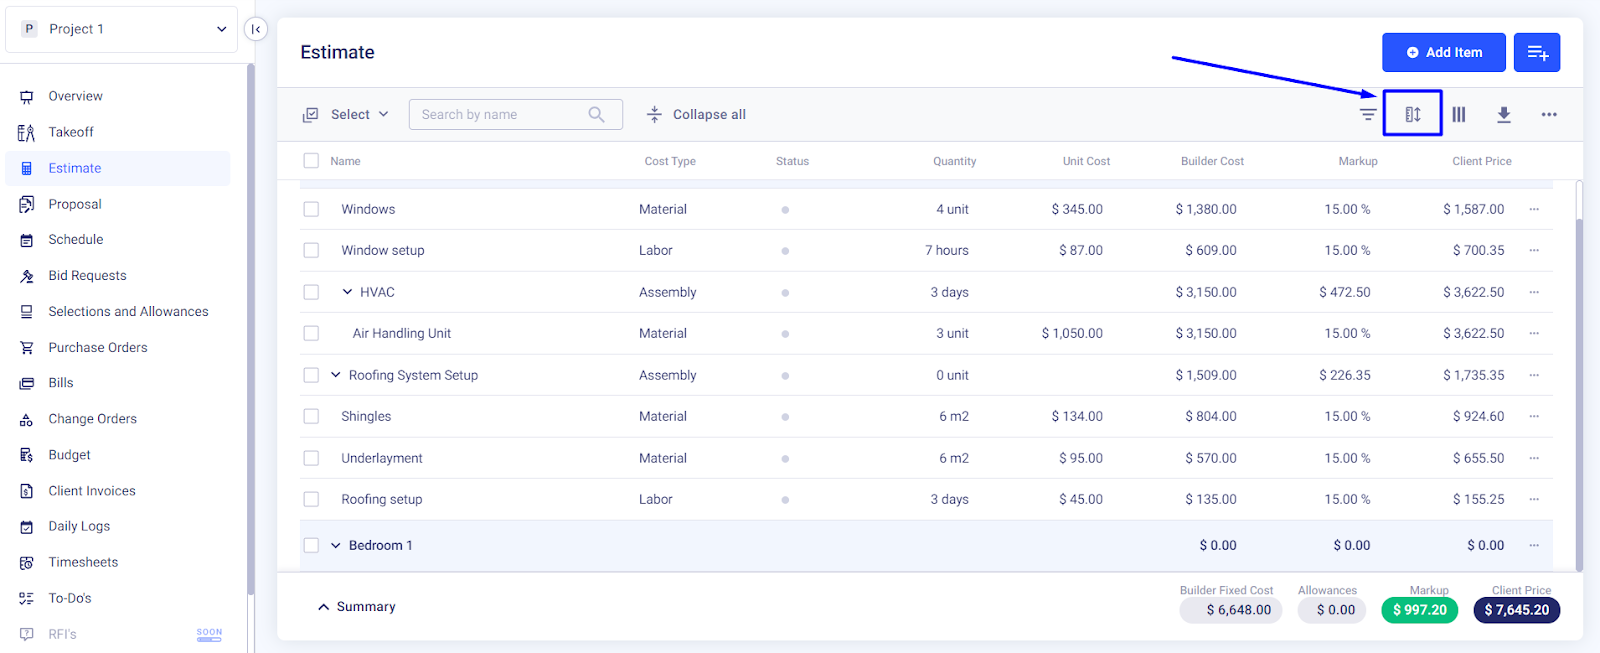
Click on the Ruler Icon
On the upper right corner of your estimate section, click on the ruler icon to access the measurement feature.
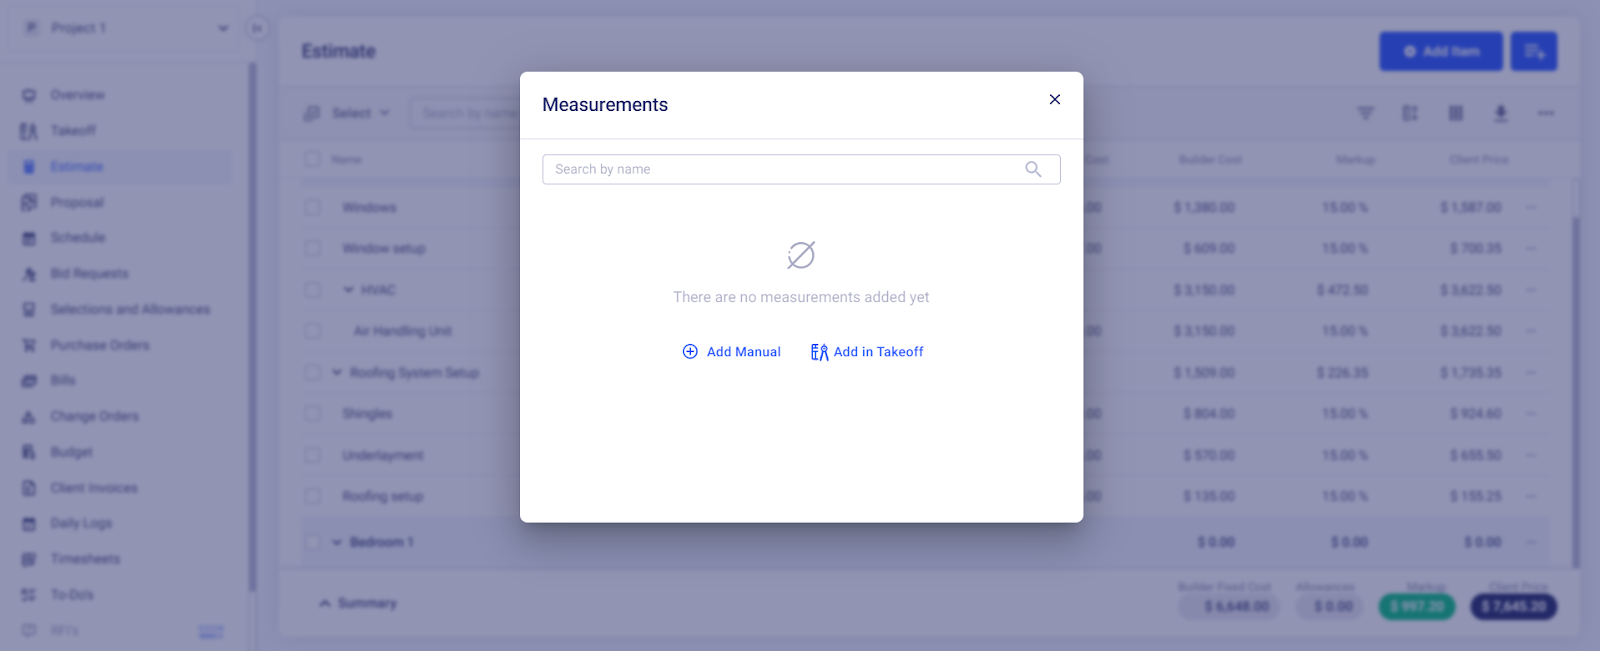
Add a New Measurement
A new window will open where you will see all the previously added measurements.
Choose the "Add Manual" or "Add in Takeoff" options if there are none.
Let's quickly go through each option to see how to add a new measurement in Buildern.
Add Manual
This option allows you to manually enter the measurement details, such as the name, quantity, and unit of measurement.
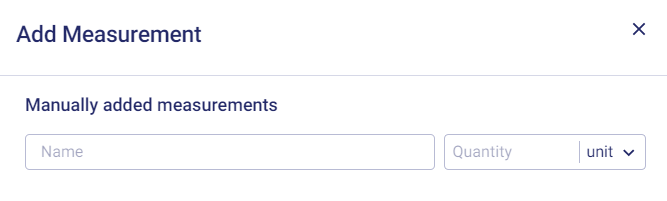
Click on the "Add Manual" option, and a new window will open.
Enter the name of your measurement in the designated field, then select the quantity and unit of measurement from the drop-down menus. Once you have entered all the necessary information, click on "Save" to add your new measurement.
Add in Takeoff
This option allows you to add measurements directly from your project's plans.
Click on the "Add in Takeoff" option, and a new window will open - either with an option to add new drawing plans or with your project's drawings displayed.
Now, as we had no previously added takeoffs for our project, we quickly added a simple one to show you how measurements work with takeoffs.
1. Click the “Add New” button to get started.
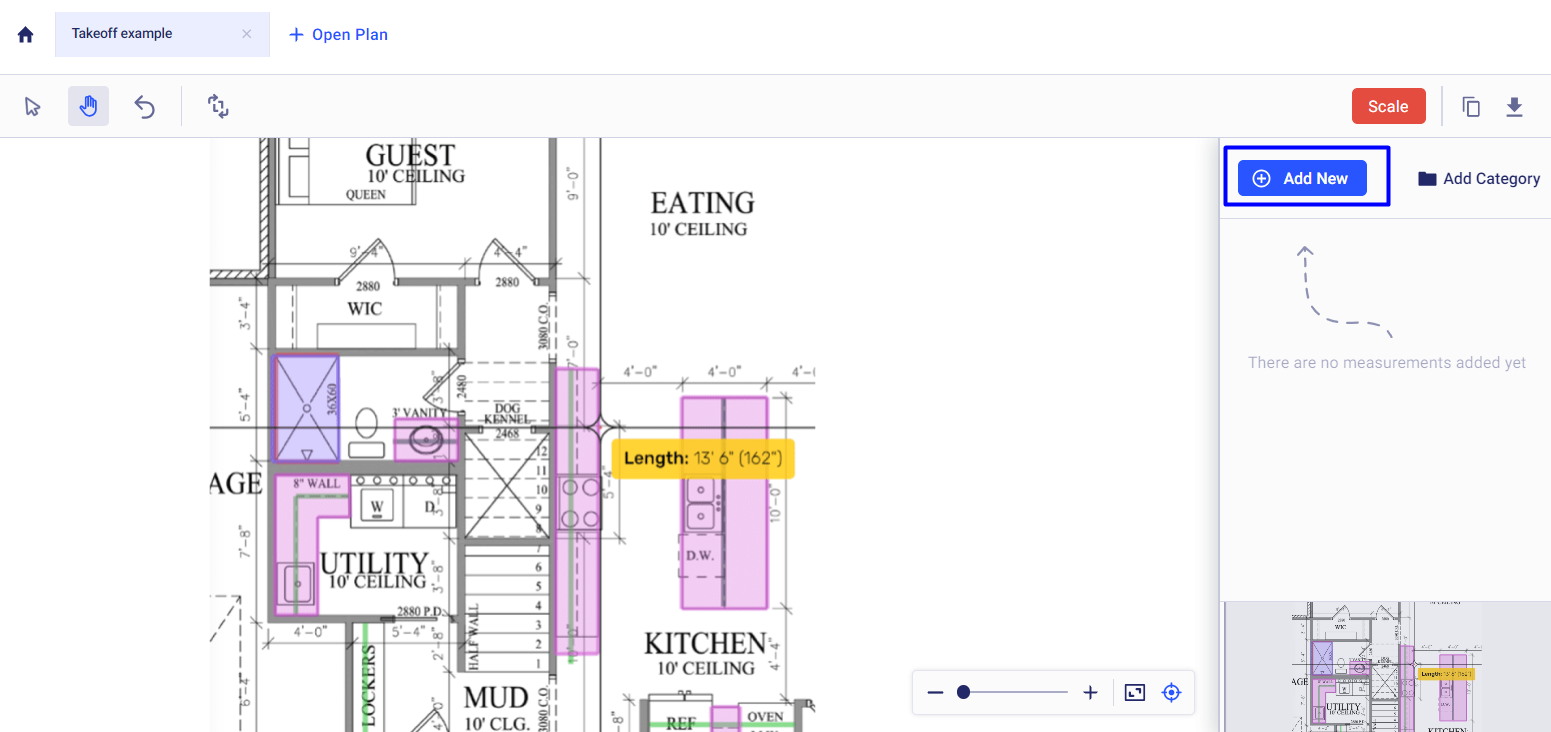
2. Customize the measurement by defining the following information:
-
Name
-
Category (optional)
-
Unit of measurement
-
Fill in options
-
Waste percentage
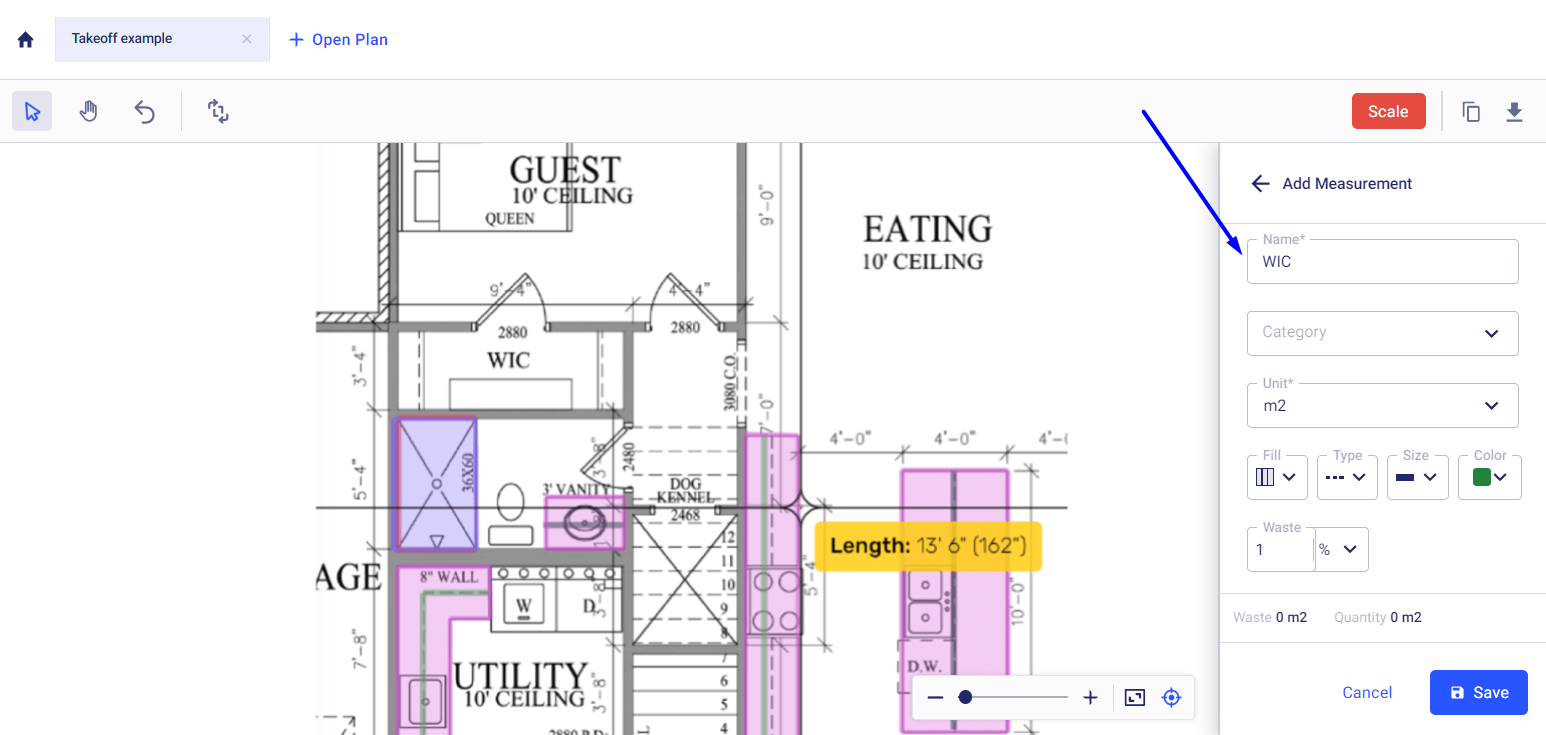
3. Save the new measurement in the takeoff and start outlining the area for measurement.
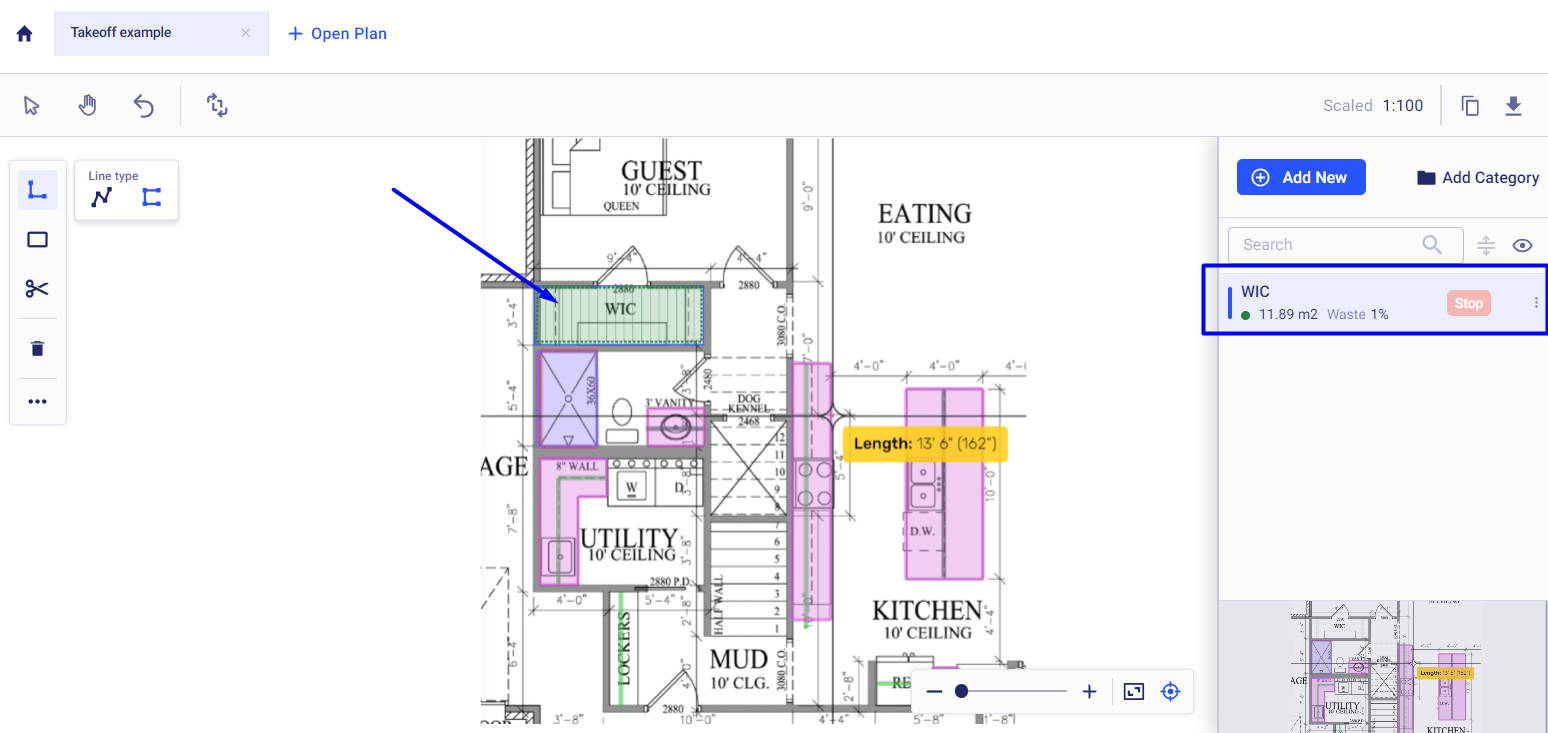
Now, Let’s Return to the Estimates
Once we have added all the necessary measurements, we can now return to our estimate and use them in our project.
After successfully adding measurements to your project, you can see and apply them within your project’s estimate by navigating to the relevant item's "Add/Edit Quantity" field.
Clicking on the ruler again, you will see a list of all your added measurements.

Recommended Reading