For businesses managing multiple companies, each with unique branding, logos, and accounting integrations with Xero or QuickBooks, Buildern makes it easy to handle everything. Let's further see how to set up and manage multiple profiles within Buildern, ensuring all your operations remain organized and efficient.
The process is pretty straightforward.
Step 1. Create Your First Company Account
💡How to Add Company Information to Your Account?
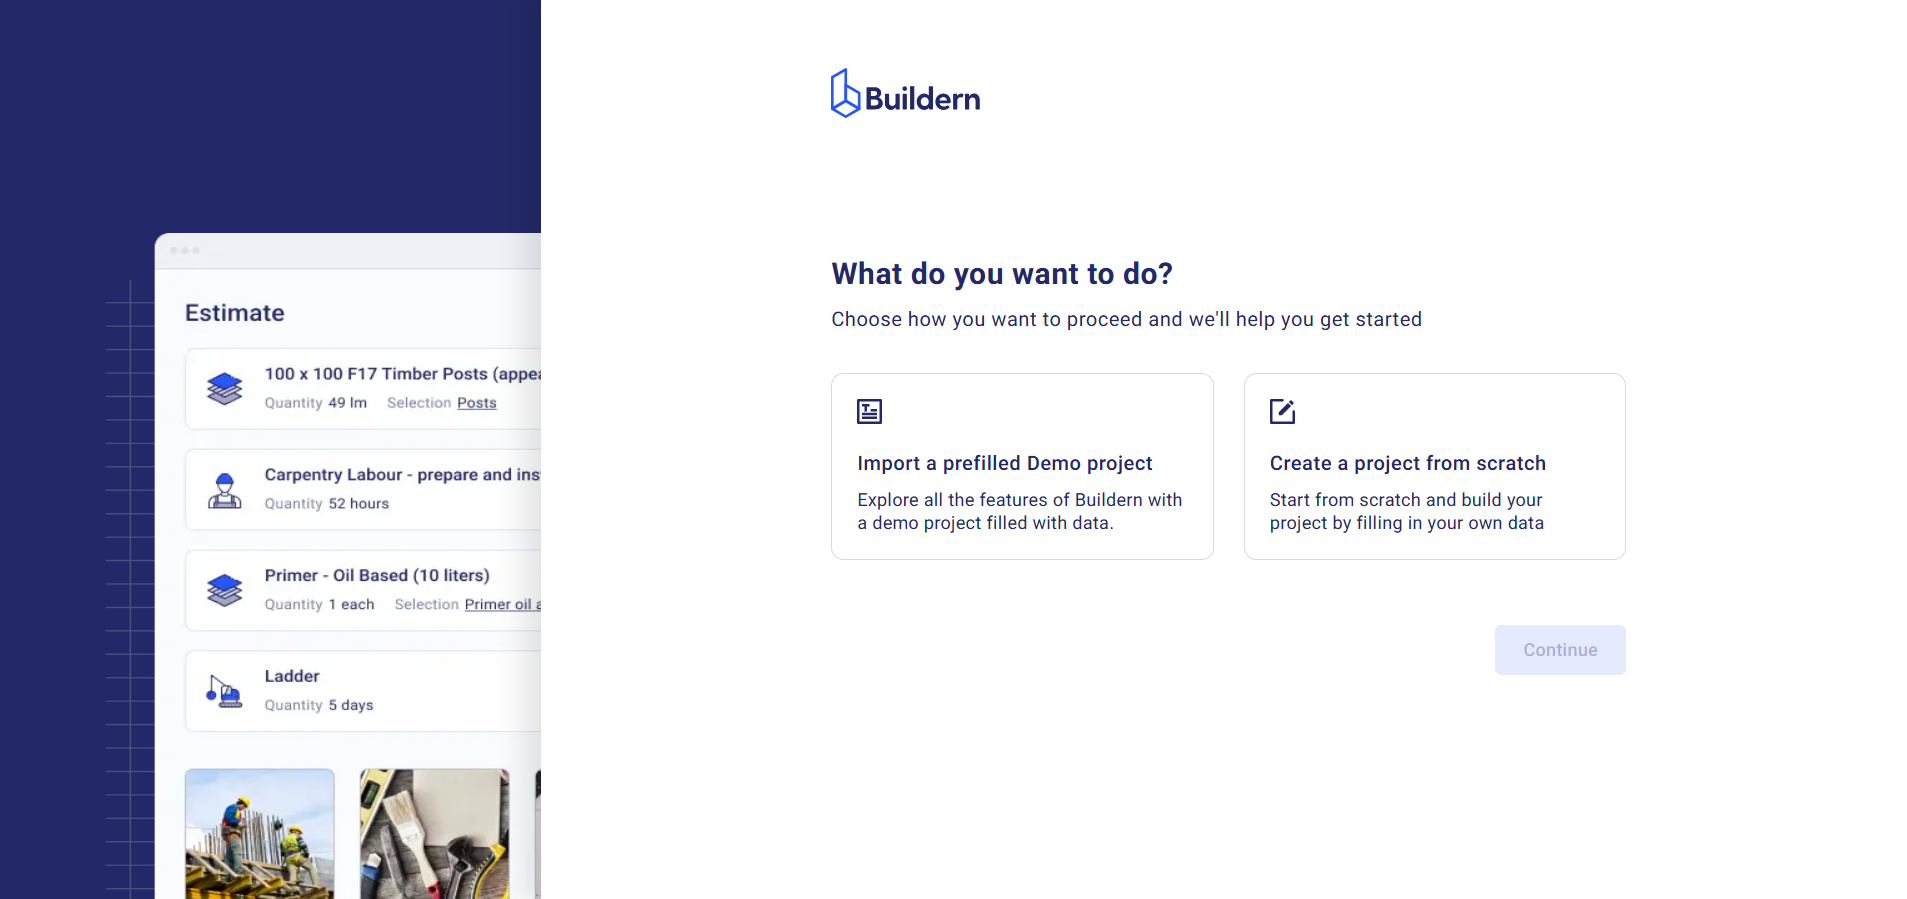
Sign in to Buildern and set up your first company account (Company A). You can add Demo information to your Buildern to see how certain features work and then proceed with configuring your own settings. Add any relevant business information you will need in your daily workflows.
Step 2. Join Additional Companies
Once a team member creates another company in Buildern, they can invite you to join and collaborate with them on that company's projects as well. They should invite you with the same email you've used to open your Company A. This will allow you to set up unique workflows and integrations for each.
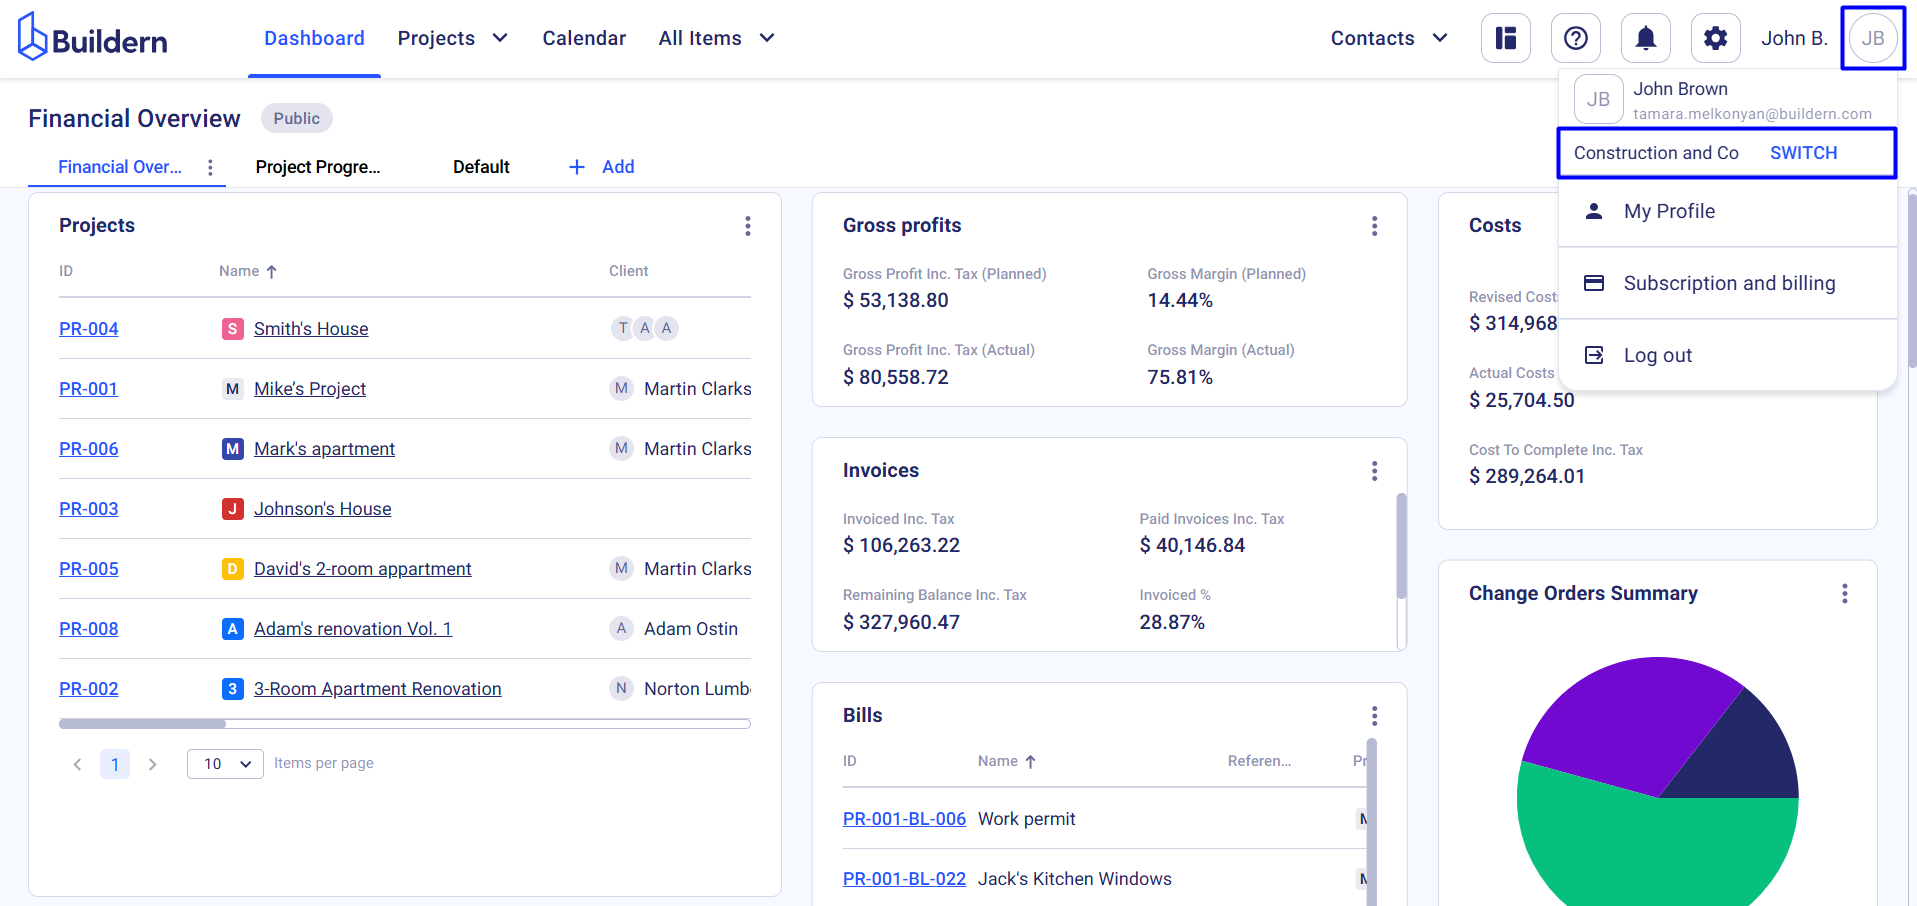
Users assigned to multiple companies can easily switch between accounts by selecting the company name from the account menu. To do this, click on the profile icon in the upper right corner and Switch button.
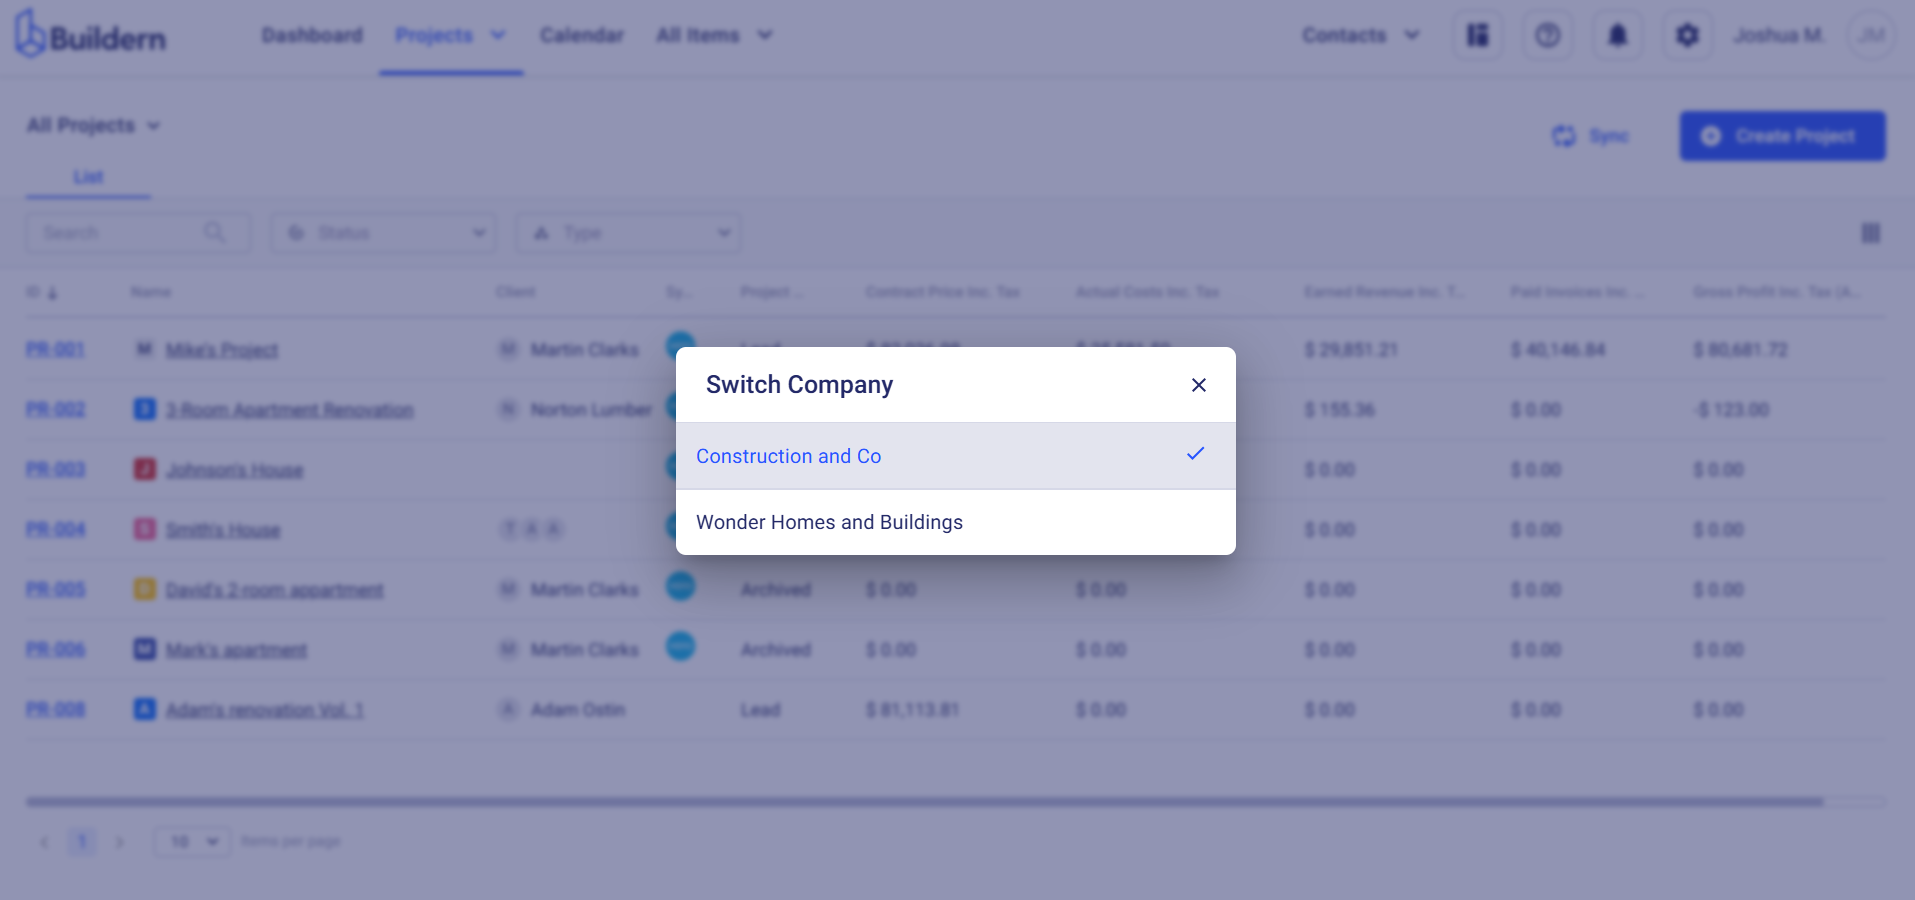
Then choose the company you want to switch to.
Step 3. Customizing Each Company Account
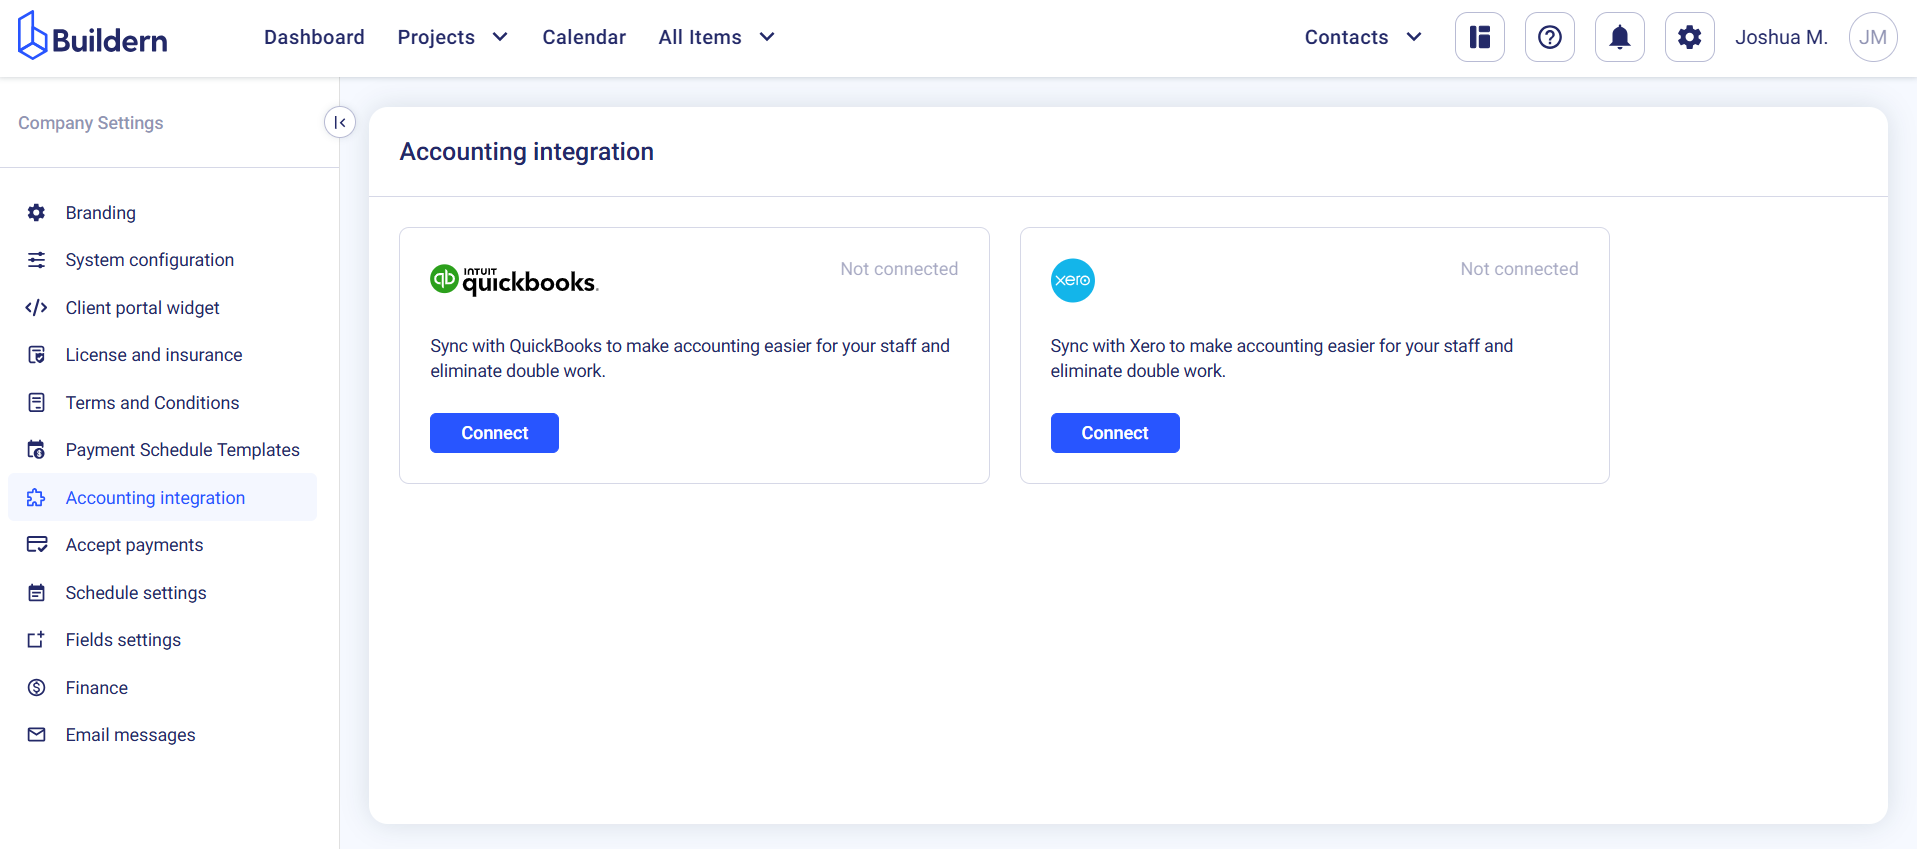
Once you're in, proceed with customizing each account by adding relevant information to ease construction project management with Buildern.
Below you can find a few essential guides to help you get started with Buildern.