A clearly defined brand profile will help you establish trust, credibility, and loyalty with the target audience.
Once you add company information to your Buildern account, your customized brand identity will be available through all proposals, purchase orders, bid requests, change orders, and other important documents you create and share via the software.
To help you position yourself as a professional and reliable company prioritizing clear communication, we are thrilled to show you how easy it is to get started with Buildern and keep all your construction projects organized!
Company settings are divided into the following sections in Buildern:
-
Branding
-
Terms and Conditions
This article will show you how to customize branding. For more detailed guides on other sections, follow the links provided below.
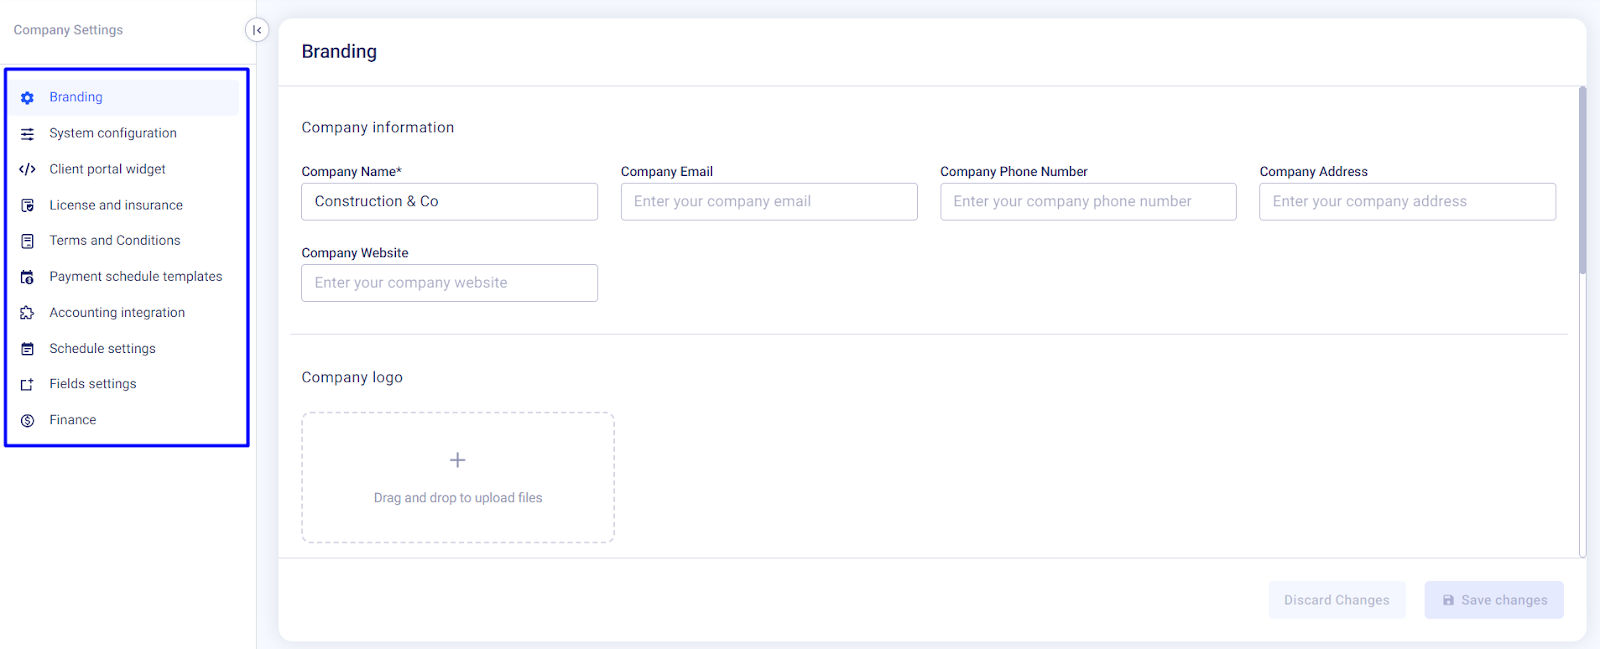
➡ Head to your Buildern account's branding to get started.
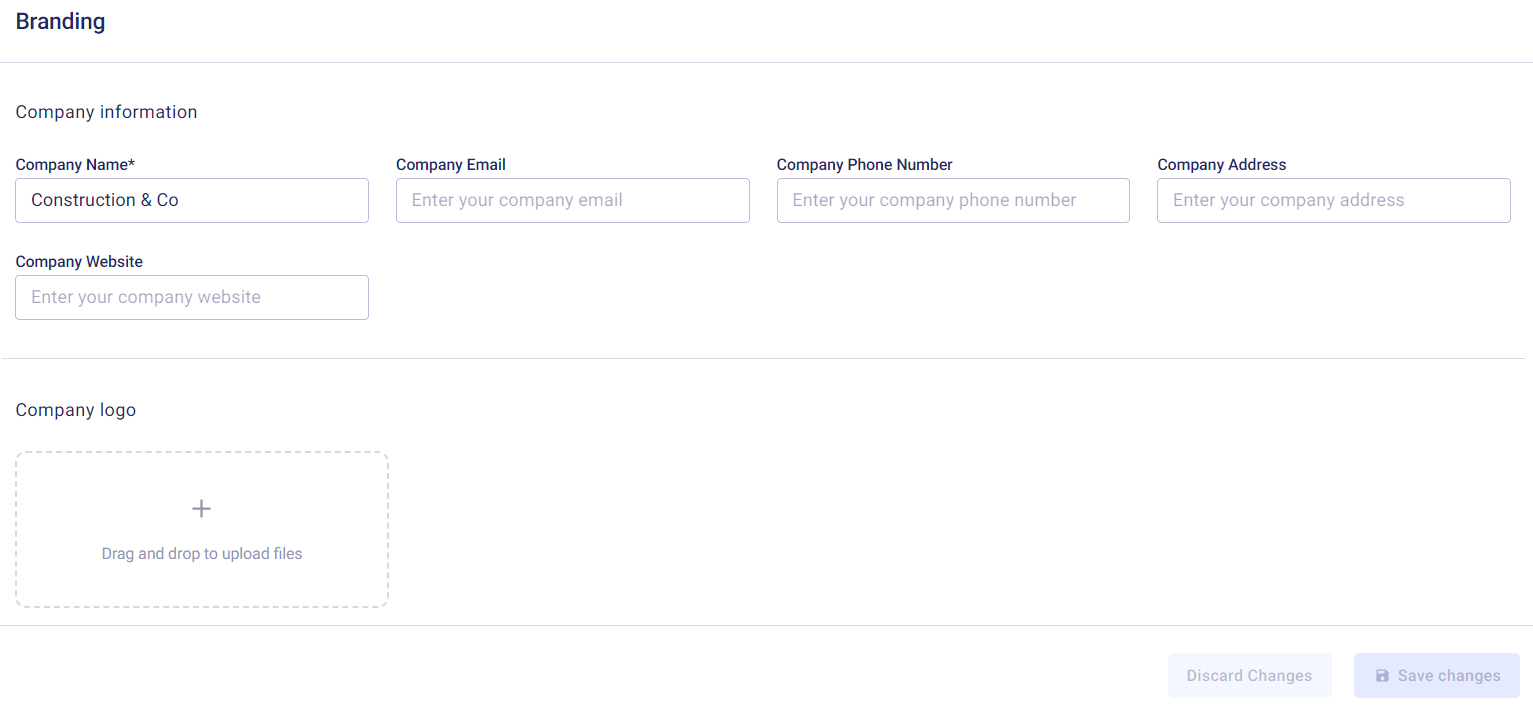
Fill in all the fields with up-to-date information:
-
Company name (Required)
-
Company email (Optional)
-
Company phone number (Optional)
-
Company address (Optional)
-
Company website (Optional)
-
Company logo (Optional)
-
Time zone (Optional)
-
Company logo (Optional)
-
Social media links (Optional)
-
Cover image (Optional)
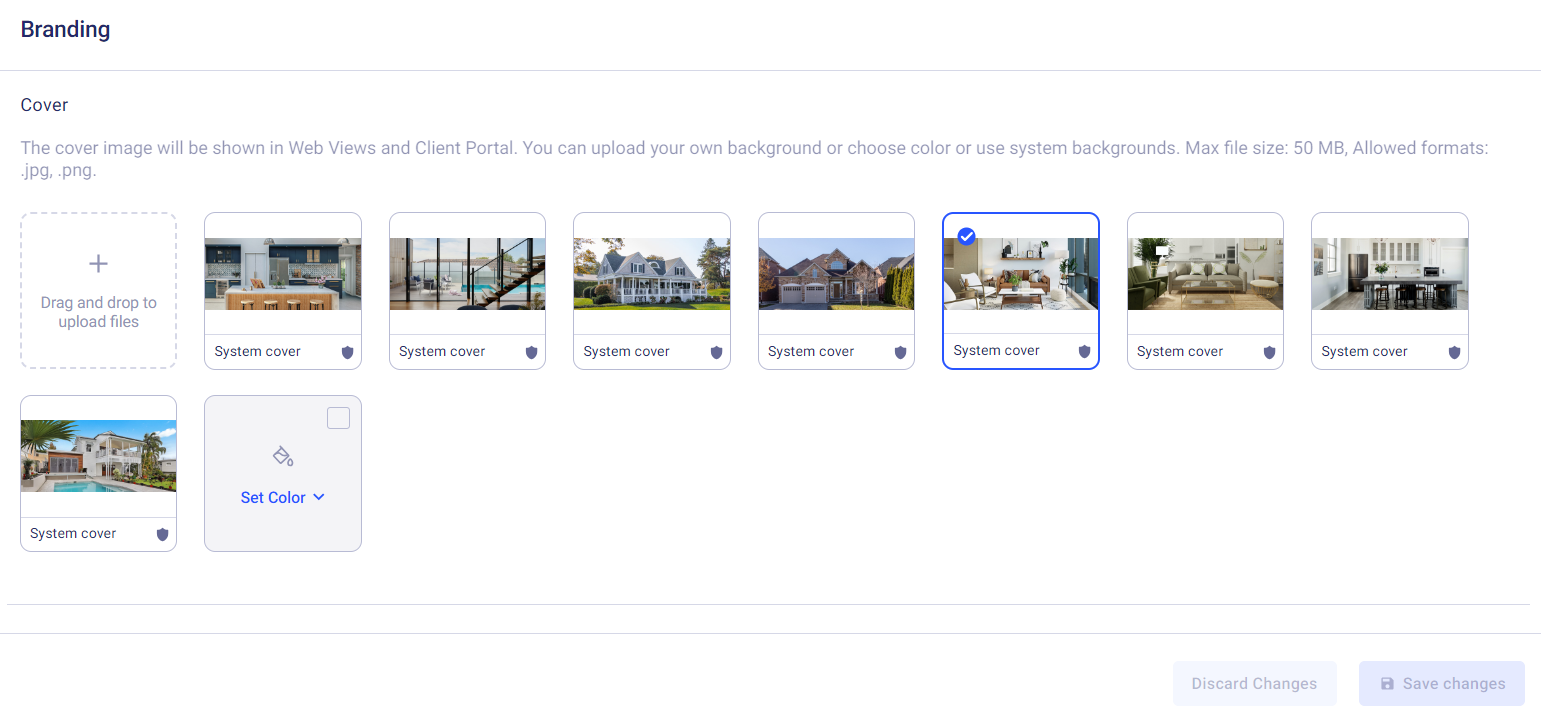
For instance, for the cover, you are free to choose one of our pre-added images, set a solid color, or upload your own images.
Buildern provides all the customization options to ensure your professional profile attracts current and future clients.
Double-check all the sections and click the "Save changes" button.
Establishing consistent branding will help reinforce your company's image and values to your clients throughout the entire project lifecycle. It will also provide a professional and cohesive look to your project-related documents, enhancing your company's credibility and trustworthiness in the eyes of current and potential clients.
💡Recommended Reading